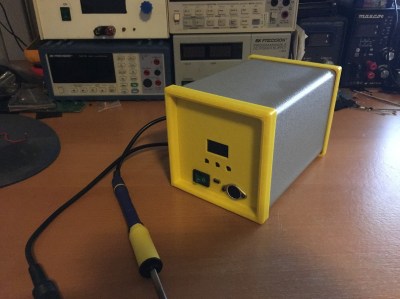
[Marco Reps] was soldering some boards with a lot of thermal mass and found his usual soldering iron was not up to the task. He noticed some professional JBC soldering stations that he liked, but he didn’t like the price. Even an entry-level JBC station is about $500 and they go up from there. He decided to build his own, but it did take awhile to complete. You can see two videos about the project, below.
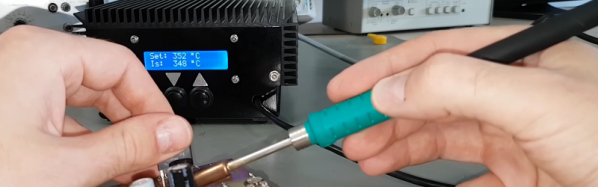
How can you build your own soldering station and still claim it is a JBC? [Marco] noticed that the real performance of the iron came from the tip — what JBC calls a cartridge. In addition, the handle provides good ergonomics. You can buy the tips and handles from JBC for considerably less than a complete station. You just have to add the electronics to make it all work.
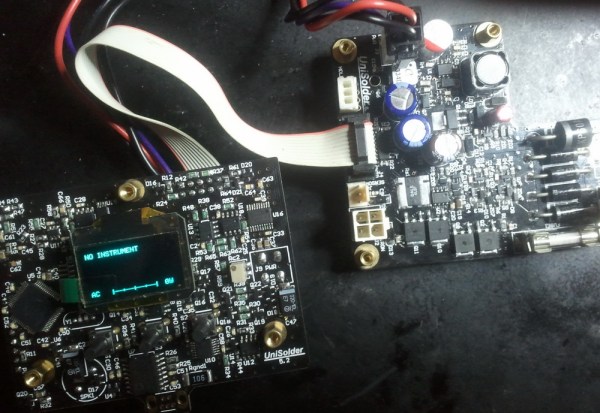
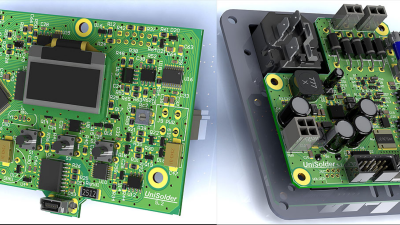
 This project has really caught on. [sparkybg] announced his build about two years back and since then many others have started posting details of their own Unisolder 5.2 builds. [zed65] built