Supersonic NERF Dart Speedometer

ATtiny Chronograph

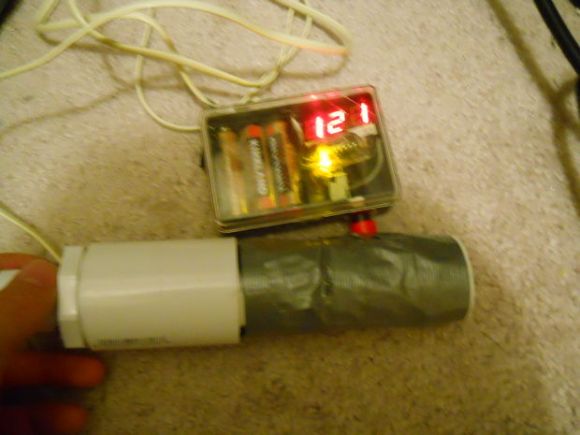
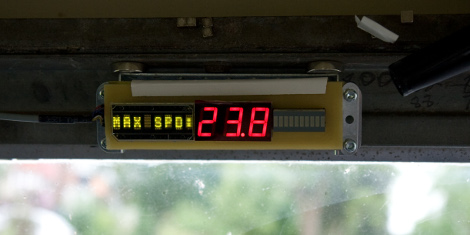
[John] was faced with an interesting problem: after he built his own air cannon, how could he tell exactly how fast his NERF darts were moving? Luckily he had some spare parts on hand and hacked together a fully functional projectile speedometer for less than the cost of an Arduino.

A device is essentially two detectors spaced a precise distance apart from one another. When something passes the first detector, a timer is activated which measures how long it takes the object to reach the second detector. From this, the device calculates the speed. [John] used infrared emitter/detector pairs spaced exactly three inches apart and wired them to an ATtiny2313. After a little bit of coding, he now knows just how fast he can fire those squishy ballistic missiles.

The infrared emitter/detector pairs are mounted to a PVC pipe through which the projectile travels. [John] notes that in theory this could be used to measure almost anything that could fit through the pipe, although this particular device might be damaged by muzzle flash or a pressure wave from an actual gun.

We’ve seen other NERF dart air cannons before, and we wonder if maybe there should be some sort of competition to see who can shoot a NERF dart the fastest now that there’s an easy way to measure speed?


Digital Speedometer With An Arduino

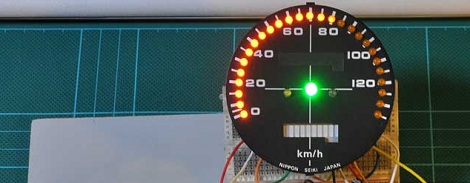
[Martyn] is restoring a 32-year-old Honda motorcycle, so when the ancient speedometer broke last year he thought it was prime time to start of a digital speedometer project. We’re loving the results so far, and would love seeing it on a nicely restored bike.

Instead of the relative horror of driving 40 LEDs with a single Arduino, [Martyn] bit the bullet and got a Maxim 7221 LED driver. Controlling 64 LEDs  over a three-wire interface simplified the board design somewhat, allowing [Martyn] to etch his own PCB with the toner transfer & HCl/H2O2 method. To actually power and control the entire circuit, [Martyn] used an Arduino loaded up with a program based  LedControl library makes programming the spedometer a snap.

Although the speedo works, [Martyn] says he isn’t proud of how it looks. We don’t mind – the candy colored jumpers add a nice flair to the project, and they’re hidden behind the face plate of the speedometer. We’re sure once he gets the neutral, high-beam, and warning indicators working with the LED bar array / tachometer, everything will look awesome.

via reddit

Simple IR Bounce Tachometer

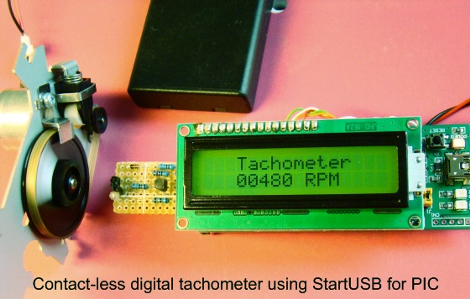
[Rajendra Bhatt] writes in to let us know about a nice simple IR bounce tachometer. The project uses a startUSB for PIC board and a 16×2 character LCD with a very basic Infrared bounce circuit.  Measuring either a reflective or non reflective spot in the rotating object, in this case a bit of white paper, the micro is supposedly capable of measuring up to 99,960 RPM (we think the paper might fly off at this point) with a resolution of 60 RPM. This is the same concept as a beam-break style tachometer but keeps all your electronics on one end of the spinning hazard.

The article also goes into detail about setting the PIC18F2550’s Timer0 register to enable 16-bit resolution.  The PIC is configured to turn on the infrared LED for one second, measure the number of pulses (through timer registers), and multiply that value by 60.  We would be more careful with the TMR0H and TMR0L counters as they have to be read and written in a certain order to preserve their values, but you’d need to be measuring upwards of 15,360 rpm to run into that error.

It is a quality writeup for anyone interested in learning about the start USB for PIC board, tachometers, or a new project. Thanks [Raj]!

Swapping Speedometer Needle For LEDs

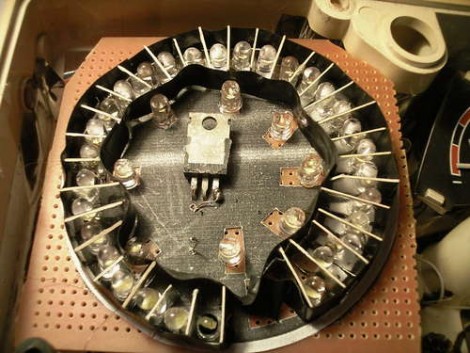
[Ah2002] didn’t like the shaky needle in his car’s speedometer so he replaced it with a ring of LEDs. The old speedometer had a cable which rotated along with the gearbox for mechanical speed measurement. By connecting the stepper motor from a printer instead of this cable, a voltage is generated that fluctuates with the speed of the car. The fluctuation is linear so a given voltage measurement can be directly associated with one particular speed. By using a trimpot to calibrate the input voltage, [Ah2002] connected the signal to an LM3914 dot/bar display driver. These can be chained together, lighting a string of outputs based on the single voltage input. The result is the board seen above, which was covered with a printed paper graph in the final assembly.

Judging from the video after the break, we’d bet there was some distracted driving during the calibration process. The driver appears to be holding the video recorder, and since a cellphone GPS was used during calibration we wonder if [Ah2002] was adjusting the trimpot, looking at the GPS, and driving all at once. It’s a fairly awesome hack, but do be careful when you’re working on something like this.

Continue reading “Swapping Speedometer Needle For LEDs”

Replacement Speedometer

[Howard] built his own replacement speedometer for his truck after the original speedometer cable broke. He’s using surface mount components and produced a two-board design that is quite nice. When he tipped us off he mentioned that this is Arduino powered and uses a hall effect sensor. There’s not talk of this in his writeup but we gather that he’s just using the bootloader on an AVR chip and that he hall effect sensor measures the rotation of one of the wheels. When the vehicle isn’t moving the board alternates between max speed and trip distance. Once he’s on the roll it shows current speed.

Bluetooth Motorcycle Control Panel With Arduino

Motorcycle_in_neutral

[Bill2009] has made some nice progress on a control panel for his motorcycle over at the arduino.cc forums.  It can show speed, tachometer readings for the wheel and engine, as well as indicate the current gear. He reads the square wave coming off of his tachometer input and pulses from a reed switch mounted on the wheel to calculate all this. To top it all off he can monitor the data via a Bluetooth module attached to the board, which is much better than trying to balance a laptop on your knees while cruising down the highway.  He is working on getting the size down so that he can mount the whole assembly inside of his motorcycle. He also plans to add new software features like wind resistance calculations and0 to 60mph timing.