It’s simple, it’s elegant, and it works really really well. The PicoRico team built a telemetry system for a downhill bike. Off the top of your head how would you do this? Well, telemetry is easy… just add an IMU board and you’re golden. They went beyond that and have plans to go much further. In fact, the IMU was an afterthought. The gem of this build is a sensor that may go by several names: string encoder, draw wire sensor, stringpot, etc. But two things are for sure, they planned well for their hackathon build and they executed on that plan. This landed them as first-runners-up for the top award at the 2015 Disrupt Hackathon in New York, and the winners of the top Hackaday award at the event.
 [Chris], [Marek], and [Dorian] wanted to log all the telemetry data from [Chris’] downhill bike. One of the biggest challenges is to measure the force absorbed by the suspension on the front fork. The three had seen a few attempts at this before. Those used a retractable wire like what holds keys to a custodian’s belt, mated with a potentiometer to measure the change. This is where the term stringpot comes from. The problem is that your resolution and sensitivity aren’t very reliable with this setup.
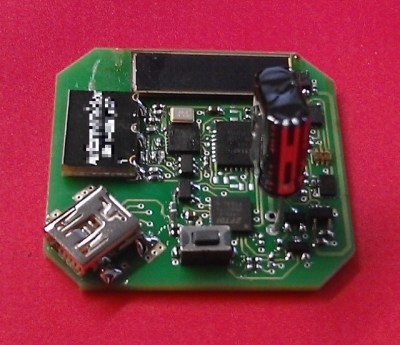
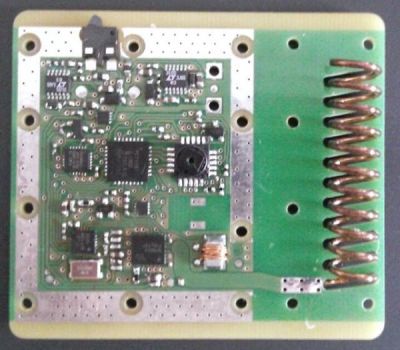
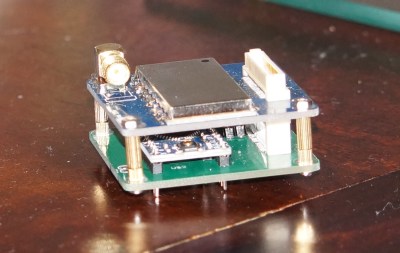
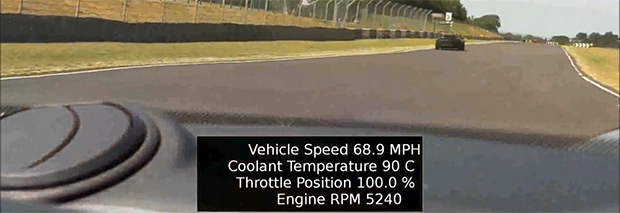
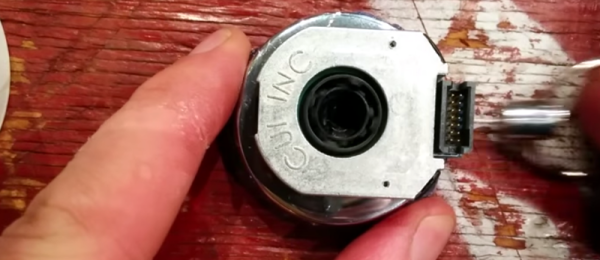
That is a sensor problem, not a mechanical problem so they kept the retractable reel and replaced the pot with a much more reliable part. In its place an AMT203 absolute position sensor provides an epic level of sensing. According to the datasheet (PDF) this SPI device senses 12 bits of rotation data, can be zeroed over the SPI bus, and is accurate to 0.2 degrees. Unfortunately we didn’t get a good up-close shot of the installation but it is shown in the video. The encoder and retractor mount above the shocks, with the string stretching down to the skewer. When the shocks actuate, the string extends and retracts, turning the absolute encoder. Combine this with the IMU (and two other IMUs they plan to add) and you’ve got a mountain of data to plot and analyze. The videos after the break show a demo of the string encoder and an interview with the team.
 They came to play
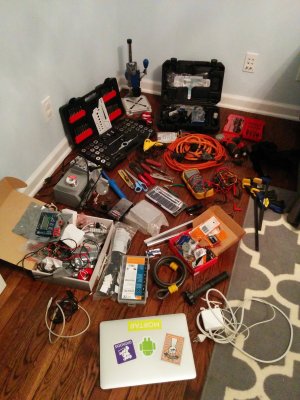
It’s worth noting that the PicoRico team were in this to win it. They packed heavy for the 20-hour hackathon. Here’s a picture of all the gear they brought along with them to the event… in addition to the bike itself.
We see a solder station, Dremel (with drill press), impact driver, tap and die set, extension cords, boxes full of electronics, and more. This type of planning breaks down barriers often faced at hardware hackathons. You can download a software library; you can’t download a tool or building material that nobody has with them. This is the same lesson we learned from [Kenji Larsen] who, as part of his mentoring at the event, brought a mobile fabrication facility in a roller bag.
If you start getting into hackathons, and we hope you will, keep this in mind. Brainstorm as much as you can leading up to the event, and bring your trusted gear along for the ride.
Continue reading “PicoRico Hacks String Encoder For Bike Suspension Telemetry”