Model rockets are a heck of a lot of fun, and not a few careers in science and engineering were jump-started by the thrilling woosh and rotten-egg stench of an Estes rocket launch. Adding simple instrumentation to the rocket doubles the fun by allowing telemetry to be sent back, or perhaps aiding in recovery of a lost rocket. Sending an instrument-laden rocket into a tornado is quite a few notches past either of those scenarios, and makes them look downright boring by comparison.
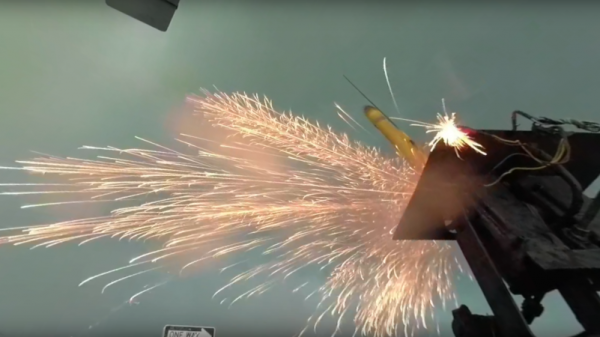
A first and hopefully obvious point: just don’t do this. [ChasinSpin] and [ReedTimmer] are experienced storm chasers, and have a small fleet of purpose-built armored vehicles at their disposal. One such vehicle, the Dominator, served as a mobile launch pad for their rocket as they along with [Sean Schofer] and [Aaron Jayjack] chased what developed into an EF4 monster tornado near Lawrence, Kansas on May 28. They managed to score a direct hit on the developing tornado, only 100 feet (30 meters) away at the time, and which took the rocket to 35,000 ft (10.6 km) and dragged it almost 30 miles (42 km) downrange. They lost touch with it but miraculously recovered it from a church parking lot.
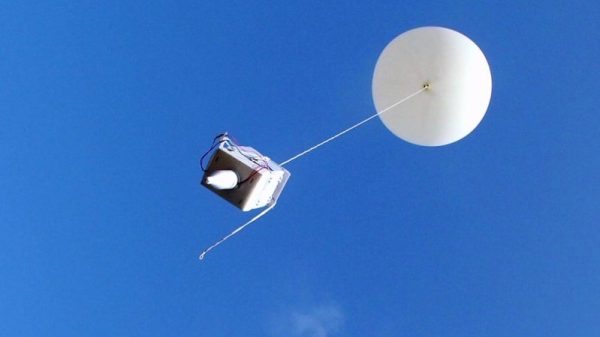
They don’t offer a lot of detail on the rocket itself, but honestly it looks pretty much off-the-shelf, albeit launched from an aimable launchpad. [ChasinSpin] does offer a few details on the instrument package, though – a custom PCB with GPS, IMU, a temperature/humidity/barometric pressure sensor, and a LoRa link to send a data packet back every second. The card also supported an SD card for high-resolution measurements at 10 times per second. Check out the launch in the video below, and be sure to mouse around to get a look at the chaotic environment they were working in.
Even if this isn’t as cool as sending a sounding rocket into an aurora, it’s still really cool. We’re looking forward to seeing what kind of data this experiment collected, and what it reveals about the inner workings of these powerful storms.
Continue reading “Storm Chasers Score Bullseye On Tornado With Instrument-Packed Rocket”