Adding Texture To 3D Prints

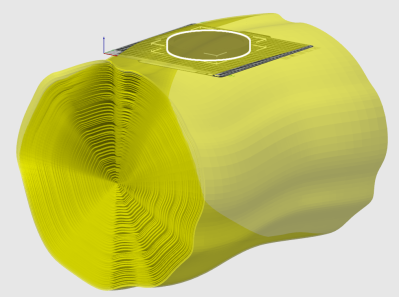
[3DJake] likes putting textures on 3D prints using things like patterned build plates and fuzzy skin. However, both of those techniques have limitations. The build plate only lets you texture the bottom, and the fuzzy skin texture isn’t easy to control. So he shows how to use Blender to create specific textures to produce things like wood-like or leather-like surfaces, for example. You can see how it works in the video below.

As [Jake] points out, you might be able to use other artistic programs to do this, but the kind of things we use like FreeCAD of Fusion360 aren’t going to cut it.

Continue reading “Adding Texture To 3D Prints”

3D Printed Climbing Holds, Now With Texture

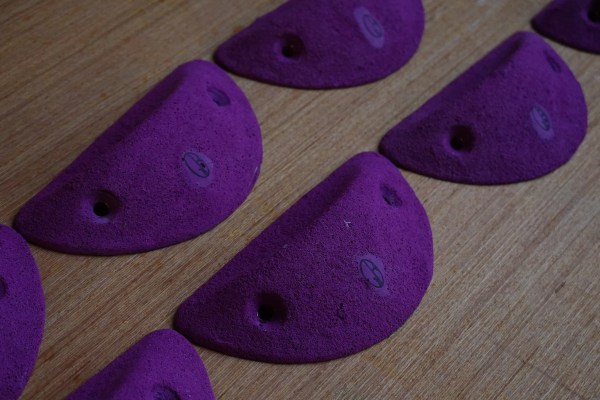
Technology enables all kinds of possibilities to mold our environments in the way we best see fit. Plenty of ski resorts use snowmaking to extend their seasons, there are wave pools for surfing hundreds of miles away from oceans, and if you don’t live near any mountains you can build your own climbing wall as well. For the latter, many have turned to 3D printers to create more rock-like climbing grips but plastic doesn’t tend to behave the same as rock unless you do what [Giles Barton-Owen] did and incorporate salt into the prints.

For small manufacturers, typically the way that the rock texture is mimicked is by somehow incorporating sand, permanently, into the grip itself. This works well enough but is often too rough on climbers’ hands or otherwise doesn’t faithfully replicate a rock climbing experience. For these grips, instead of including sand, salt crystals of a particular size were added to a resin that was formed over the 3D printed grip. Once the resin cures substantially, the water-soluble salt can be washed away leaving a perfect texture to grab onto with chalked hands.

While this might not be a scalable method for large-scale climbing grip manufacturers, [Giles] hopes this method will help smaller operations or even DIY climbers to build more realistic grips without having to break the bank. In fact, he has already found some success at his local climbing gym using these grips. The method may be more difficult to scale for larger manufacturers but for anyone who wants to try it out themselves, all that’s needed for this build is a 3D printer, salt, and time.

Continue reading “3D Printed Climbing Holds, Now With Texture”

Ultrasonic Misting Vapor Polisher For 3D Printed Parts

If you’ve ever seen 3D printed parts form an extrusion type printer, one of the first things you’ll notice is the texture. It’s caused by the printer laying down its plastic layer after layer. This surface texture isn’t always desirable, so people have found a few ways to smooth the 3D printed part out. For example if you are using ABS, you can rinse or “paint” the part with acetone. Another method of smoothing is heat up some acetone in a container, and let the acetone vapors do work to smooth the finished part.

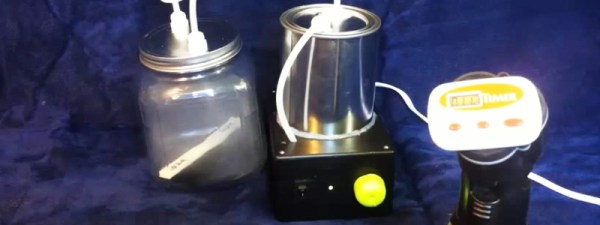
[Mike] from engineerdog.com thinks he may have found a more elegant solution using an inexpensive ultrasonic humidifier you can buy online for about $40 USD. This room humidifier uses a piezoelectric transducer that can vibrate liquids at a high frequency to produce a mist. [Mike] removed the transducer and electronics from the humidifier and mounted it into a paint can.  This is where the acetone is stored, and turned into a vapor by the transducer. An aquarium pump is used to transfer the highly concentrated vapors into the polishing chamber (an extra large pickle jar.) He added a spring loaded, electrical timer (the kind you might find in the bathroom at an office building) to make his vapor polisher as easy to use as a microwave oven.

[Mike] concludes his post with some strength testing of parts before and after acetone treatment, and was surprised to find that the parts were weaker after the treatment.  You can read more about that on his blog and see a video of the vapor polisher after the break.

Continue reading “Ultrasonic Misting Vapor Polisher For 3D Printed Parts”