[splat238] had a ton of spare sensors laying around that he had either bought for a separate project or on an impulse buy, so he knew he had to do something with them. He decided to build his own digital multi-tool focusing on sensors that would be particularly useful in a workshop setting. Coincidentally, he was inspired by a previous hack that we covered a while back.
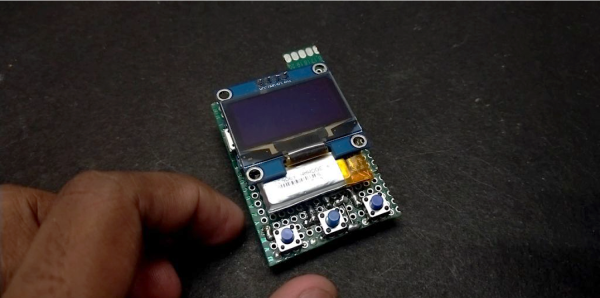
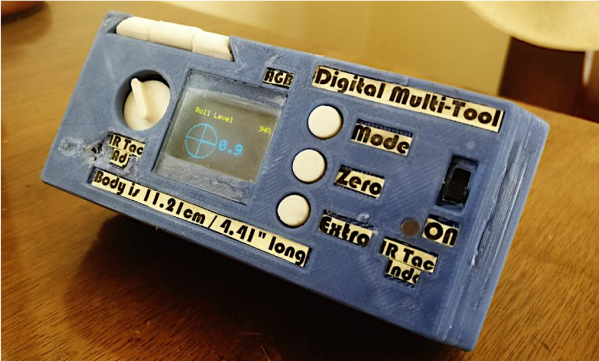
He’s equipped his device with a bubble level, tachometer, IR thermometer, protractor, laser pointer, and many, many more features that would make great additions to any hacker’s workspace. There’s a good summary of each sensor, making his Instructable somewhat of a quick guide to common sensing modalities for hardware designers. The tachometer, thermometer, laser pointer, and a few other capabilities are notable upgrades from the project we highlighted previously. We also appreciate the bigger display, allowing for more detailed user feedback particularly in using the compass and bullseye digital level among other features.
The number of components in [splat238’s] build is too extensive to detail one-by-one in this article, so please see his Instructable linked above for all the details. [splat238] made his own PCB for mounting each sensor and did a good job making the design modular so you wouldn’t need to add certain components if you don’t need them. Most of the components take some through-hole soldering with only a handful of 0805 resistors required otherwise. The housing was designed such that the user can handle the tool with one hand and can switch between each function with a push of a button.
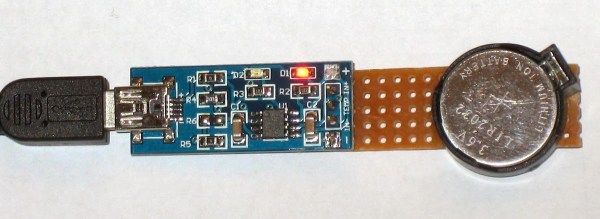
Finally, the device is powered using a rechargeable lithium-polymer battery making it very reusable. And, if there weren’t enough features already, the battery can be charged via USB or through two solar panels mounted into the housing unit. Okay, solar charging might be a case of featuritis, but still a cool build either way.
Check out some other handy DIY tools on Hackaday.