We’ve just begun to receive entries to the One Hertz Challenge, but we already have an entry by [Mike Coats] that explicitly demands to be awarded last place: the Metronalmost, a metronome that will never, ever, tick at One Hertz.
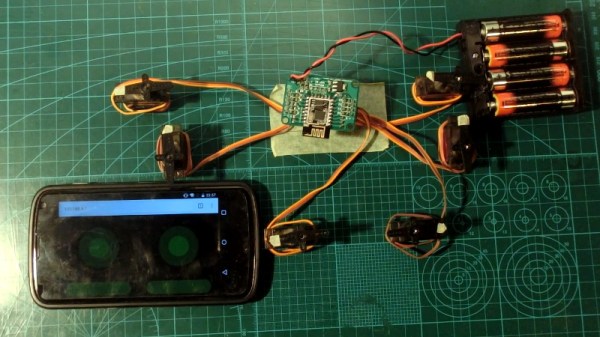
Unlike a real metronome that has to rely on worldly imperfections to potentially vary the lengths of its ticks, the metronoalmost leaves nothing to chance: it’s driven by a common hobby servo wired directly to a NodeMCU ESP-12E, carefully programmed so that the sweep will never take exactly one second.

The mathematics required to aggressively subvert our contest are actually kind of interesting: start with a gaussian distribution, such as you can expect from a random number generator. Then subtract a second, narrower distribution centered on one (the value we, the judges want to see) to create a notch function. This disribution can be flipped into a mapping function, but rather than compute this on the MCU, it looks like [Mike] has written a lookup table to map values from his random number generator. The output values range from 0.5 to 1.5, but never, ever, ever 1.0.
The whole thing goes into a cardboard box, because you can’t hit last place with a masterfully-crafted enclosure. On the other hand, he did print out and glue on some fake woodgrain that looks as good as some 1970s objects we’ve owned, so there might be room for (un)improvement there.
While we can’t think of a better subversion of this contest’s goals, there’s still time to come up with something that misses the point even more dramatically if you want to compete with [Mike] for last place: the contest deadline is 9:00 AM Pacific time on August 19th.
Or, you know, if you wanted to actually try and win. Whatever ticks your tock.