Capacitive Touch Controller For FPGAs

Most projects that interface with the real world need some sort of input device. Obviously this article is being written from a standardized “human interface device” but when the computers become smaller the problem can get more complicated. We can’t hook up a USB keyboard to every microcontroller since we often only need a few buttons, but even buttons can be a little bit too cumbersome for some applications. For something even simpler, we would like to turn your attention to capacitive touch controllers.

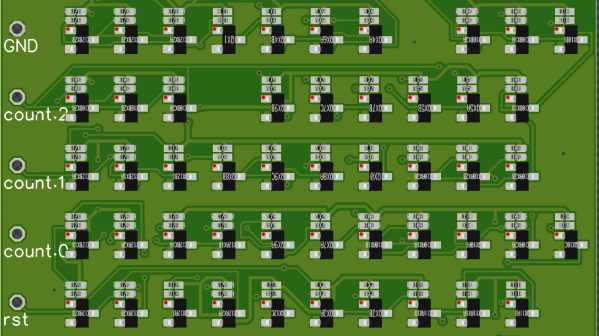
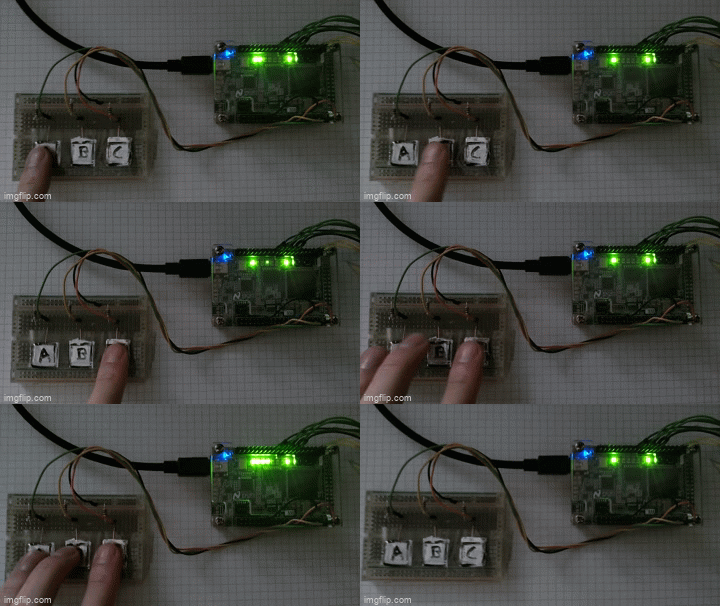
Granted, these devices are really only simpler from a hardware perspective. Rather than a switch that can be prone to failure either when its moving parts break or its contacts become corroded, a capacitive touch button only needs a certain conductive area on something like a PCB, along with a few passive components, to work. The real difficulty is in the software, so this project aims to make it simpler to bring these sort of devices to any FPGA that needs some sort of interface like this. It can operate in stand-alone mode or in a custom user interface, and was written to be platform-independent in VHDL without the need for any dependencies or macros.

The project’s page goes into a great amount of detail on how capacitive touch sensors like these work in general, and describes the operation of this specific code as well. Everything is open source, so it’s ready to be put to work right away. If you need capacitive touch capabilities on something like a microcontroller, though, take a look at this tiny Atmel-powered musical instrument instead.

Custom RISC-V Processor Built In VHDL

While ARM continues to make inroads into the personal computing market against traditional chip makers like Intel and AMD, it’s not a perfect architecture and does have some disadvantages. While it’s a great step on the road to software and hardware freedom, it’s not completely free as it requires a license to build. There is one completely open-source and free architecture though, known as RISC-V, and its design and philosophy allow anyone to build and experiment with it, like this build which implements a RISC-V processor in VHDL.

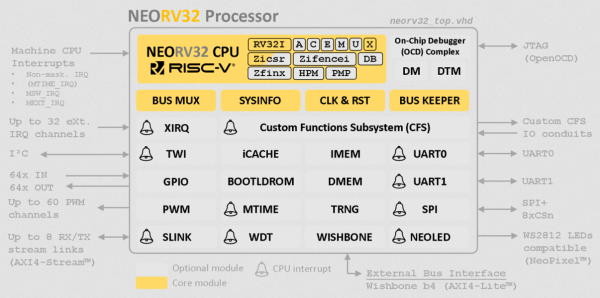
Since the processor is built in VHDL, a language which allows the design and simulation of integrated circuits, it is possible to download the code for the processor and then program it into virtually any FPGA. The processor itself, called NEORV32, is designed as a system-on-chip complete with GPIO capabilities and of course the full RISC-V processor implementation. The project’s creator, [Stephan], also struggled when first learning about RISC-V so he went to great lengths to make sure that this project is fully documented, easy to set up, and that it would work out-of-the-box.

Of course, since it’s completely open-source and requires no pesky licensing agreements like an ARM platform might, it is capable of being easily modified or augmented in any way that one might need. All of the code and documentation is available on the project’s GitHub page. This is the real benefit of fully open-source hardware (or software) which we can all get behind, even if there are still limited options available for RISC-V personal computers for the time being.

How does this compare to VexRISC or PicoSOC? We don’t know yet, but we’re always psyched to have choices.

Throwing Down The FPGA Gauntlet

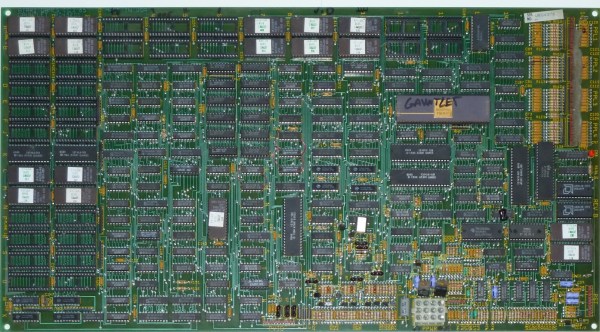
Gauntlet is a well-known arcade game from 1985 with many sequels and ports to more modern architectures such as Xbox and GameCube. Thanks to its popularity and relative age, the original arcade cabinet is well documented with the schematics available online. It was regarded as the most complex and ambitious hardware Atari had ever developed at the time it was released. In what can only be described as an absolute labor of love, [Alex] has recreated the arcade hardware on the Pipistrello FPGA board.

The project can actually play Gauntlet, Gauntlet II, and Vindicators II as they all ran on the same hardware. Four joysticks are supported so up to four players can play, though the EEPROM is emulated in RAM so high scores are reset when the device is powered down. The FPGA is almost out of space and can’t quite squeeze in the SRAM needed. So an SRAM expansion daughterboard is required; nothing a quick board run from our favorite purple PCB manufacturer can’t solve.

In the repo is an incredible write-up detailing the system, how it works, and the process of debugging it. This project also includes a complete simulation of the TMS5220 Voice Synthesis Processor, as Gauntlet was the first coin-operated arcade machine with a voice synthesizer. Getting the video correct was particularly tricky and it took several tries to get the color palette and motion looking right. Since [Alex] didn’t have access to an original Gauntlet arcade cabinet, they had to make do with MAME. After writing a test to make sure the FPGA was working correctly, there were differences between the MAME emulation and the FPGA output. To help out, [Colin Davies] came to the rescue. After [Colin] hooked up an original Gauntlet Arcade PCB with the motion test loaded up, the test showed that the FPGA had the correct behavior.

During development [Alex] actually simulated several frames of the game in ISIM (at a whopping 90 seconds per frame or 90 minutes per in-game second). Using ISIM allowed them to compare system state to MAME and validate the design much faster as they could better inspect the interworkings of the different modules. Using a clever trick of grabbing state from MAME after a few seconds, they primed the FPGA state and saved themselves a few hours of simulation.

If you’re looking to get into old hardware style arcade game development, give the browser-based 8bitworkshop IDE a spin. Or start with something a little smaller in scope and size with this adorable mini CRT arcade cabinet.

Continue reading “Throwing Down The FPGA Gauntlet”

FPGA Used VHDL For Fractals

Over on GitHub, [ttsiodras] wanted to learn VHDL. So he started with an algorithm to do Mandelbrot sets and moved it to an FPGA. Because of the speed, he was able to accomplish real-time zooming. You can see a video of the results, below.

The FPGA board is a ZestSC1 that has a relatively old Xilinx Spartan 3 chip onboard. Still, it is plenty powerful enough for a task like this.

Continue reading “FPGA Used VHDL For Fractals”

VexRISC-V Exposed

If you want to use FPGAs, you’ll almost always use an HDL like Verilog or VHDL. These are layers of abstraction just like using, say, a C compiler is to machine language or assembly code. There are other challengers to the throne such as SpinalHDL which have small but enthusiastic followings. [Tom] has a post about how the VexRISC-V CPU leverages SpinalHDL to make an extremely flexible system that is as efficient as plain Verilog. He says the example really shows off why you should be using SpinaHDL.

Like a conventional programming language, it is easy to find niche languages that will attract a little attention and either take off (say, C++, Java, or Rust) or just sort of fade away. The problem is you can’t ever tell which ones are going to become major and which are just flashes in the pan. Is SpinalHDL the next big thing? We don’t know.

Continue reading “VexRISC-V Exposed”

FPGA Calculator Uses Joystick

FPGAs are great fun, but sometimes you need a few starter projects under your belt. These projects might be something you could just as well do with a CPU, but you have to start somewhere. [LambdaPI] recently shared a 4-bit calculator created using an FPGA, and you can see it in the video below.

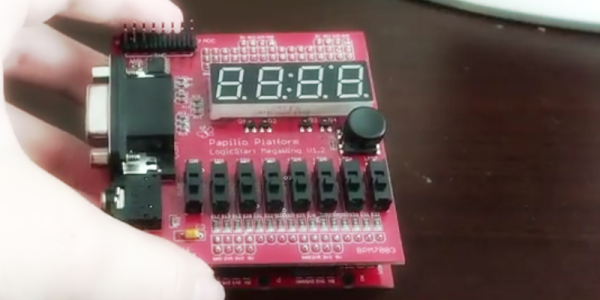
The calculator uses a Papilio FPGA board and a LogicStart accessory board for the display and switches. The Papilio normally uses schematic-based entry and Arduino code, but [LambdaPI] used VHDL. You enter the two 4-bit numbers on the 8 switches and then the joystick selects one of four operations (add, subtract, multiply, and divide).

Continue reading “FPGA Calculator Uses Joystick”

Apple II FPGA

[Stephen Edwards] had some time one Christmas. So he took a DE2 FPGA board and using VHDL built a pretty faithful reproduction of an Apple II+ computer. He took advantage of VHDL modules for the 6502 CPU and PS/2 keyboard, and focused more on the video hardware and disk emulation.

According to [Stephen], you can think of the Apple II as a video display that happens to have a computer in it. The master clock is a multiple of the color burst frequency, and the timing was all geared around video generation. [Stephen’s] implementation mimics the timing, although using more modern FPGA-appropriate methods.

Continue reading “Apple II FPGA”