If you’ve ever had a casual go-kart experience, you might be able to relate to [HowToLou]. He noticed that whenever he tried to race, the same situation inevitably always happened. One racer would end up in front of the pack, and no one else would be able to pass them. The result was more of a caravan of go-karts than an actual race. That’s when he realized that video games like Mario Kart had already figured out how to fix this problem long ago. [Lou] took ideas from these games and implemented them onto a real life go-kart in order to improve the experience. The result is what he calls a Flash Kart.
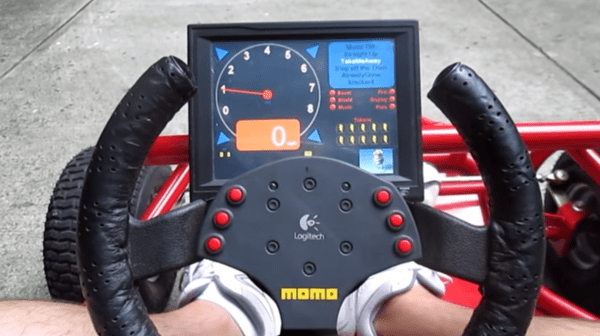
The key to improving the experience was to add more features that you don’t normally get in a real word go-karting experience. The Flash Kart uses an electronic drive system that is controlled by computer. This setup allows the computer to limit the speed of the kart so they are all the same. The system includes a Logitech gaming steering wheel with built-in control buttons. There is also a color LCD screen mounted as a heads up display. The screen displays the racer’s speed in miles per hour, as well as multiple MP3 music tracks to choose from. The system provides the user with a limited number of speed boost tokens, listed on the heads up display. The user can also view their current ranking, their location on the track, or even get a view directly behind them.
The back of the kart includes a 23″ LCD screen that shows other players who you are and what team you are on. For added fun, the rider can display taunting messages to other racers using this screen. The front of the kart includes a laser cannon for shooting other karts as well as a “token scoop” sensor. This allows the riders to pick up virtual items such as laser cannon ammo, shields, or extra speed boost tokens.
To pack in all of this added functionality, [Lou] started with a typical go-kart chassis. From there, he built a custom fiber glass shell for the back-end. This houses most of the sensitive electronics. The system is powered by three 12V deep cycle batteries. A 15HP electric motor drives the rear wheels. The throttle is controlled with a gas pedal that simply feeds to a sensor that is hooked up to the control computer. The heart of the system is a computer that runs on a 2.6Ghz small footprint Zotac motherboard with Windows XP. The software is custom written in C#. The computer is plugged into a miniLAB 1008 interface board. This is how it communicates with all of the various sensors. The interface board is also used to control a number of relays which in turn control the speed of the kart.
Unfortunately [Lou] built this kart years ago and doesn’t include many details about what sensors he is using, or how the software works. Still, this was such a cool idea that we had to share it. Be sure to watch [Lou’s] video below to see the kart in action. Continue reading “Making Mario Kart Real” →
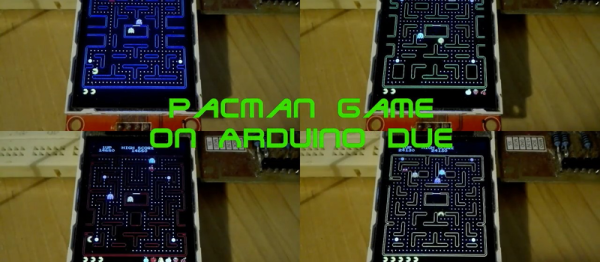
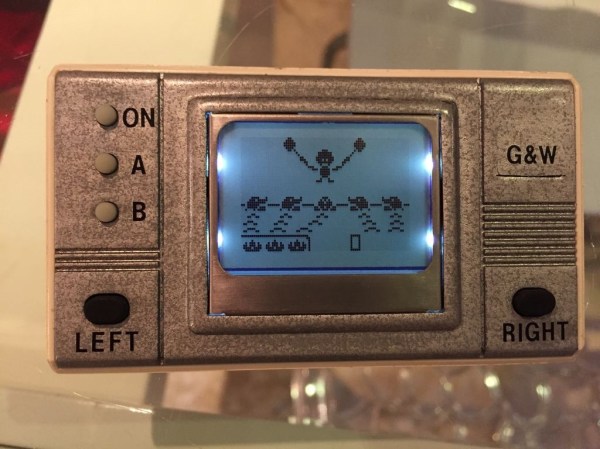
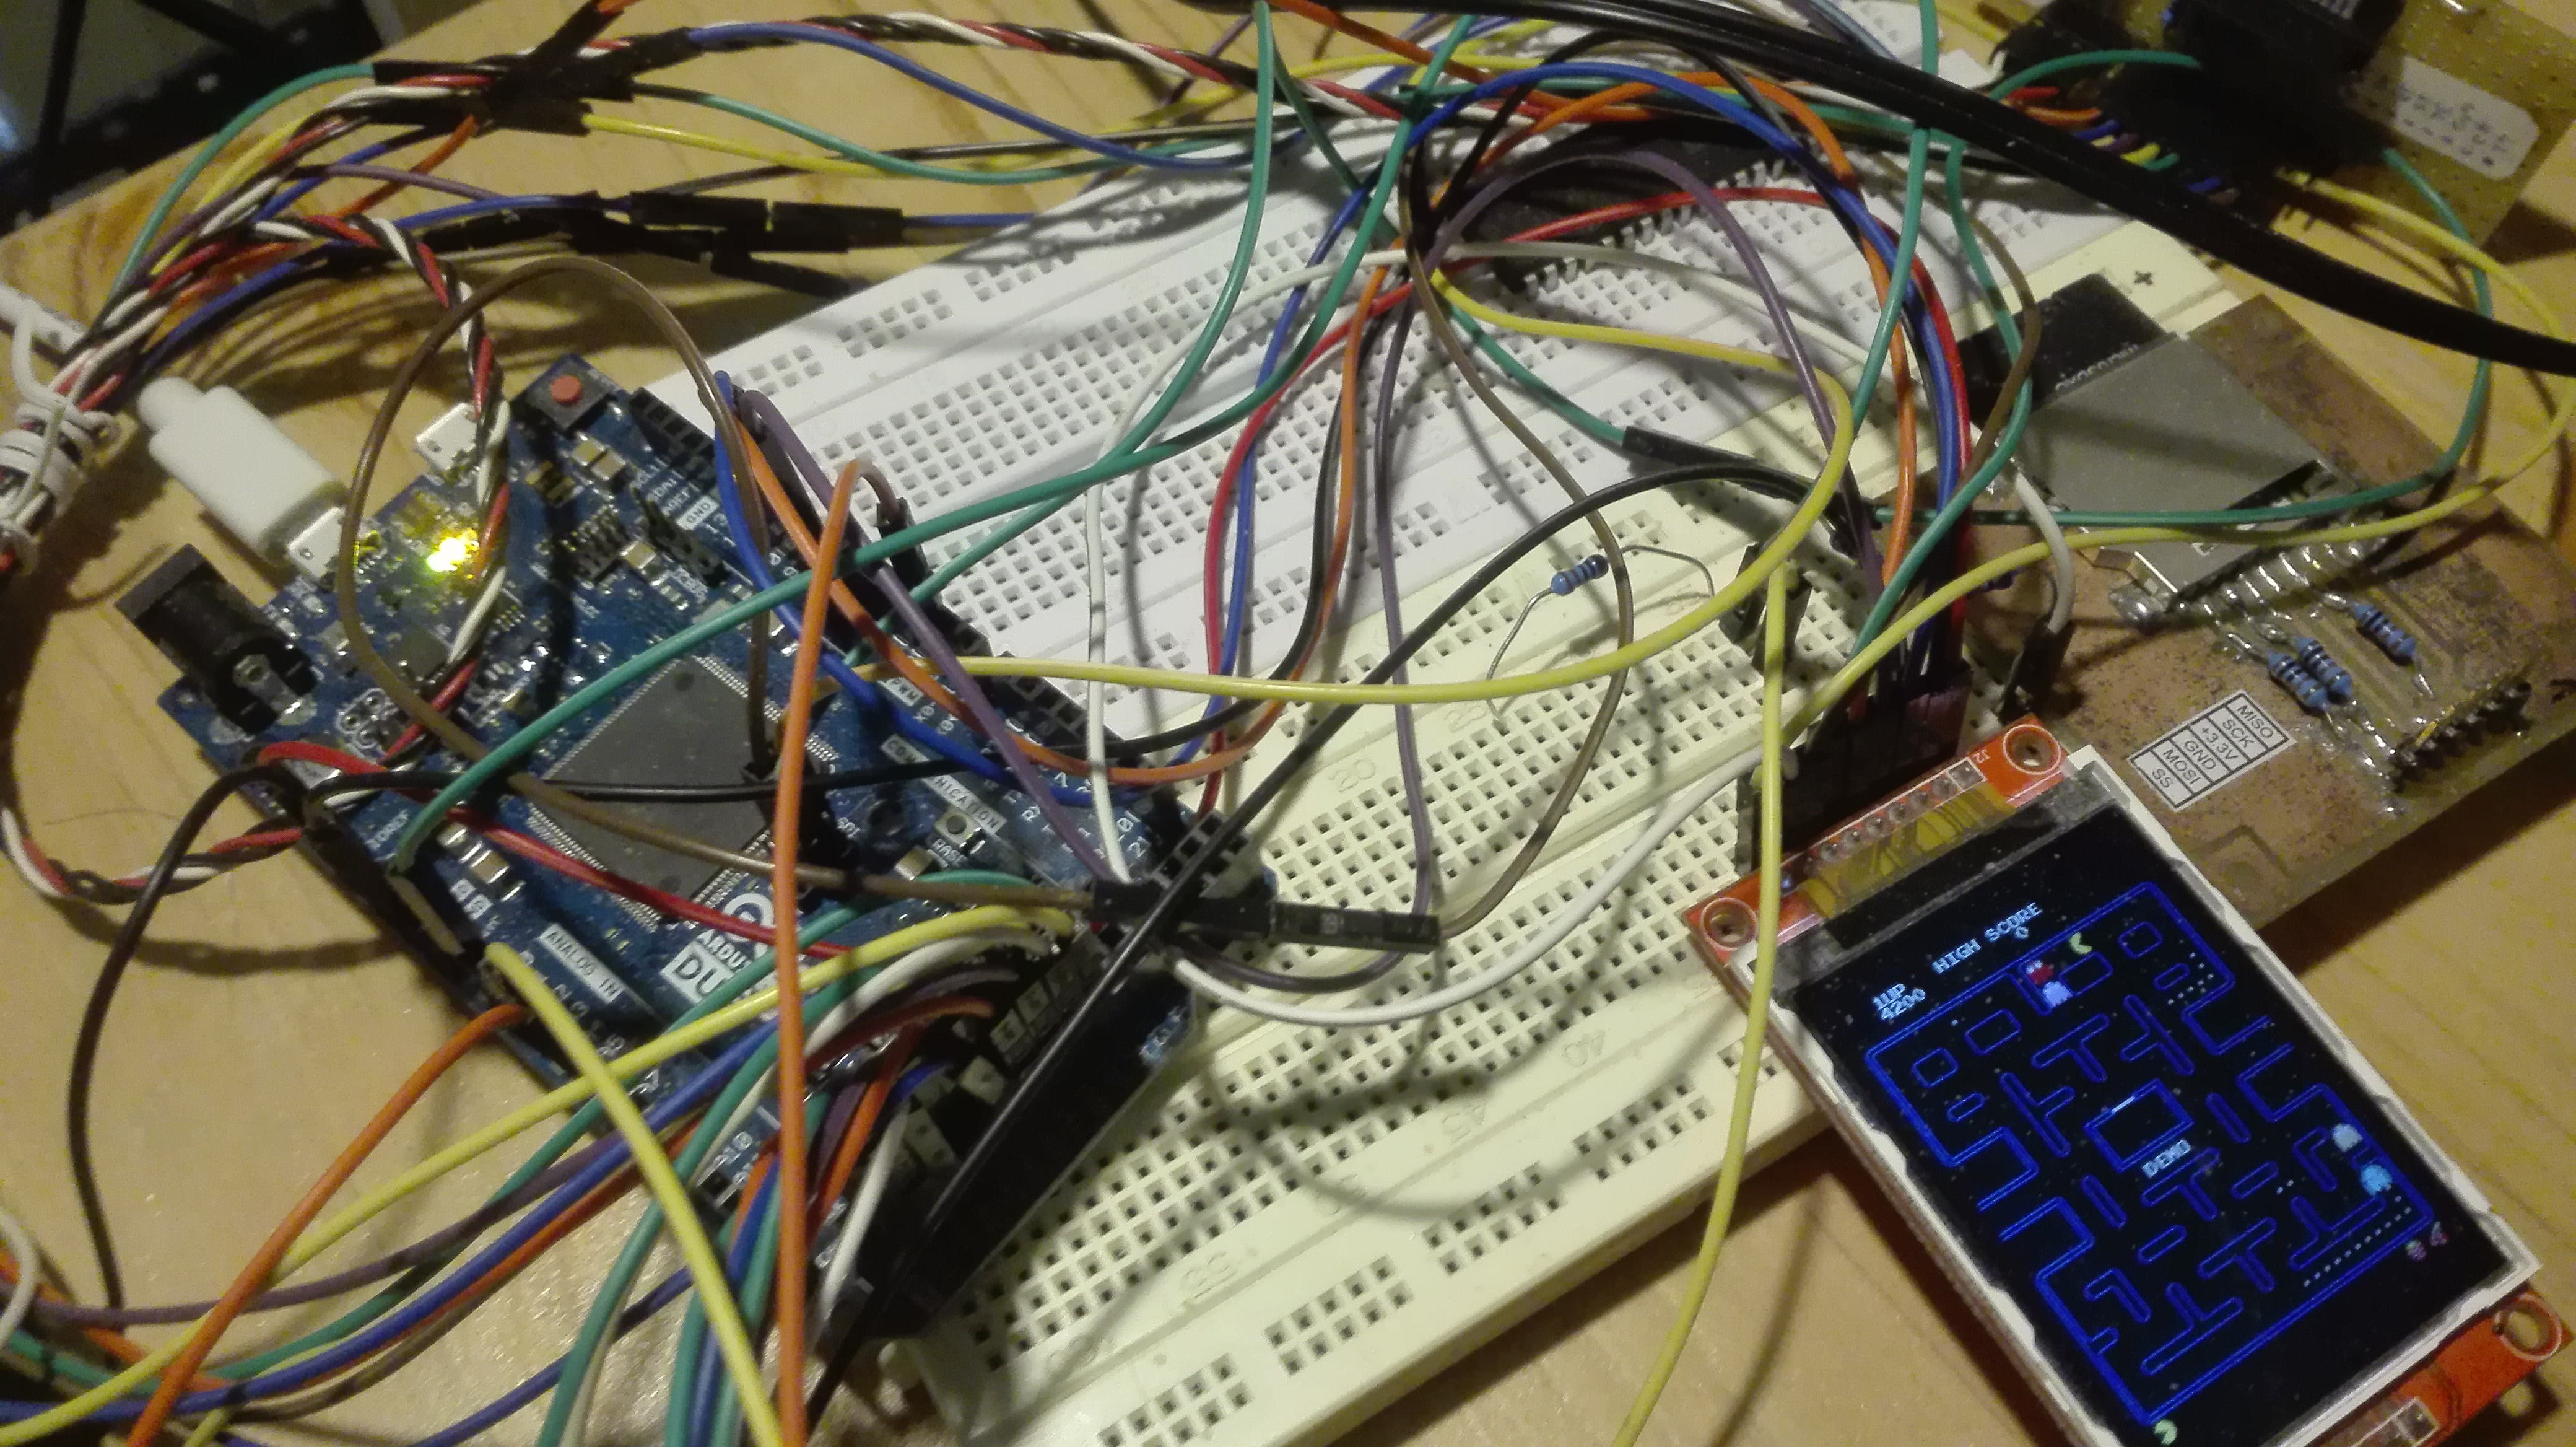 The comparison between the Uno and Due isn’t quite fair. The Due runs on an 84 MHz, 32 bit ARM Cortex-M3 processor. It’s in a different league from the Uno. Still, we view this as an example of the extended possibilities from stepping up into a significantly faster micro. For instance, the video is output to both an ILI9341 TFT screen and external 8-bit VGA at once.