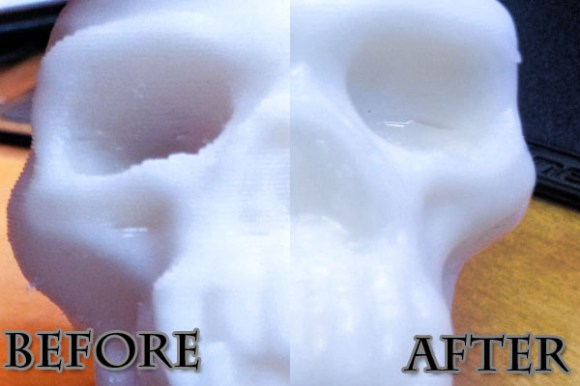
If you’ve ever seen 3D printed parts form an extrusion type printer, one of the first things you’ll notice is the texture. It’s caused by the printer laying down its plastic layer after layer. This surface texture isn’t always desirable, so people have found a few ways to smooth the 3D printed part out. For example if you are using ABS, you can rinse or “paint” the part with acetone. Another method of smoothing is heat up some acetone in a container, and let the acetone vapors do work to smooth the finished part.
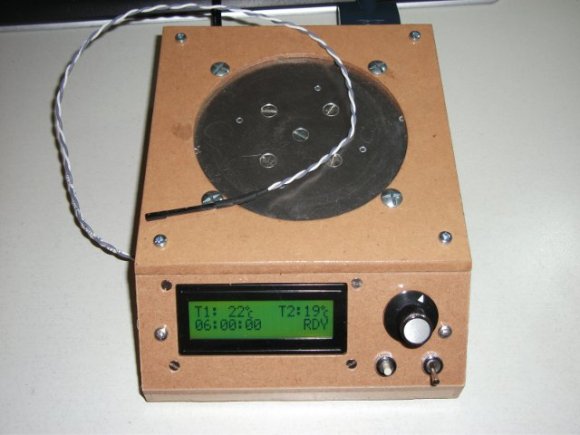
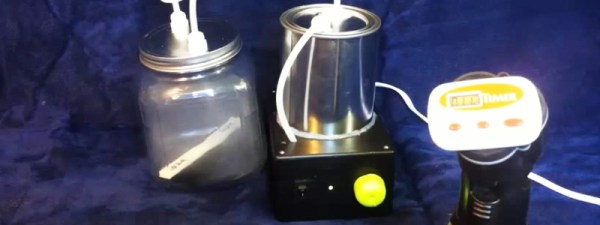
[Mike] from engineerdog.com thinks he may have found a more elegant solution using an inexpensive ultrasonic humidifier you can buy online for about $40 USD. This room humidifier uses a piezoelectric transducer that can vibrate liquids at a high frequency to produce a mist. [Mike] removed the transducer and electronics from the humidifier and mounted it into a paint can. This is where the acetone is stored, and turned into a vapor by the transducer. An aquarium pump is used to transfer the highly concentrated vapors into the polishing chamber (an extra large pickle jar.) He added a spring loaded, electrical timer (the kind you might find in the bathroom at an office building) to make his vapor polisher as easy to use as a microwave oven.
[Mike] concludes his post with some strength testing of parts before and after acetone treatment, and was surprised to find that the parts were weaker after the treatment. You can read more about that on his blog and see a video of the vapor polisher after the break.
Continue reading “Ultrasonic Misting Vapor Polisher For 3D Printed Parts”
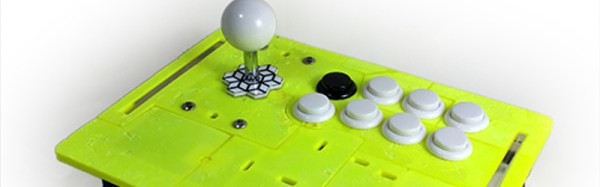
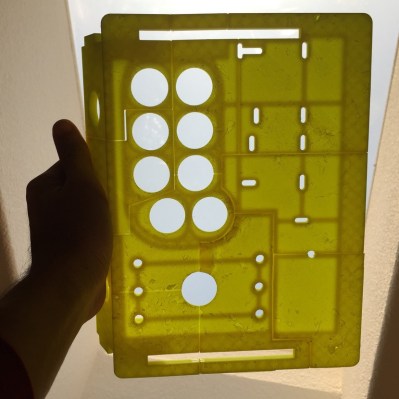 [Florian] already had experience building these using laser cut acrylic and MDF. This is his first foray into a 3D printing build method for the controller body. The top is too large to easily produce as a single piece on inexpensive printers. He broke it up into sections; eleven in total. When the printing is complete he chemically welds them together using a slurry of acetone and leftover ABS.