If you’re in the habit of using isopropyl alcohol to clean your PCBs after soldering, you probably have a nice big jug of the stuff stashed away. If you don’t, you’re probably out of luck, since the COVID-19 pandemic has pretty much cleared IPA out of the retail market. But don’t fret: depending on where you live, alternative PCB cleaning solutions may be as close as your nearest auto parts store.
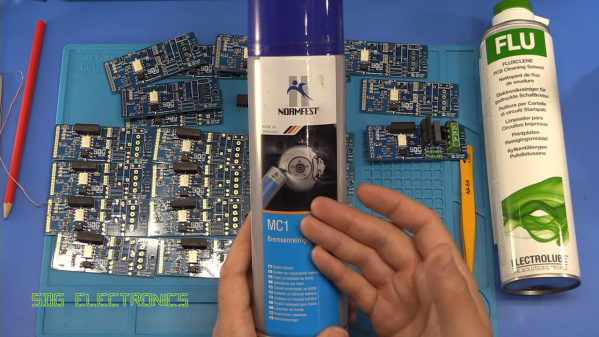
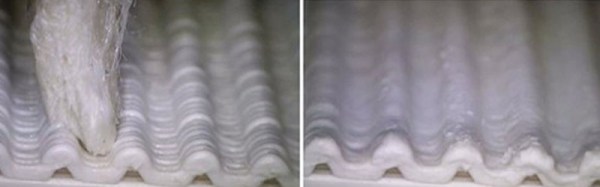
[Steven]’s search for a cheaper and perhaps more readily available substitute for his usual dedicated flux cleaner lead him to try automotive brake cleaner on a few test boards. He suspected that they might contain acetone, which is prone to yield unfortunate results with solder resist and silkscreen on PCBs, so some tests were in order. The brand he tried was Normfest Bremsenreiniger MC-1, a German brand that according to its Safety Data Sheet contains only hydrocarbons like alkanes, butane, and propane. It did a fine job cleaning all but the crustiest rosin flux without collateral damage.
In the video below, [Steven] goes through a few more brands with similar results, and we were encouraged enough by his results to check brake cleaners made for the US market. Alas, almost all of the cheap and readily available aerosols have acetone as the principle ingredient, mixed in with methanol, ethanol, and assorted ingredients that together will probably make for a bad day. About the only US-sold brand without acetone that we could find was Keller-Heartt, which lists only naptha and ethanol on its SDS. There may be others, but make sure you test whatever you find.
Aerosol solvents aren’t the only way to clean a PCB, of course. Ultrasonic cleaners do a great job, and as [Steven] discovered, they’re generally safe for most components.
Continue reading “Cheap Alternative Solvents For PCB Cleaning”

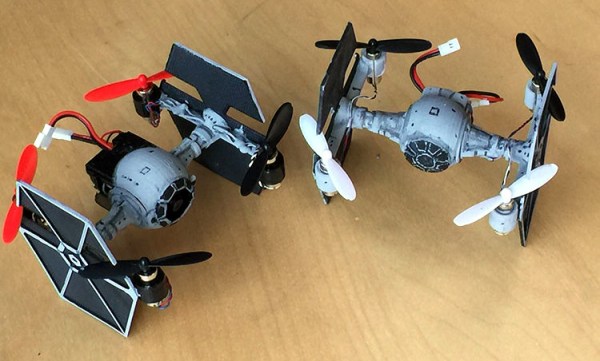
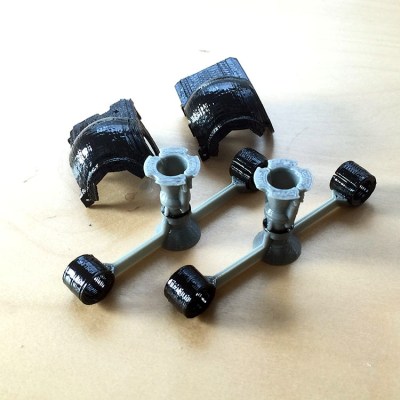 First off, he’s starting with very small commodity quadcopters that are cheap (and legal) for anyone to own and fly. Both are variations of the Hubsan X4; the H107C and the H107L. The stock arms of these quadcopters extend from the center of the chassis, but that needs to change for TFFF (Tie Fighter Form Factor). The solution is of course 3D Printing. The designs


