Fan of shooting things? Jealous of proper shooting ranges? Why not build your own automated target practice rig (link dead, try the Internet Archive) with a few servos and an ATMega168?
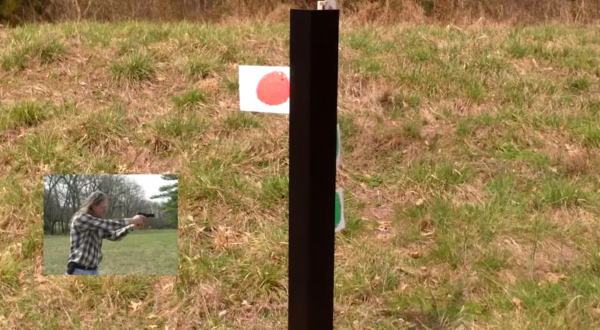
[Cowboy Bob] of Making Stuff decided he needed a practice target, and wanted to make it a bit more interesting than throwing up some beer cans on a fence. He’s created a highly durable 10-target “Robo-Target” which can be remote controlled or automated. A thick piece of 1/4″ angle steel makes up the main frame of it, so if you’re practicing with hand guns it’ll take the abuse. If you’re just using an air soft or paintball gun you probably don’t need to make it this beefy.
Five servo motors swing paper five targets back and forth on 3D printed swing arms — and since each target has a front and a back side, it gives you 10 different things to shoot at. In challenge mode it’ll even show you two targets at a time which will require you to quickfire in order to get both!