Here’s an interesting implementation of a classic: the 555 timer as astable multivibrator for the noble purpose of making weird music. [pratchel] calls this a Morgenflöte or morning flute, indicating that it is best played in the morning. It would certainly wake up everyone in the house.
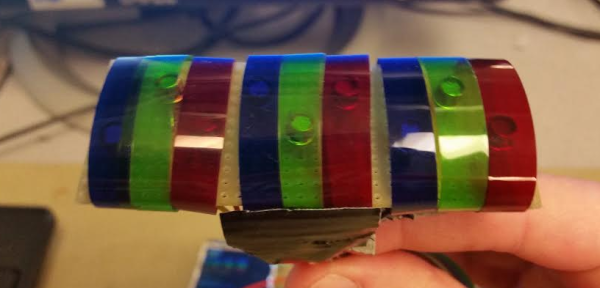
Instead of using LDRs in straight-up Theremin mode and waving his hands about, [pratchel] mounted one in each of several cardboard tubes. One tube is small and has just a few holes; this is intended to be used as a flute. [pratchel] cautions against locating holes too close to the LDR, because it will overpower the others when left uncovered. A larger tube with more holes can be used as a kind of light-dependent slide whistle with another holey tube that fits inside. We were disappointed to find that the giant tube sitting by the amplifier hasn’t been made into a contrabass flute.
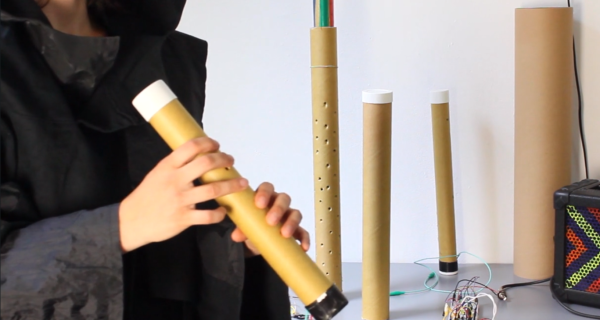
Continuing the theme of astability, [pratchel] went completely solderless and built the circuit on a breadboard. The LDR’s legs are kept separate by a piece of cardboard. This kind of project and construction is fairly kid and beginner-friendly. It would be a good one for getting your musically inclined friends and family members into electronics. Here’s a 555 player piano built by Hackaday’s own [Steven Dufresne] that might be a good second step. Check out [pratchel]’s performance after the break.