Control A TV With GLCD Commands

[youtube=http://www.youtube.com/watch?v=t3gMjuVdQnA]

This hack lets you use a TV in place of a graphic LCD screen. But we like to think of this less as a replacement for a GLCD and more of a simple way to get your information onto a television. A PIC 18F452 acts as a translator between the GLCD parallel inputs and a composite video output. There are some malformed image links on the page which we’ve fixed and linked to after to the break so that you can take a look at the schematic, component layout, and PCB artwork. The assembler code and hex file are available for download but you’ll need to register to get access to them.

Working image links:

[Thanks Flacoclau]

Stylin’ HMD

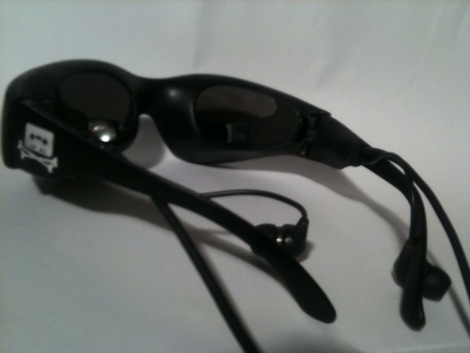
Watch out, these sunglasses are actually a head mounted display. [Staffan] says he’s wanted dataglasses since ’95, but whats currently out there makes the user look ridiculous, and we have to agree. While his forum posts are a little lacking in detail, he’s promised us more info soon. And for now lets us know at least the resolution, well sort of: Its either 480×1280 or 480x427x3, you can be the judge. Update: [Staffan] has clarified “The resolution is 480*1280 true pixels. It is accomplished by spanning the screen across two Kopin CyberDisplay VGA modules.”

Regardless, [Staffan] is looking for help perfecting the glasses, with what in particular we’re not sure, but the project looks promising and we hope he keeps up the good work.

Building An Electric Kart

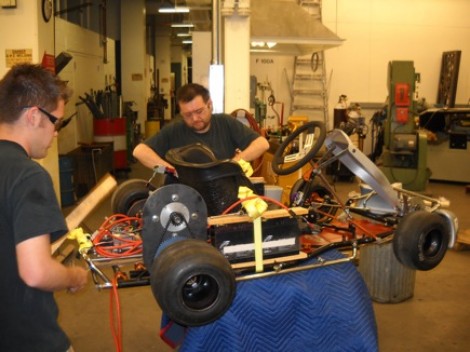
[Henry Herndon] is working on building an electric kart, mostly with surplus parts. He’s got some experience with electric vehicles but that doesn’t mean the build is going without a hitch. So far he’s come up with a way to make the peculiar motor shaft play nicely with his rig but once everything was put together he had trouble with the chain coming off of the cogs.

We know there’s a lot of links here so far but just a couple more: [Henry] took some shots of the kart chassis before adding the motor, and just for fun, take a look at his scotch tape dispenser. When you’re done clicking on those join us after the break for some test drive footage.

Continue reading “Building An Electric Kart”

Leapster Explorer Continues The Didj Tradition

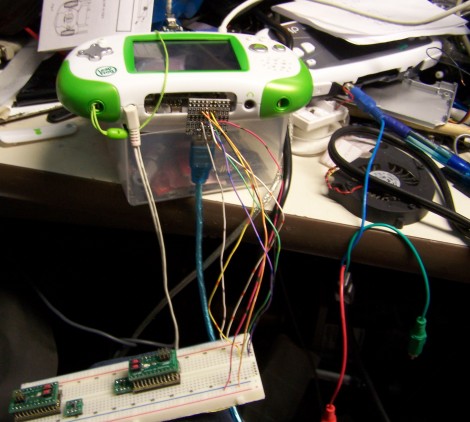
Leapfrog has a new device out called the Leapster Explorer. [The Moogle] has been poking around the insides and he patched into the serial bus to get USB host mode running. Because the same cartridge interface is used for the Didj and the Explorer, tools like the DJHI should continue to work. The $70 price tag makes this a no-brainer if you interested in doing some portable hacking. We’ve seen promising Didj hacks such as OpenGL and Video out, hopefully the new hardware will help advance the cause.

Stepping Beyond The Ethernet Shield

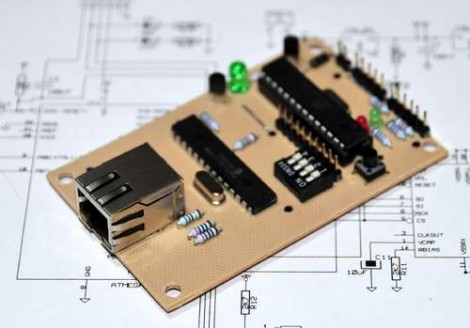
We’ve said it time and again, the Arduino is a prototyping platform. In that spirit, [Doug Jackson] shows you how to conserve the expensive Arduino board and Ethernet shield by building your own Arduino Ethernet module. You may remember the ENC28j60 as a NIC for your microcontrollers. [Doug’s] board makes use of that chip and adds an ATmega168 with a crystal, power regulator, breakout pins, and even a few DIP switches which can come in quite handy.

Introductions: 3 New Writers

We would like to introduce our new writers [Rachel Fee], [Greg Jacobs], and [Jacob Nahin]. They will be focusing on software reviews and tutorials in response to the daily requests for posts that don’t require that you be an electrical engineer to understand.

The Hack a Day community is growing very fast and we are happy to be a valued source of information to our readers.

Wear A Helmet, Rollerblades With Attitude

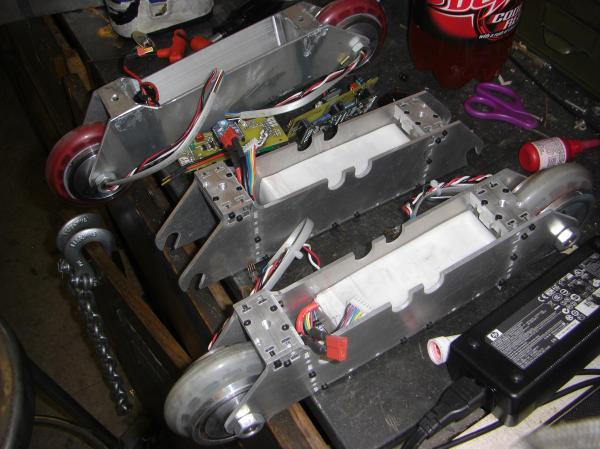
Wireless controller, more powerful custom-made motors, stronger frame, and with a name like DeathBlades, we can’t think of a single reason why you would prefer heel treads, well everyone was young at one time.

[Charleg] has been testing out a slightly new frame, despite having only half the motors necessary, and is getting great results hitting around 23Wh/mi. If you’re looking to build your own, his blog has a post for nearly every aspect of the design.

[Thanks Jerome Demers]