Personal Soundboard Recounts Years Of Clever One-liners

personal_soundboard

[Antibore’s] friend was just wrapping up his Ph.D. Degree and he wanted to build him something special to commemorate the accomplishment. After thinking about it awhile, he realized that his friend was quite gregarious and known to make off-the-wall comments at parties and such. A ton of these one-liners were documented on video over a span of 10 years, so [Antibore] got the idea to make his friend a soundboard featuring his own witticisms.

He found a breakout board capable of playing back OGG files and got to work loading it up with his friend’s random sayings. The board was connected to a small amplifier and speaker, then everything was installed into a black plastic case. Four arcade-style buttons were mounted on the front of the case, along with a picture of his friend. Up to 16 different sayings can be played, depending on which combination of buttons are being held at a particular time.

It’s sounds like a really cool project, and certainly makes for a one of a kind gift. Currently there is no video or audio of the box in action, but here’s hoping we’ll see some soon.

NBA Hangtime Pinball Display

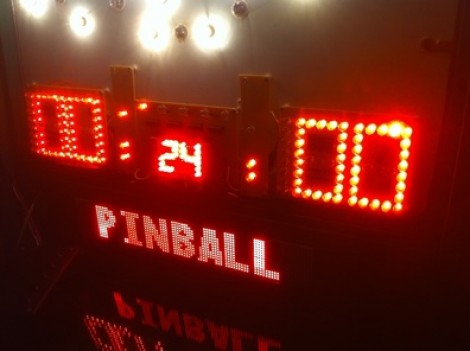
[Ed Zarick] continues work on his NBA Hangtime pinball machine with the completion of the scoreboard and backglass. You should remember this project as we already covered the layer audio he developed for the system. Now he’s proving to be a protoboard master, using point-to-point techniques to build a pair of two and a half digit LED displays for team scores, as well as a shot clock timer and other status indicators.

The lighting board that controls it all is commanded via the i2c protocol, just like the three audio modules. It uses shift registers along with MOSFETs and [Ed] has taken the time to add pin headers and sockets for board interconnects. As is true with the audio system, one Arduino Mega acts as the master on the i2c bus and you’ll notice in the video after the break that the display works in perfect harmony with the sound effects.

We can’t wait to see what he comes up with for the play field!

Continue reading “NBA Hangtime Pinball Display”

Building Your Internet Radio Empire

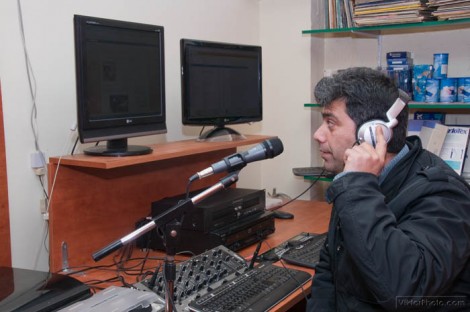
It all starts with one station in your home office but who knows where it can go from there? If you’ve got dreams of being an Internet radio jockey you can get some ideas about equipment startup from this setup that [Viktor’s] built for a friend.

He started out with a plan to have a station that offers twenty-four hour streaming but also supports live broadcast. Two computers are used in the setup. The first handles automated music broadcast and live mixing. This box has two sound cards, one is used for the automated music by feeding the output into a sound mixer that is a separate piece of hardware. The output of that mixer feeds back into the second sound card on the box. This secondary card outputs the final mix to the computer speakers.

The second computer is where a lot of the live broadcast work is done. Any steaming guest (using VOIP or Skype, etc.) come in through this box as well as jingles and sound effects used during the feed. Its sound card is also connected through the external mixer and joins the final feed headed into one of the sound cards on the primary computer.

In the end the Internet connection for the system isn’t beefy enough to reliably support a streaming station. For this a dedicated streaming service is used. It receives the live feed and then uses its increase bandwidth to propagate the signal to listeners anywhere in the world.

Want to listen to this radio station? Build your own streaming radio module, or outfit classic hardware to work with your computer.

Passcode Protected Laser Tripwire Alarm System

laser_tripwire

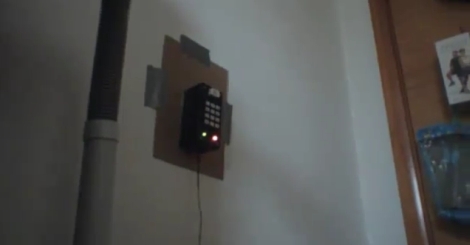
Sometimes security doesn’t need to be overly complex to be effective. Instructables user [1234itouch] recently built a simple laser tripwire alarm that can be mounted virtually anywhere, complete with a keypad for disarming the device.

He mounted a photo cell in a project box, along with an Arduino and a 12-button key pad. A laser pointer is aimed at the photo cell from across a gap, which results in a steady voltage being read by the Arduino. When the laser beam is broken, a drop in voltage is detected, and the alarm sounds until you enter the proper pre-configured passcode. Entering the passcode triggers a 15 second grace period during which the the alarm cannot be tripped again.

It might not be built with triple-thick steel doors and thermo-sensors, but it’s a simple device for simple needs. In its current form it could be pretty useful, and with a little reworking, there are a wide range of things it could be used for.

Continue reading to see a demo video of the tripwire alarm, and be sure to check out these other tripwire-based security systems.

Continue reading “Passcode Protected Laser Tripwire Alarm System”

Bench-top Laser Engraver Does Some Cutting Too

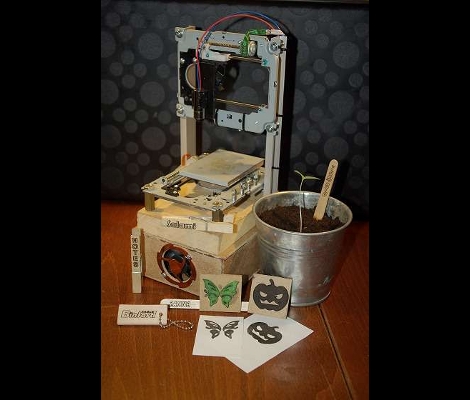
Grab that stack of old optical drives you have in the corner and get to work building this laser engraver. [Groover] is taking a no-nonsense approach to the build and we think it is just simple enough to be accessible to a very wide audience.

The physical assembly uses sleds from two optical drives. These are mounted some angle bracket. Since lasers cut at one specific focal length, there is not need for a Z axis (simplifying the build greatly). In fact, we think the hardest part of the assembly is retrieving the laser diode from a DVD-R drive and packaging it for use with this setup.

The electronics are a combination of a couple of consumer products. Two pre-fab motor drivers are used to command the stepper motors on the optical sleds. These receive their commands from an Arduino. A package called GRBL reads in G-code ([Groover] shows how to generate this from Inkscape) and in turn sends commands to the Arduino.

The results are quite remarkable. It can engrave wood with great resolution and contrast. The video after the break even shows it cutting out shapes from construction paper. Now we still want our own full-size laser cutter, but this project is much more fiscally possible for us.

Continue reading “Bench-top Laser Engraver Does Some Cutting Too”

ASync-Firefly

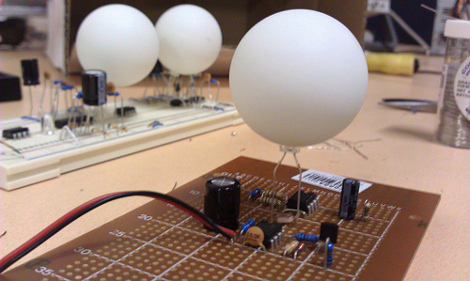
[dev_dsp] wanted to try his hand at creating a purely analog implementation of multiple synchronizing fireflies powered by a single battery and built from off-the shelf, through-hole components on inexpensive protoboard. In theory, even your local Radio Shack should still carry all of this stuff. He was obviously inspired by [alex]’s fireflies that we’ve covered in the past, but he wanted to see how far it could be taken without the use of a microprocessor.

In the end, [dev_dsp] relied on one crucial piece of digital ware, the ever-popular 555 timer IC, but he’s using analog discrete components to do the grunt work of adjusting the phase of each firefly by feeding a little extra current to the trigger capacitor whenever the flash of a nearby firefly is detected. After the jump, you’ll find schematics and a video demo of three ASync-Firefly modules in various stages of assembly playing with one another while [dev_dsp] discusses their operation.

Bounce Flash In Multiple Mediums

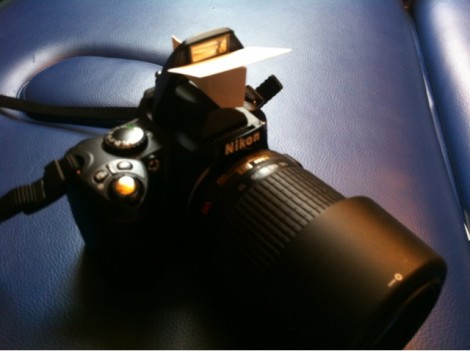
[Nigel’s] been trying out a series of designs and materials to make his own bounce flash. He set out on this mission because most of the images he used flash on ended up washed out with dark shadows. The flash add-on seen above seeks to curb the harshness of the direct light but shielding the subject.

What you see above is just a couple of pieces of paper. [Nigel] put together a template so that you can cut your own. Although the design is his favorite, he also put together a second generation that is built from hobby plastic with a piece of aluminum tape as the reflecting surface. The main link at the beginning of this feature leads to that version, but after the break we’ve included direct links to each article he published during his experimentation.

Continue reading “Bounce Flash In Multiple Mediums”