Throughout human history, mankind has worked to enable those with disabilities. This applies especially to those who have missing limbs, either from injury or since birth. Every time technology improves, prosthetics improve along with the way. Unfortunately this now means prosthetics have become expensive systems. Hackers, makers, and engineers are working to make prosthetics more affordable, and more available to everyone. This week’s Hacklet focuses on some of the best prosthetics projects on Hackaday.io!
 We start with [Open Bionics] and Affordable Bionic Hands For Amputees. The [Open Bionics] team are using 3D printers to bring the cost of a prosthetic arm and hand down from up to $100,000 USD to just $1000 USD. They’ve also reduced the time to create a custom device from weeks to just 5 days. The team’s current hand has five degrees of freedom, uses electromyography (EMG) for control, and weighs just 268 grams. [Open Bionics] discovered that many amputees are willing to trade off functions for a lighter weight device. Having a sensor and motor studded hand won’t help much if the wearer is worn out after just a couple of hours!
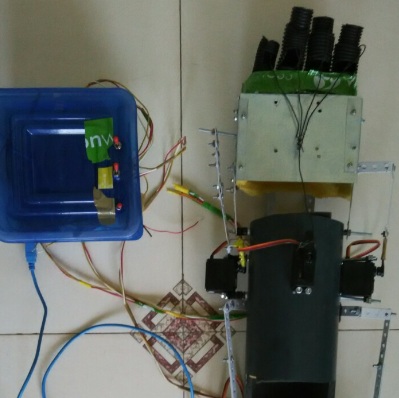 Next up is [yash.gajra56] and RE-ARM. RE-ARM is a prosthetic arm project which aims to help both those who have lost limbs, and those with full or partial paralysis of a limb. Movement is provided by radio control style servos. Control is via voice commands and Bluetooth from a cell phone. [Yash] has incorporated feedback into RE-ARM by using flex sensors. Processing is handled by an Arduino. We like the low-cost, low tech approach RE-ARM uses. We’d love to see everyone have access to a 3D printer, but unfortunately the world isn’t there quite yet. RE-ARM uses readily available components to build a functional prosthetic. Nice work [yash]!
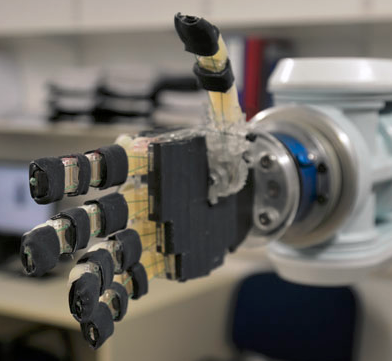 [OpenBionics] brings us Affordable Prosthetic Hands. No, you didn’t read that name wrong. There are two “Open Bionics” on Hackaday.io! This [OpenBionics] team has no space, and is based in Athens, Greece. The other [Open Bionics] team does have a space between the words, and is based in Bristol in the United Kingdom. We’re hoping the two groups can come together and collaborate now that they’re both using Hackaday.io. This [OpenBionics] team is working on prosthetic hands, in the sub $200 USD price range. The team has come up with a novel thumb design which provides nearly full functionality with only one rotating joint. [OpenBionics] also allows their users to selectively lock digits, which allows for up to 144 different grasping postures.
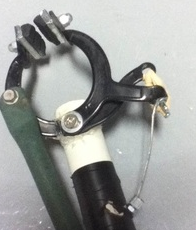
Finally we have [Daniel Mead] with Third World Medical Equipment (Arm). [Daniel] created this project as an independent study back in high school. The idea is create a simple arm with a gripper out of cheap or freely available items. The gripper is fashioned from a bicycle brake. The fitting system is especially novel. [Daniel] used an old soda bottle to create a custom mold for the amputee’s residual limb. Plastic bottles are generally made of polyethylene terephthalate, or PET, a thermoplastic. [Daniel] placed a wet sock over his arm, and a plastic bottle over the sock. Holding the plastic bottle above a fire created enough heat to shrink the bottle to his arm. the sock provided room for padding, and insulated him from getting burned during the molding process.
Not satisfied? Want more prosthetics? Check out the Prosthetics list over on Hackaday.io! If any of these projects inspire you, don’t forget that prosthetics are a great starting point for an entry in The Hackaday Prize!
That’s about all the time we have for this week’s Hacklet. As always, see you next week. Same hack time, same hack channel, bringing you the best of Hackaday.io!

