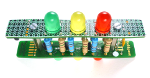
When an air quality display project needed a display, [Inderpreet] looked into small character-based LCDs. [Inderpreet’s] chosen LCD used an I2C interface, which was new to him. Rather than shy away, [Inderpreet] grabbed his Bus Pirate and dove in!
I2C or Inter-Integrated Circuit serial interfaces are often mentioned here on Hackaday. They generally are easy to use, but as with all things, there are little gotchas which can make the road a bit more bumpy the first time you travel it. One of those things is voltage interfacing – I2C uses bidirectional open drain lines, so interfacing 3.3 V and 5V circuits requires a voltage level shifter circuit designed to handle that requirement. Thankfully in [Inderpreet’s] case, both his TI launchpad target devboard and the LCD used 3.3 volt logic levels.
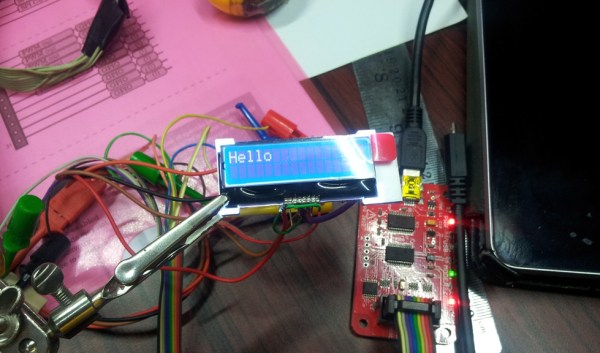
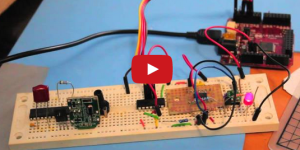
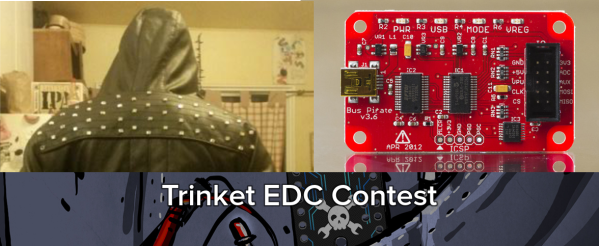
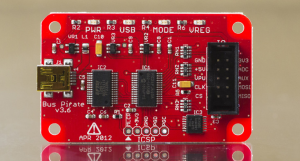 Before using the TI though, [Inderpreet] wanted to test with the Bus Pirate first. This would allow him to verify the hardware, and to make sure he was correctly using the I2C bus. The Bus Pirate can operate at 3.3V or 5V logic levels, and has on-board programming specific to the I2C bus. Controlling the Bus Pirate is as easy as hooking up a serial terminal program and plugging in a USB cable.
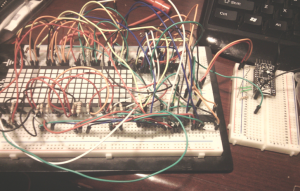
The I2C bus protocol is relatively simple, but can still be confusing to a new user. Each transaction needs an address, read/write bit, and a start command sent in the proper sequence before the data bytes can begin flowing. There are also acknowledge bits which prove that the data bytes are actually being received by the LCD. The Bus Pirate made all this easy, allowing [Inderpreet] to quickly display “Hello” on his LCD module.
The I2C bus is just the tip of the iceberg for the Bus Pirate. If you’re interested in learning more, check it out over at The Hackaday Store!
[via Dangerous Prototypes]
 We hope [davish] enjoys his new
 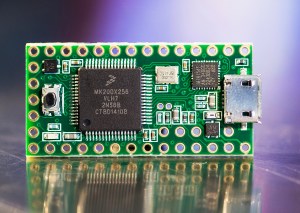 If you didn’t win this week, all is not lost, you still have one more chance to win a random drawing! Our next drawing will be on 12/30/2014 at 9pm EST. The prize will be a

 In true hack style, [Scissorfeind] went into this project with two goals: A jacket that will be visible at night, and keep him “looking f*cking sick”. The jacket itself is a faux leather affair from a thrift store. [Scissorfeind] added some studs for bling, and he’s working on adding a ton of electronics for light.
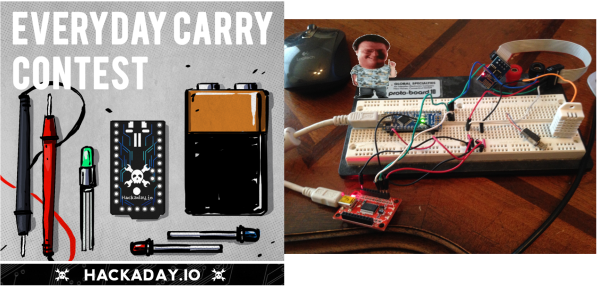
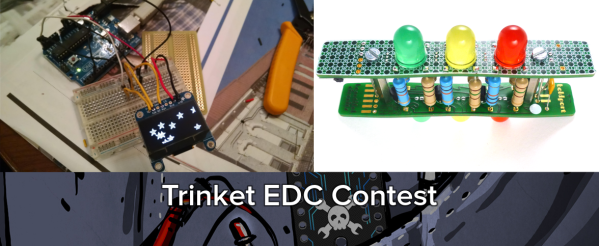
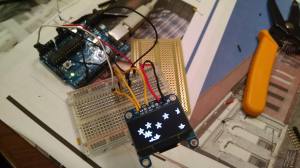
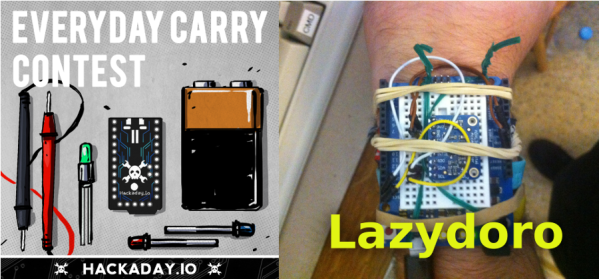
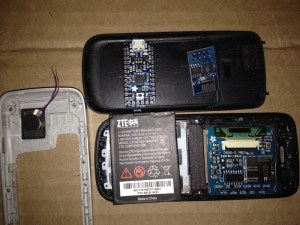 Shame On You is using a Pro Trinket running at 3.3 volts, along with an ESP8266 WiFi module. Power comes from a LiPo battery and is handled by an Adafruit LiPo backpack. Like several other EDC contest entries, Shame On You is using a cell phone shell as a case. The display is a 1.27″ color OLED with an SD card. A disc style vibrator motor will also help get the user’s attention.


