Hey, did you know that Hackaday.io is continuously being updated and improved? One of the coolest features this week is the new LaTeX based equation editor. That’s right, you can now put symbols, equations, and all sorts of other LaTeX goodies into your posts. Check out [Brian Benchoff’s] LaTeX demo project for more information.
Every holiday is a season for hacks, but Halloween has to be one of the best. From costumes to decorations, there are just tons of opportunities for great projects. We know that with an entire week left before the big day, most of you are still working on your projects. However a few early bird hackers already have Halloween themed projects up on Hackaday.io. We’re featuring them here – on the Hacklet!
 [philmajestic] is in the Halloween spirit with his AVR Halloween Pumpkin. [Phil] created a motion activated Jack-o’-lantern with an ATmega328 as its brain. The AVR monitors a PIR motion sensor. When motion is detected, it flashes Jack’s LED eyes and plays spooky sound files from a WTV-020-16sd audio player. This is a great example of how a bit of work can create something cooler and infinitely more flexible than a store-bought decoration. Nice work [Phil]!
 The littleBits crew have been working overtime on Halloween hacks this year. We definitely like their Halloween Creepy Portrait. A motion trigger, a servo, and a few glue bits are all it take to turn a regular portrait into a creepy one. When the motion detector is triggered, the servo moves a paper behind the portrait’s eyes. The replacement eyes look like some sort of demon or cat. Definitely enough to give us nightmares!
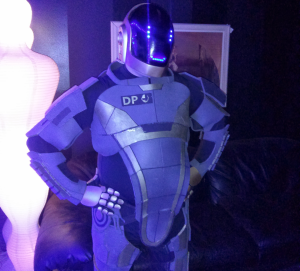
 [jeromekelty] helped his friend [Greg] build an incredible Animatronic Iron Man MKIII suit. The suit features RFID tags which trigger suit features. Since we’re talking about an Iron Man suit, “features” are things like shoulder rockets, boot thrusters, and a helmet that lifts up to reveal “Tony Stark”. No less than four Arduinos handle the various I/O’s. The suit even features an Adafruit WaveShield for authentic sounds! The electronics are just one piece of the puzzle here. [Greg] is a card-carrying member of the Replica Prop Forum. His MKIII suit is incredibly detailed. We especially like the weathering and battle damage!
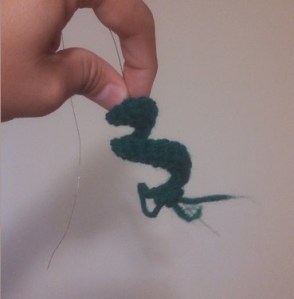 Finally, [Griff’s] son is going to be wearing a Crochet Cthulhu Mask, with Arduino controlled tentacles for Halloween this year. [Griff] is an experienced crochet hobbiest. He’s mixing his love of needlework with his love of electronics to build the animated Cthulhu mask for his 4-year-old son. The mask is based on a free crochet pattern from ravelry, though [Griff] is making quite a few changes to support his application. The mask will be smaller to fit a 4-year-old, and will contain servos to move the tentacles. We haven’t heard from [Griff] in a while, so if you see him, tell him to post an update on the mask!
If you haven’t started working on your Halloween hacks, get busy! But don’t forget to upload them to Hackaday.io! If we get enough, we’ll run a second Hacklet with even more great projects. Until then, you can check out our Halloween Projects List!
That’s about it for this frightful episode The Hacklet. As always, see you next week. Same hack time, same hack channel, bringing you the best of Hackaday.io!
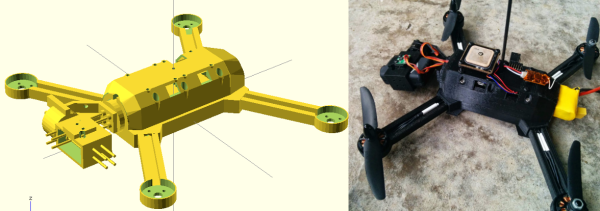
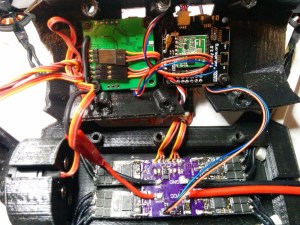 layout clean, [James] designed a power distribution board which solders right up to the ESCs. The internal layout is seriously clean, with flat panels which keep the electronics safe during crashes.