3D Printed Cookies, Sort Of

Are there any cookies that taste better than the ones you make yourself? Well, maybe, but there’s a certain exquisite flavoring to effort. Just ask [jformulate], who created these custom chocolate-topped butter cookies using a mixture of 3D printing, silicone, and of course, baking and tempering.

[jformulate] did this project along with a makerspace group, and the first thing they did was decide on some images for the cookies. Once a hexagon-shaped mold was created in Fusion360, the images were added in. Some had to be height-adjusted in order for the detail to come out.

Once these positives were printed, it was time to make the food-safe silicone molds that would form the custom chocolate toppers. If you don’t have a vacuum de-gasser, [jformulate] recommends pouring a thin stream from a high place to avoid air bubbles. You can always tap the mold several times on a flat surface as well to bring trapped air to the top.

Finally, it’s time to make cookies. [jformulate] has good instructions for tempering chocolate, as well as a recipe for the butter cookies that support the designs. As a bonus, [jformulate] shows how to make a fish-shaped hot chocolate bomb, and made Jolly Rancher (sadly not Wrencher) medallions using the silicone molds and a microwave.

For the semi-disappointed, directly 3D printing cookies is definitely a thing.

The ScottoKatana Keyboard Is Cutting-Edge

The lovely thing about a hobby like keyboard building is that the melting pot of designs manages to never turn into a nasty porridge. Rather, it remains a tasty chili that keeps getting more flavorful with time. It’s a simple recipe, really; someone becomes dissatisfied enough with their peripherals to do something about it, often trying various designs until they either settle on one, or come up with yet another awesome variant that suits their needs — and possibly someone else’s down the line.

The inimitable [Joe Scotto] has happened upon the katana layout, which has an inverse left-hand row stagger that lends symmetry to the design, and Scotto-ized it into a 33-key build that he says is the best-sounding one yet with lubed Gateron Milky Yellows.

The case and the keycaps are both 3D-printed, and as with all Scotto builds, it is beautifully hand-wired. This one uses an RP2040 Pro Micro, but an ATMega Pro Micro will work, too.

Everything is available on GitHub, and [Joe] promises a typing test soon, as well as a gasket version that foregoes the integrated plate.

Do you need a fast keyboard? Like, ridiculously fast? Then you should use an FPGA.

Via KBD and Make:

Flashlight Door Lock Is A Bright Idea

There are many ways to lock a door. You could use a keypad, an RFID card, a fingerprint or retina scan, Wi-Fi, Bluetooth, the list goes on. You could even use a regular old metal key. But none of these may be as secure as [mircemk]’s Arduino-based door lock that employs a smartphone’s flashlight as a pass code.

At first blush, this seems horribly insecure. Use a plain old flashlight to open a door? Come on. But the key is in the software. In fact, between the typed-in pass code and the flash of light it generates, this lock kind of has two layers of security.

Here’s what’s going on: inside the accompanying smart phone application, there’s a list of passwords. Each of these passwords corresponds to a flash of light in milliseconds. Enter the correct password to satisfy the Arduino, and the phone’s flashlight is activated for the appropriate number of milliseconds to unlock the door.

As you’ll see in the video below, simply flashing the light manually doesn’t unlock the door, and neither does entering one of the other, bogus passwords. Although it does activate the flashlight each time, they don’t have the appropriate light-time length defined.

Hardware-wise, there is an Arduino Nano Every in charge of the LDR module that reads the flashlight input and the 12 V relay that unlocks the door. Be sure to check it out it the video after the break.

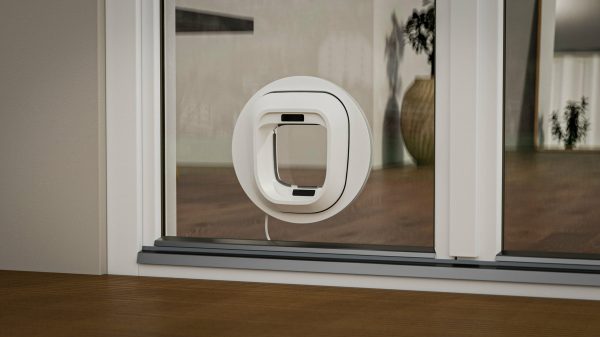
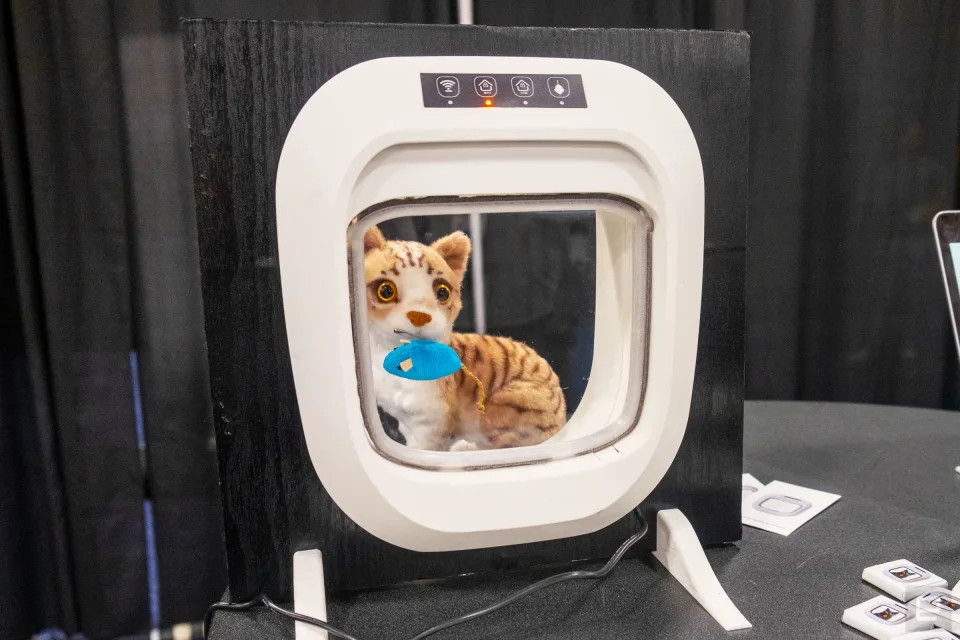
If you want to keep your critters from bringing wild critters back inside, check out this Wi-Fi cat door that lets you have a look at what might be dangling from their jaws before unlocking the door.

Continue reading “Flashlight Door Lock Is A Bright Idea”

Liftoff! The Origin Of The Countdown

What’s the most thrilling part of rocketry? Well, the liftoff, naturally. But what about the sweet anticipation in those tense moments leading up to liftoff? In other words, the countdown. Where did it come from?

Far from being simply a dramatic device, the countdown clock serves a definite purpose — it lets the technicians and the astronauts synchronize their actions during the launch sequence. But where did the countdown  — those famed ten seconds of here we go! that seem to mark the point of no return — come from? Doesn’t it all seem a little theatrical for scientists?

It may surprise you to learn that neither technicians nor astronauts conceived of the countdown. In their book, “Lunar Landings and Rocket Fever: Rediscovering Woman in the Moon”, media scholars Tom Gunning and Katharina Loew reveal that a little-known Fritz Lang movie called Woman In the Moon both “predicted the future of rocketry” and “played an effective role in its early development”.

Continue reading “Liftoff! The Origin Of The Countdown”

Saving The Planet With Carefully Cut Paper

You may not think much of origami or its cousin-with-cutouts kirigami, but the latter could (and already is) helping to save the planet. But let’s back up a bit.

Most readers will be familiar with origami, the Japanese art of folding paper. But there is also kirigami, which uses a series of cuts to produce 3D shapes from 2D stock. Turns out that if you cut paper just right, you can turn it into highly-recyclable packaging that even interlocks with itself, negating the need for folding or even tape.

The video after the break takes a look at 3M’s Scotch Cushion Lock™ protective wrap through the eyes of its inventor, Tom Corrigan. It all started when 3M wanted to create a self-assembling box from a flat piece of cardboard.

So far, that particular invention hasn’t come to fruition, but after many long nights with paper and X-Acto knives, Tom came up with a honeycomb design with strong vertical walls that absorb energy much like bubble wrap or packing peanuts. The toothiness of each honeycomb wall adds height which adds strength, and allows the packaging to interlock with itself.

Not only is this packaging easier to recycle, it takes up way less space than other packaging alternatives. Once expanded, a 1,000 square foot roll of this stuff is equal to 2,500 square feet of bubble wrap, which constitutes about a dozen rolls.

Now, what to do about all that expanded polystyrene packaging still out there? With the right tool, you can turn it into insulation.

Continue reading “Saving The Planet With Carefully Cut Paper”

Zerowriter Promises Zero Distractions While Writing

As great as full-blown desktop computers may be for web surfing, gaming, and what have you, they are theaters of distraction when it comes time to write. And while there are machines out there purpose-built for writing, the price tags run awfully high for what they are, which is essentially a microprocessor handling a keyboard and an E-ink display.

So, why not build one yourself, then? That’s the idea behind the Zerowriter, which, as you may have guessed, is based on the Raspberry Pi Zero. The Zero 2 W to be exact: [zerowriter]  says that the extra power over the original Zero is quite useful.

In addition, there’s a 4.2″ Waveshare E-ink display and the Vortex Core 40% keyboard inside the 3D-printed enclosure. The design is based on the Penkesu computer, although in the Zerowriter, the Pi sits behind the screen instead of underneath the keyboard. [zerowriter] built an application on top of the Waveshare demo program that’s easy to use and modify.

The price tag for this build comes in around $200, which is a fraction of similar commercial products. Most of the cost is in this particular keyboard, although 40%s are, broadly speaking, not cheap. We would love to see someone make a keyboard for this.

Looking to make something a bit bigger? Be sure to check out the MUSE.

Bed Sensors Do More Than You’d Think

Bed sensors do sort of sound like a gimmick — after all, who cares whether someone is occupying the bed? But if you think about it, that information is quite useful from a home automation standpoint. A person could do all sorts of things in this state, from ensuring the overhead lights in the room can’t come on, to turning off other smart devices that are likely not being used while both occupants are sleeping.

[The Home Automation Guy] presents a couple of ways of doing this, but both center around a fairly inexpensive pressure-sensing mat.

In the first method, he connects the pressure mat up to a Zigbee Aqara Leak Sensor, which conveniently has two terminals on the back to accept the wires from the pressure sensor. Then he simply connects it up to a Zigbee-compatible home assistant like the Aqara Hub.

In slightly harder mode, he forgoes the Aqara Leak Sensor and connects the pressure mat up to an ESP32 using a nifty screw terminal dev board. Then he sets up the sensor and all the desired actions in ESPHome. Of course, with an ESP32, it’s easy to add a second pressure mat for [Mrs. The Home Automation Guy]’s side of the bed.

Now, once they’ve both gone off to bed, the house goes into night mode — all the smart plugs, Sonos devices, and other things are powered down, and the alarm system is put into night mode. Be sure to check out the build video after the break.

Continue reading “Bed Sensors Do More Than You’d Think”