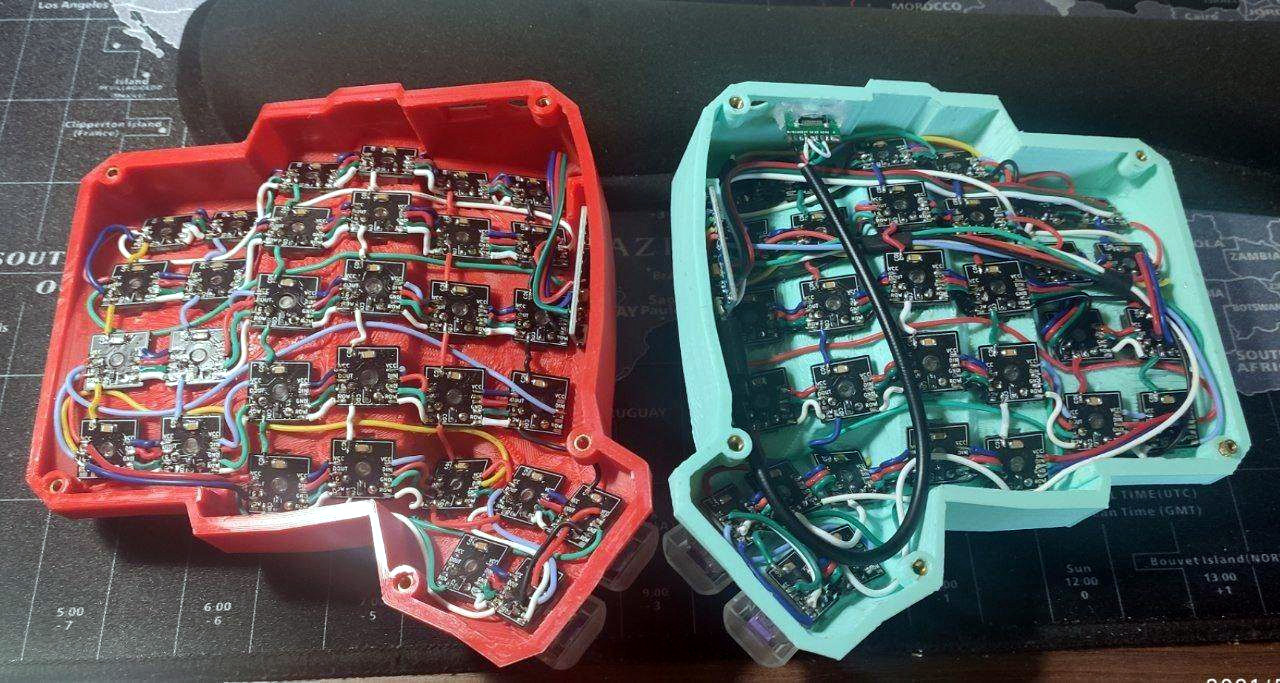
While there’s probably a Cherry MX clone born every year or so, it’s not often that such a radically different type of switch comes along. These “Void” switches are Hall-effect magnetic levitation numbers devised by keyboard connoisseur and designer [riskable]. Can you imagine how satisfying it is to clack on switches that actuate with magnets? They have adjustable tactility and travel thanks to even more tiny magnets. But you won’t be able to get these in a group buy or anything. If you want some of these babies, [riskable] says you’ll have to print and assemble ’em yourself.
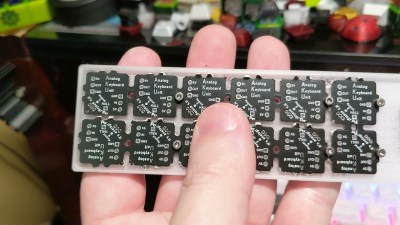 These attractive switches don’t have a Cherry MX footprint, either, so you’ll need some of [riskable]’s AKUs, or Analog Keyboard Units (YouTube) to actually use them. [riskable] predicts that unlike the switches, the AKUs will likely be available to buy at some point in the future. (Okay good, because we really would love to know what these feel like in a keyboard!)
So, how do they work? As explained in the first video embedded below, there is one magnet in the slider and another in the housing. These two are attracted to each other, so actuating the switch separates them, which is where the Hall effect comes in. A third magnet in the keycap acts as the levitator to help return the switch to open position. The tactility of these switches is determined by the thickness of the plastic between the two lovebird magnets, so you could totally dial that in to whatever you want, in addition to all the other customization that 3D printing affords.
Tour and Teardown
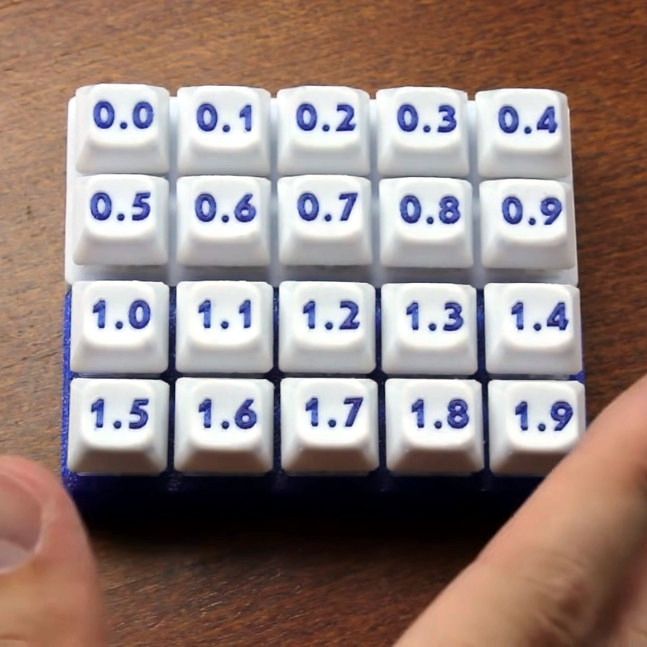
 The inimitable [Chyrosran22] featured these mag-nificent switches in one of his teardown videos, which is embedded below. One of the things [riskable] sent was a tactility sampler that ranges from an unimaginably tactile 0.0 mm of plastic in between them to not quite 2 mm.
In case you’re wondering, the video is remarkably safe-for-work, which is surprising given the content creator’s propensity for long strings of creative and hyphenated curses. We suppose [Chyrosran22] saves that stuff for the bad keyboards, then.
Stick around after the rightfully glowing review for [riskable]’s tour of a hand-wired analog macro pad using these switches. When you have a few extra minutes, check out the video build journey of these switches on [riskable]’s YouTube channel.
So, would these switches make the clickiest keyboard ever? Maybe, but consider this striking solenoid setup.
Continue reading “Mag-Lev Switches Are The Future Of Clacking” →
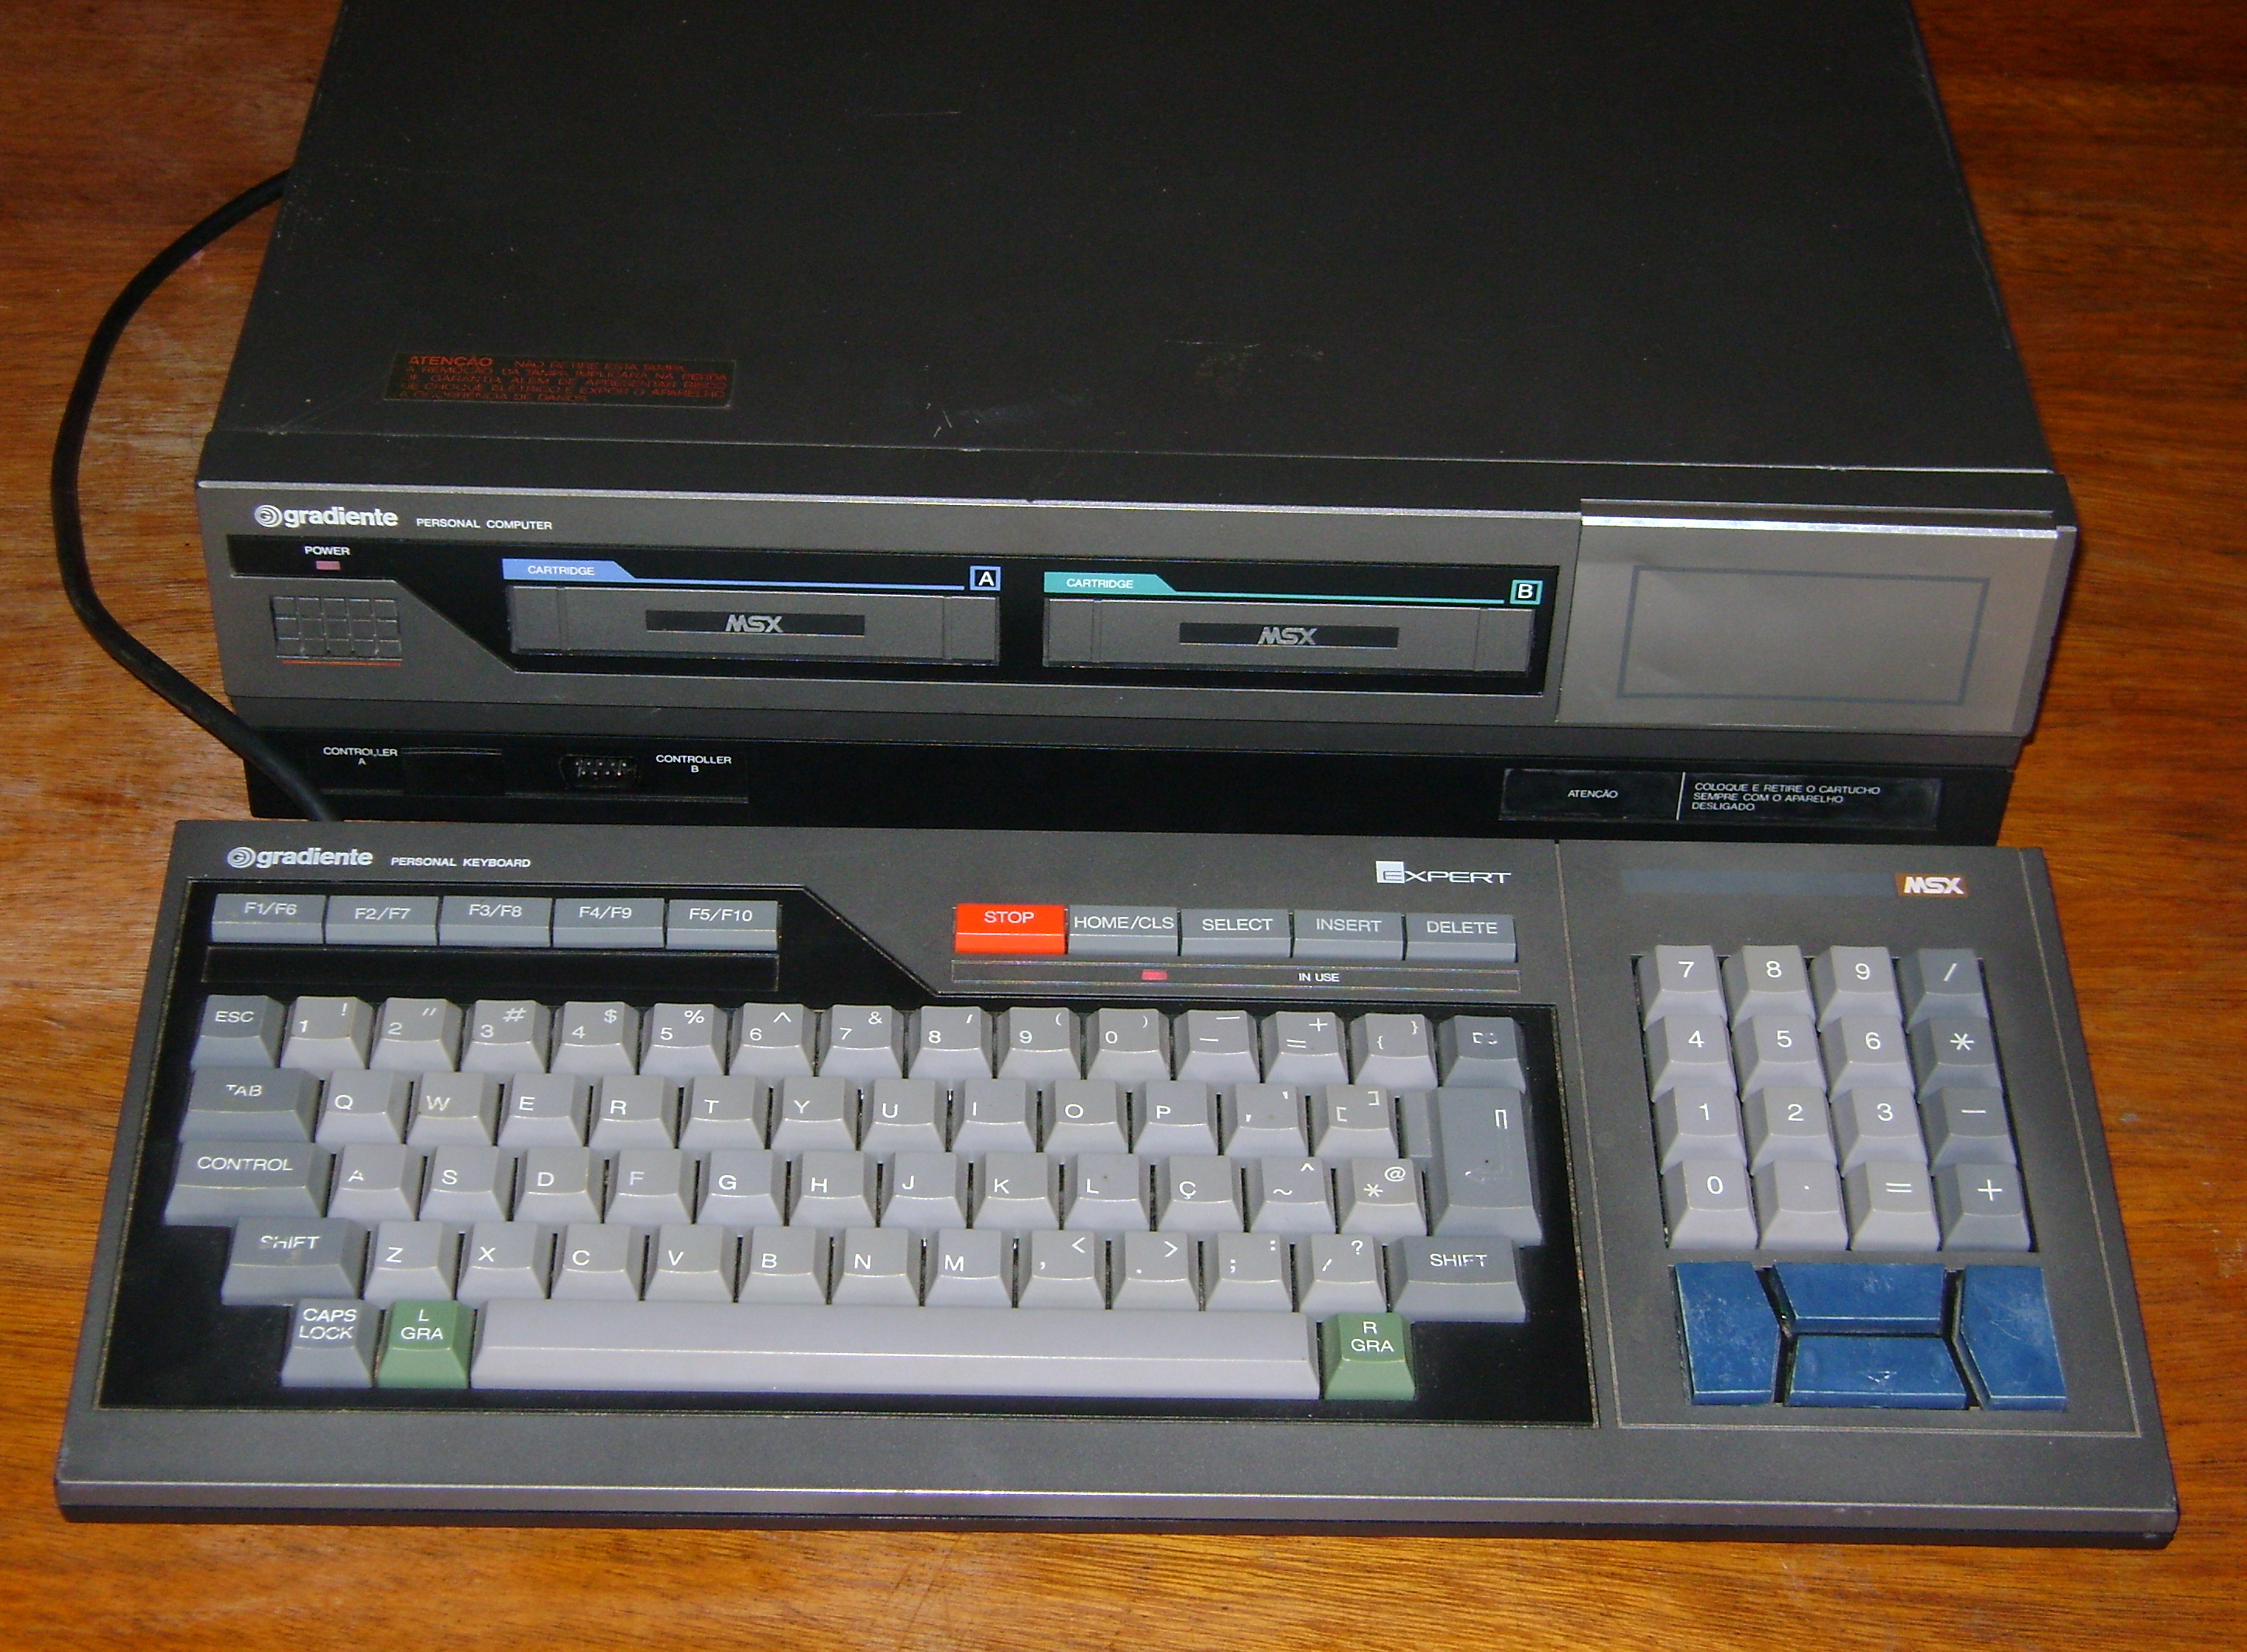 If you now want to get one of these awesome pieces of computing history and would like to be able to talk to it, [danjovic] has you covered with the open-source EXPS/2 keyboard adapter. It will allow you to connect either a PS/2 keyboard or a USB keyboard in fallback mode to the Expert using an ATMega328P and a bespoke DIN-13 to DB-13 cable. As it turns out, there’s a wealth of information on MSX keyboard matrices out there.
![[riskable]'s clacky magnetic switches](https://hackaday.com/wp-content/uploads/2021/07/mag-lev-void-keyswitches-800.jpg?w=600&h=450)