Downloadable Xbox Thumbstick Toppers Give Gamers Accessibility Options

Microsoft has a history of taking accessibility options seriously for gaming controllers, and that trend continues with downloadable thumbstick toppers for Xbox controllers. Being straight from the source, the 3D models should fit as well as can be expected with a minimum of fiddling. Just make sure you select the right controller model, because they are each subtly different.

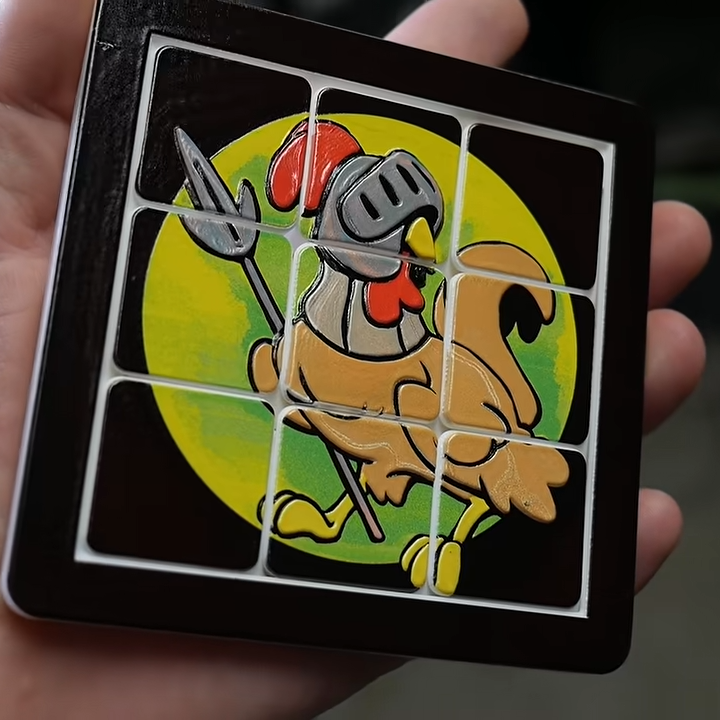
The toppers themselves come in different styles, and there’s a design to fit a variety of needs, from a thumb cradle to ones intended for more serious adaptations —  the perforated X-shaped topper, for instance, is meant to anchor a custom shape molded overtop it.

Continue reading “Downloadable Xbox Thumbstick Toppers Give Gamers Accessibility Options”

IKEA Storage Box Just Happens To Make Great Printer Cover

The Snapmaker U1 3D printer is an impressive machine for the price, but [Beaver Works] found the optional factory-offered top cover a wee bit expensive for his tastes. The solution? 3D print a fixture and use a clear 45 L Samla storage box from IKEA as an effective and affordable cover for the machine.

Why a cover?  A cover helps retain heat and block drafts, which can help improve print quality. A cover also keeps the machine’s insides dust and debris-free, not to mention serving as a decent barrier to curious fingers or paws.

This is a great use of an off-the-shelf product that performs at least as well as any bespoke solution. The nature of printer enclosures makes them trickier than one might think, with the size and weight of materials often driving costs up for something that seems relatively simple in concept. Getting one by 3D printing the fixtures and purchasing the bulky part locally and affordably is a great alternative. IKEA even sells the box’s lid separately, so one can buy just the box and isn’t stuck with an unused lid afterward.

Integrating off-the-shelf components into a design is often risky because much of it is outside the designer’s control. Availability can change, and a manufacturer might alter dimensions or design elements without any notice. But IKEA’s storage products are pretty well standardized and work really well for this purpose.

On the off chance you need a design tweak, [Beaver Works] has provided STEP files for the 3D-printed parts, something we always love to see.

Bambuddy Says Bye To Bambu Lab Cloud Services

If you have a Bambu Labs printer and aren’t keen to send your files to Bambu’s servers with each print job, then check out Bambuddy, an open-source, self-hosted, cloud-free central command that offers a local alternative for managing Bambu Labs printers. It acts as a replacement for the official cloud services, allowing you to slice, print, and monitor with full local control and zero reliance on Bambu Labs’ servers. Continue reading “Bambuddy Says Bye To Bambu Lab Cloud Services”

Behold A 60 Hz Refresh Rate E-ink Monitor

E-ink displays have a number of advantages over other display types, but their refresh rate isn’t one of them. But what exactly makes them slow? According to [Wenting Zhang], it’s not an inherent limitation of the technology. It’s mainly the controller, and this limitation can be overcome to create a high-resolution 60 Hz refresh rate E-ink display, totally suitable for use as a computer monitor.

The reason E-ink displays are so slow is simple. For a long time, they existed for only one purpose: to be screens for e-readers. They had to work on devices that were generally low power, with limited interfaces and slow processors. Accommodating these factors was the primary driver behind the high latency and slow refresh rates associated with these displays.

It was actually the limited interface options rather than the slow refresh that initially led to a custom controller, because [Wenting] wanted to use an E-ink display on a laptop build. But it quickly became apparent that a custom controller could do considerably more than E-ink was known for.

Initial tests with fast refresh rates were so positive that it led to a Hackaday Supercon 2024 talk on how to make E-ink go fast, and more recently has culminated in the Modos Flow, a fully open-source, user-repairable 13.3″ portable E-ink monitor.

The development path from proof of concept to finished product has been a long one for [Wenting]. Not only did a lot of optimization and feature work need to be crafted from scratch in order to effectively balance appearance with responsiveness in different display modes, but the usual hassles of development and bad timing were also in full force. On top of it were wasteful vendor shenanigans, as well.

Check out the story in the video, embedded just below. If you’d like to buy one, there are monochrome and color versions offered through Crowd Supply.

Continue reading “Behold A 60 Hz Refresh Rate E-ink Monitor”

Adding Weight To A 3D Print With Plaster Of Paris, Cleanly

Sometimes it’s useful to add extra mass to a 3D print, and [Joe Fedewa] shared a simple and effective technique that uses plaster of Paris. Rather than pause the print and insert hardware or weighted bits inside, he designed the base as hollow. Not in the sense of zero infill, but in the sense of modeling a cavity into the open bottom of the object.

An open cavity in the base is perfect for filling with plaster of Paris.

After the print is complete, he mixes the dry plaster with water until it creates a thick but pourable mixture. Then the object gets turned upside-down and the cavity filled. In about an hour, it will have set up enough to be handled and worked.

Plaster of Paris has a good heft to it, but more importantly it can be made perfectly presentable thanks to being very friendly to post-processing. Any rough spots can be easily sanded and the whole bottom smoothed, so one doesn’t even need to cap it off. Completely cured plaster can be sealed with a clear coat for a more durable finish, if desired.

This basic concept has been used in other ways, such as reinforcing prints with concrete to yield parts solid enough to make tools out of. But using plaster of Paris not just to add mass, but specifically to create a presentable surface that doesn’t need covering up is a neat and highly economical adaptation of the idea.

Other methods of adding mass to a 3D print include inserting metal balls or chunky nuts, bolts, or other hardware, but this method doesn’t require pausing prints to insert things. Nor does it require sealing off or capping the print, messing with goopy epoxies or resins, or spending a lot of money — making it a good one to keep in mind in case it comes in handy someday.

Glue-in Hinge Design Tries Something Different

Need a hinge in your 3D printed design and would prefer not to re-invent the wheel? You may find [Alex Krush]’s glue-in filament hinge useful.

This design (shown in this simple box as an example) makes a very close-fitting hinge point.

This design prints half the hinge as a separate piece — the u-shaped one in the picture to the side — that must be glued into the target object after printing. It’s a bit of extra work, but doing it this way has a couple advantages.

One is that printing some of the hinge elements separately means one no longer needs to choose between a print orientation that best suits the object, and a print orientation that works best for the hinge. Also, the length of 1.75 mm filament used as a hinge pin is held captive after assembly so there’s no need to glue the hinge pin itself.

[Alex] helpfully provides the parts in STEP format, which makes CAD tweaks and adjustments easy. While incorporating the design should be doable even if one is just using .stl or .3mf files because boolean subtraction and merging is all that’s needed, having the model in STEP format is so much better.

Should you need some pointers on incorporating either into FreeCAD, we have you covered.

Using A Mirror To 3D Scan Both Sides Of An Object At Once

Photogrammetry is the process of 3D scanning an object by taking a lot of photographs, then using software to turn those into a 3D model. But the process can only scan what the camera can see, and one can’t always get a good view of every part of an object. To solve this, [Thomas Megel] shared an experiment in using a mirror to capture the underside of an object simultaneously with its top. The results were encouraging!

Using a mirror as the turntable allows the camera to image the underside at the same time.

To do this he perched a small tabletop gaming mini on a mirror serving as a turntable platform in his self-designed OpenScan Mini machine, which is designed to take highly structured photos of small objects for scanning purposes. This produced a single scan with two objects, the original and its mirror image, together in one file.

Aligning separate models and combining them into one is a common way to deal with partial or incomplete scans. The idea here is to get two scans at once, instead of separately with a reposition of the object in between. Additionally, it should be possible for the software to automatically separate, align, and combine the two since it is known exactly where the mirror plane is.

As far as a proof of concept, it’s encouraging. [Thomas] is still playing with the idea and looking for suggestions, so if you have any insights be sure to share them.

3D scanning can be a very useful tool, and while photogrammetry can be done with little more than your mobile phone’s camera, in some ways the concept is over a hundred years old.