It’s not every day that there’s a new OS in the works for 386 and 486-era hardware, but [John Swiderski] let us know he working hard to bring HamsterOS to retrocomputing enthusiasts everywhere.
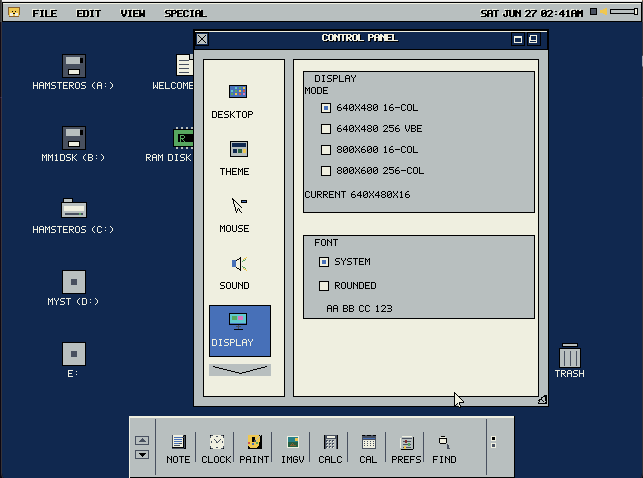
HamsterOS is a tiny but full-featured multitasking 32-bit graphical operating system that fits on a single 1.44 MB floppy disk. It’s designed as a floppy-first OS, but can easily be installed to a hard drive and includes a suite of native applications. There’s even DOS support!
The list of features is impressive, many of which are targeted at making life a little easier for those working with vintage hardware. One example we like is the CMOS crash counter, which automatically forces the system into a basic VGA safe mode after three consecutive failed boot attempts.
Speaking of making vintage computing a little easier to handle, [John] also released HamsterWeazle, a free GUI front-end for Greaseweazle, the open-source USB device that makes interfacing to old floppy drives easy. If you’re finding yourself intrigued by software like HamsterOS but wondering how you’d write to a 1.44 MB floppy without already having some old hardware up and running, Greaseweazle over USB — and HamsterWeazle to make it much more user-friendly — is one way you’d do it.
We recently featured GentleOS, a charming and streamlined graphical OS aimed at vintage hardware that makes a point of showing what’s possible when new ideas meet old hardware. If you have a retrocomputing project you want to show off, custom OS or otherwise, let us know on our tips line!