There is a significant constituency among hackers and makers for whom it is not the surroundings in which the drink is served or the character of the person serving it that is important, but the quality of its preparation. Not for them the distilled wit and wisdom of a bartender who has seen it all, instead the computer-controlled accuracy of a precisely prepared drink. They are the creators of bartending robots, and maybe some day all dank taverns will be replaced with their creations.
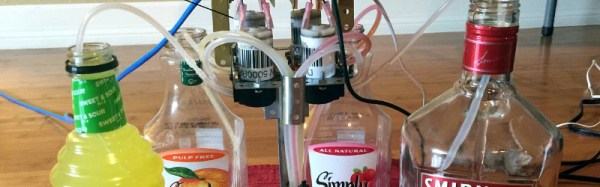
Drinkro is a bartending robot built by the team at [Synchro Labs]. It uses a Raspberry Pi 3 and a custom motor controller board driving a brace of DC peristaltic liquid pumps. that lift a variety of constituent beverages into the user’s glass. There is a multi-platform app through which multiple thirsty drinkers can place their orders, and all the source code and hardware files can be found in GitHub repositories. The robot possesses a fairly meagre repertoire of vodka and only three mixers, but perhaps it will be expanded with more motor driver and pump combinations.
There is a video of the machine in action, shown below the break. We can’t help noticing it’s not the fastest of bartenders, but maybe speed isn’t everything.