Motion Canvas Helps Get Your Point Across

Generating videos for projects can be difficult. Not only do you have to create the thing, but you film the process and cut it together in a story that a viewer can follow. Explaining complex topics to the viewer often involves a whiteboard of some sort, but as we all know, it’s not always a perfect solution. [Jacob] was working on a video game and making videos to document the progress and built a tool called Motion Canvas to help visualize topics like custom shaders. A few months ago, he decided to release it as an open source project.

Since then, it has seen quite a few forks and GitHub forks with a lively showcase on the community Discord. Looking at the docs, it is pretty easy to see why. The interface allows you to write procedural animations using the async semantics of TypeScript while still offering the GUI interface we expect from our video editors. In particular, the signal system allows dependencies to be defined between values. The system runs in Node, and the GUI runs in your browser locally while you edit the files in your terminal/notepad/IDE. CSS and Flexbox are available as the video is rendered to a web canvas and then compiled into a video via FFMPEG. The documentation is quite extensive, and it’s a great example of a tool someone built to fit a need they had going on to become something a little more fantastic.

This isn’t the first time we’ve discussed how to share your projects with the world, and we’ll freely admit we have a bit of bias toward encouraging folks to document their projects.

Continue reading “Motion Canvas Helps Get Your Point Across”

The Glitch That Brought Down Japan’s Lunar Lander

When a computer crashes, it usually doesn’t leave debris. But when a computer happens to be descending towards the lunar surface and glitches out, that’s a very different story. Turns out that’s what happened on April 26th, as the Japanese Hakuto-R Lunar lander made its mark on the Moon…by crashing into it. [Scott Manley] dove in to try and understand the software bug that caused an otherwise flawless mission to go splat.

The lander began the descent sequence as expected at 100 km above the surface. However, as it descended, the altitude sensor reported the altitude as much lower than it was. It thought it was at zero altitude once it reached about 5 km above the surface. Confused by the fact it hadn’t yet detected physical contact with the surface, the craft continued to slowly descend until it ran out of fuel and plunged to the surface.

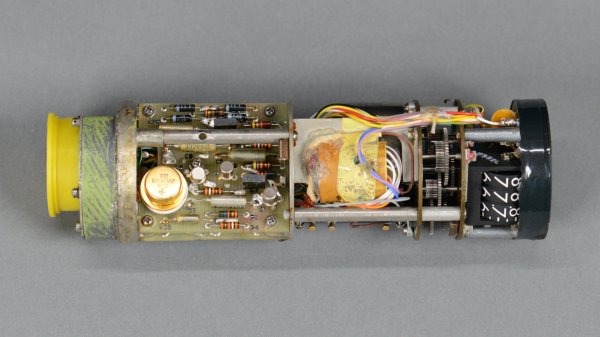
Ultimately it all came down to sensor fusion. The lander merges several noisy sensors, such as accelerometers, gyroscopes, and radar, into one cohesive source of truth. The craft passed over a particularly large cliff that caused the radar altimeter to suddenly spike up 3 km. Like good filtering software, the craft reasons that the sensor must be getting spurious data and filters it out. It was now just estimating its altitude by looking at its acceleration. As anyone who has tried to track an object through space using just gyros and accelerometers alone can attest, errors accumulate, and suddenly you’re not where you think you are.

We know what you’re thinking: surely they would have run landing simulations to catch errors like these? Ironically they did, it’s just that after the simulations were run, the landing site for Hakuto-R was changed. Unfortunately, nobody thought to re-run the simulations, and now the Moon has a new lawn ornament,

We’ve previously written about why lunar landings are so hard. While knowing what led to the crash will hopefully prevent a similar fate for future missions, the reality is that remotely landing a robot on a dusty world without the help of GPS is fiendishly difficult and likely will be for some time.

Continue reading “The Glitch That Brought Down Japan’s Lunar Lander”

Hackaday Prize 2023: LASK4 Watches Those Finger Wiggles

What do you get when you combine an ESP32-S2, a machine-learning model, some Hall effect sensors, and a grip exercise toy? [Turfptax] did just that and created LASK4. The four springs push down pistons with tiny magnets on them. Hall effect sensors determine the piston’s position, and since the springs are linear, the ESP32 can also estimate the force being applied on a given finger. This data is then streamed to a nearby computer over TCP. A small OLED screen shows the status, and a tidy 3D printed case creates a comfortable package.

So other than an excellent musical instrument, what is this good for? First, it creates well-labeled training data when combined with what is collected by the muscle sensor band we discussed previously. The muscle band measures various pressure sensors radially around the forearm. With just a few minutes of training data, the system can accurately predict finger movement using the random forest regression model.

What would you use it for? It’s considered a somatosensory device, so it can be used for physical therapy when undergoing hand rehabilitation, as it provides feedback during sessions. Or it could be used to train a controller efficiently.

It’s an exciting project on GitHub under an OpenCERN hardware license. The code is in MicroPython, and the PCB and STL files are included. We’re looking forward to seeing what else comes from the project. After the break, there’s a progress update video.

Continue reading “Hackaday Prize 2023: LASK4 Watches Those Finger Wiggles”

Hackaday Prize 2023: EyeBREAK Could Be A Breakthrough

For those with strokes or other debilitating conditions, control over one’s eyelid can be one of the last remaining motor functions. Inspired by [Jeremiah Denton] blinking in Morse code on a televised interview, [MBW] designed an ESP32-based device to decode blinks into words.

While an ESP32 offers Bluetooth for simulating a keyboard and has a relatively low power draw, getting a proper blink detection system to run at 20 frames per second in a constrained environment is challenging. Earlier attempts used facial landmarks to try and determine, based on ratios, whether an eye was open or closed. A cascade detector combined with an XGBoost classifier offered excellent performance but struggled when the eye wasn’t centered. Ultimately a 50×50, 4-layer CNN in TensorFlow Lite processes the camera frames, producing a single output, eye open or closed. For debugging purposes, it streams camera frames over Wi-Fi with annotations via OpenCV, though getting OpenCV to compile for ESP32 was also nontrivial.

[MBW] trained the model using the MRL dataset and then quantized to int8. Getting the Bluetooth and Wi-Fi stacks to run concurrently was a bit of a pain, as was managing RAM. After exhausting SRAM and IRAM, [MBW] had to move to PRAM. The entire system is built into some lightweight goggles and makes for a fairly comfortable experience.

While TensorFlow and microcontrollers might seem like a bit of an odd couple, at the end of the day, the inference engine is just doing some math on an array of inputs with some weights. We’ve even seen TensorFlow Lite on a Commodore 64. If you don’t know about [Admiral Jerimiah Denton] we can shed some light on it for you.

Continue reading “Hackaday Prize 2023: EyeBREAK Could Be A Breakthrough”

Google Nest Hub Teardown

Seeing the guts of devices is a fascination that many hackers share. [Txyz] tore down a 2nd gen Google Nest Hub for all of us to enjoy. The video after the break is well produced and relaxing to watch as various heat shields are removed and debug cables are soldered on.

The main SOC is an Amlogic S905D3G, a 4-core A55-based SoC. The important chips are meticulously documented, and it’s a fascinating look inside a device common in many people’s homes. One chip that’s of note is the BGT60TR13C, otherwise known as Project Soli. It is an 8x10mm chip that uses radar to detect movement with sub-millimeter accuracy. This allows the device to measure your sleep quality or recognize gestures. Luckily for us, [Txyz] has included a datasheet and a block diagram. First, the chip fills a FIFO with data samples. Once full, it will issue an interrupt to the main SoC, which empties the buffer via SPI.

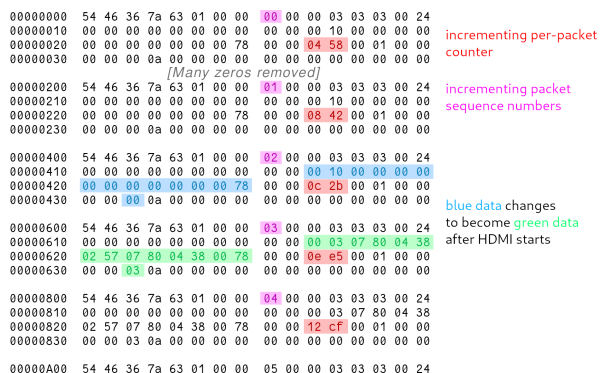
The debug cables allowed him to capture traces of the SPI commands to the BGT60TR13C. [Txyz] focused on decoding the various data blocks and the configuration registers. Unfortunately, only a few registers are documented in the datasheet, and it isn’t apparent what they do.

If a hardware teardown isn’t enough for you, perhaps a software teardown to bypass Secure Boot might sate your interest.

Continue reading “Google Nest Hub Teardown”

Macro Pad Cheap Enough To Give Away

Supercon 2022 showed that hackers are starting to come together again in Maker Faires, conventions, and festivals. [Toby Chui] plans to be one of those hackers and wants something to give to fellow attendees. Thus, the $3 Macro Pad was born.

We’ve seen our fair share of macro pads, so a simple four-key pad isn’t exactly novel. However, the focus on size and cost makes it stand out. The pad is the size of a business card, making it easy to give away. For a microcontroller, [Toby] used a CH552G, which is cheap and compatible with the Arduino IDE. Although, with 10 GPIO, a matrix layout could have supported a full-sized number pad, the diodes required would have added to the cost significantly. A cheap PCB and 3d-printed base make up the device’s bulk.

[Toby] provides a handy tool for assigning keys from your browser without coding. However, the source code is on GitHub if you want to develop a more complicated scheme. This isn’t the first time we’ve featured the CH552 chip, and it likely won’t be the last.

Continue reading “Macro Pad Cheap Enough To Give Away”

Bringing The PIO To The FPGA

We’ve seen some pretty incredible hacks using the Raspberry Pi 2040. However, one of the most exciting bits of hardware onboard is the Programmable I/O (PIO). Not content with it just being a part of RP2040-based projects, [Lawrie Griffiths] has been porting the PIO to Verilog so anyone can enjoy it.

This particular implementation is based only on the spec that Raspberry Pi provides. For assembling PIO code, [Lawrie] uses Adafruit’s pioasm assembler they use for their MicroPython framework. There’s a simulator to test different programs, and the project targets the Blackice MX and the Ulx3s. A few example programs are included in the repo, such as outputting a pleasant guitar note over I2S and driving a chain of WS2812s.

The project is still incomplete but slowly making progress. It’s an incredible feat of reverse engineering. While the simulator can be used to debug programs, step through instructions, and inspect waveforms, the ultimate value of bringing the PIO to other systems is that now we can re-use the code. Things like the can2040, an implementation of the CAN bus protocol using the PIO. Or even a PIO-based USB host.