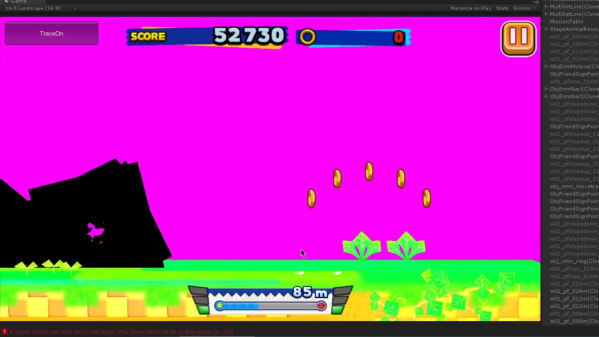
Usually, when you hear about games being decompiled and rebuilt, the games are often decades-old relics, loving and saved from the ravages of time. [MattKC] recently set out to decompile the 2015 game Sonic Runners.
The game was a 2D endless runner released on mobile platforms. Despite getting praise for the gameplay, it received mixed reviews for the pop-up ads and pay-to-play elements. A little over a year later, the game was discontinued. However, the game required a constant online connection, so once the servers were offline, it rendered the over five million downloads unplayable.
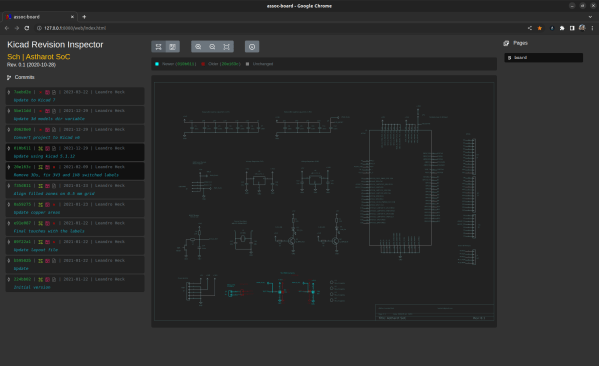
A team of developers worked to reverse engineer the server, and with a little bit of binary hacking, the client could be patched to connect to a community-hosted server instead. However, as phones with notched displays came out and suggestions for improvements stacked up, the community realized a new client would bring immense benefits. Compared to many decompilation projects, Sonic Runners was pretty easy as it uses Unity, which means most of the code is in C#. Unfortunately, the build of Unity used by the game is from 2012, meaning many of the tools designed for much later versions of Unity were inoperable.
However, one native code library called UnmanagedProcess was designed to confuse reverse engineering efforts. The library handled AES encryption and communication with the server. Luckily, the library was a later addition, and earlier versions of its functions still lingered in the C# code. Since an open source server already existed, it was trivial to validate the changes. Additionally, all the shaders were in OpenGL Shading Language (GLSL), which meant rewriting them in High-Level Shading Language (HLSL) and checking that they matched the original GLSL when building for Android.
Now the client has new game modes, no ads, and a proper offline mode. The community continues adding new features and refining the game, which is very satisfying. If you’re curious about reverse engineering, [Matthew Alt] can help you get started.