While it doesn’t have the recognition of DEF CON or even HOPE, the Trenton Computer Festival (TCF) holds the record for the longest continually running computer convention, dating all the way back to 1976. TCF has offered vendor spaces, a swap meet, workshops, and keynote talks for almost as long as the personal computer has existed. But until now, all that knowledge was only available to those in the Northeast US that were willing to follow the itinerant event as its bounced between venues over the decades.
Or at least, that used to be the case. Like many events, TCF was forced to go virtual during the COVID-19 pandemic, which meant for the first time all the talks were actually recorded. Over the weekend, the organizers announced that all of the talks and demonstrations from 2020 and 2021 had been uploaded to a new YouTube channel, opening them up to a global audience.
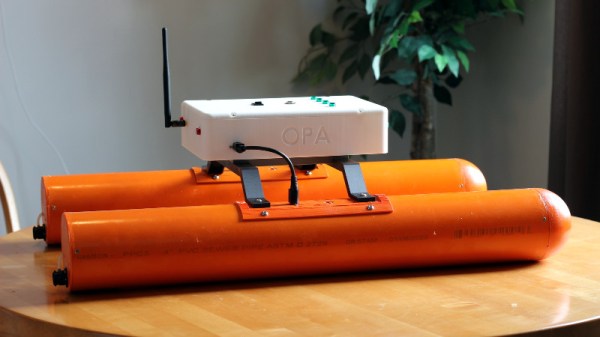
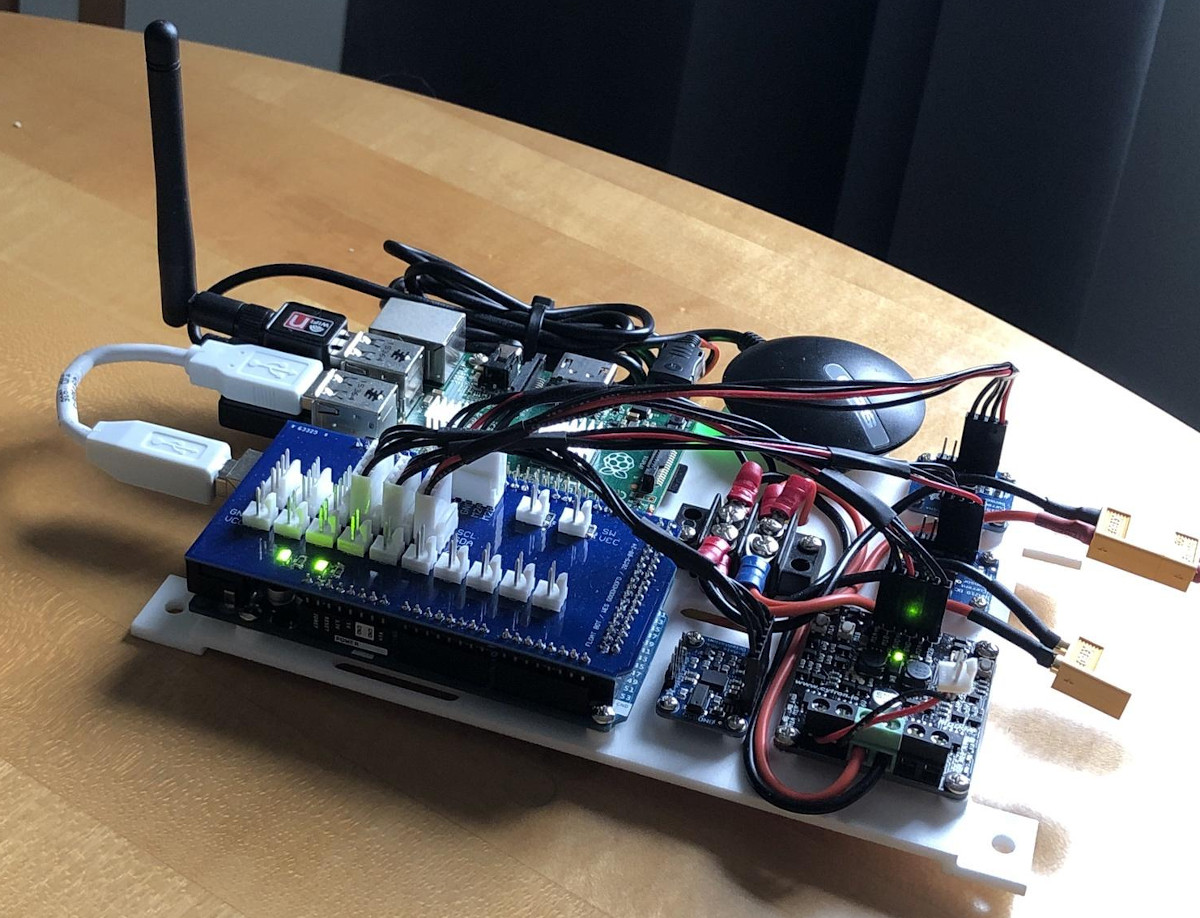
Two years might not sound like much, especially given the fact that there’s still 40+ years unaccounted for. But thanks to the incredible amount of content that is squeezed into each year’s event, the TCF YouTube channel is currently playing host to more than 80 presentations that run the gamut from live musical performances to deep-dives on the Apollo Guidance Computer and quantum computing. Whatever you’re interests happen to be, there’s a good chance you’ll find a presentation or two that talks about it in this impressive collection.
When we made our last visit to this legendary convention, our only real complaint was the fact that none of the presentations were being recorded. With over 40 talks crammed into a six hour event, attendees couldn’t hope but to see more than a fraction of what was on the schedule. The nature of going virtual obviously made it much easier to preserve all this incredible content for later viewing, but it’s unclear if the organizers will be able to maintain that momentum in 2023 when it’s expected TCF will once again be in-person.