Small And Inexpensive MEMS Gravimeter

A gravimeter, as the name suggests, measures gravity. These specialized accelerometers can find underground resources and measure volcanic activity. Unfortunately, traditional instruments are relatively large and expensive (nearly 20 pounds and $100,000). Of course, MEMS accelerometers are old hat, but none of them have been stable enough to be called gravimeters. Until now.

In a recent edition of Nature (pdf), researchers at the University of Glasgow have built a MEMS device that has the stability to work as a gravimeter. To demonstrate this, they used it to measure the tides over six days.

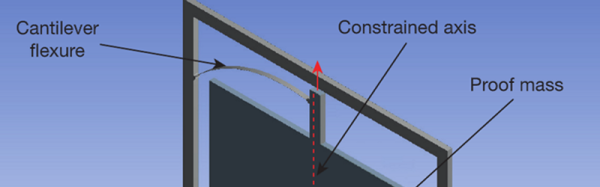
The device functions as a relative gravimeter. Essentially a tiny weight hangs from a tiny spring, and the device measures the pull of gravity on the spring. The design of the Glasgow device has a low resonate frequency (2.3 Hz).

Small and inexpensive devices could monitor volcanoes or fly on drones to find tunnels or buried oil and gas (a job currently done by low altitude aircraft). We’ve covered MEMS accelerometers before, although not at this stability level.  We’ve even seen an explanation from the Engineer Guy.
Meet Cartesio, Robot Artist

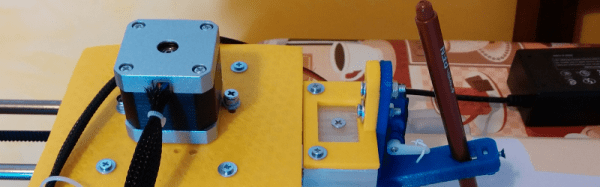
[Robottini] released plans for his robot, Cartesio, that is essentially an Arduino-controlled plotter made to create artwork. The good part about Cartesio is the low cost. [Robottini] claims it cost about $60 to produce.

The robot has an A3-size drawing bed and is practically the XY part of a 3D printer. In fact, most of the parts are 3D printed and the mechanical parts including M8 smooth rod. LM8UU bearings, and GT2 belts and pulleys. If you’ve built a 3D printer, those parts (or similar ones) should sound familiar.

The Arduino uses GRBL to drive the motors from GCODE. [Robottini] has three different workflows to produce drawings from applications like Inkscape. You can see some of the resulting images below.

We’ve covered GRBL before, and it is the heart of many motion control projects. If you’d rather draw on something less permanent, you might try this project.

Continue reading “Meet Cartesio, Robot Artist” →

Oh No! It’s The Claw!

What’s more seductive than a claw machine? After all, how hard can it be to snag that $2 teddy bear that is practically poking out of the pile of merchandise? But after 20 quarters, you realize you’ve spent $5, and you still don’t have anything to show for it.

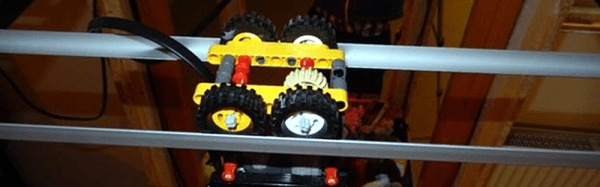
[CreativeGuy88] decided to build his own claw machine (that way, he gets to keep the quarters). This sizable build is as much woodworking project as anything. However, the motors and control joysticks require electrical wiring and [CreativeGuy88] used Lego bricks to make much of the carriage.

Continue reading “Oh No! It’s The Claw!” →

Tiny BLE UART Makes Bluetooth Low Energy Simple

Last time I talked about the internals of how Bluetooth Low Energy (BLE) handles data. I mentioned that the way it is set up is meant to conserve power and also to support common BLE devices like heart rate monitors. On the other hand, I also mentioned that you often didn’t need to deal with that because you’d use an abstraction layer.

This time, I want to show you how I used the Hackaday special edition Tiny BLE (from Seeed Studios) and its mbed library to do a quick simple BLE project. If you didn’t read the first part, don’t worry. The abstraction is so good, you probably won’t have to unless you want to circle back around later and get a more detailed understanding of what’s happening under the covers.

I wanted something simple for an example so you could build on it without having to remove much code. For that reason, I decided to allow my phone to control the state of a three-color LED via BLE. To do that, I’m going to use a virtual UART and some off-the-shelf phone software. The whole thing won’t take much code, but that’s the point: the abstraction makes BLE relatively simple.

Continue reading “Tiny BLE UART Makes Bluetooth Low Energy Simple” →

IR Rework Station

Modern surface mount components often need special tools for rework. However, those tools can be expensive. [Michael Skrepsky] wanted an infrared rework station, but didn’t like the price. So he built his own.

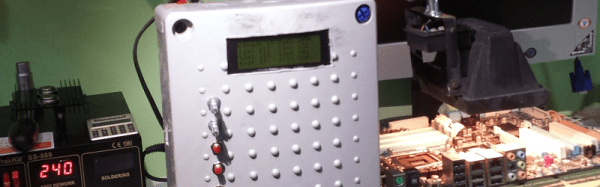
According to [Michael] he used a lot of scrap in the construction. . He used K-type thermocouples, optotriacs, triacs, a 20×4 display and, of course, an Arduino. An old bathroom heater, along with a 600W and 100W halogen bulb work as heaters.

Continue reading “IR Rework Station” →

That’s Life…on A Hackaday Badge

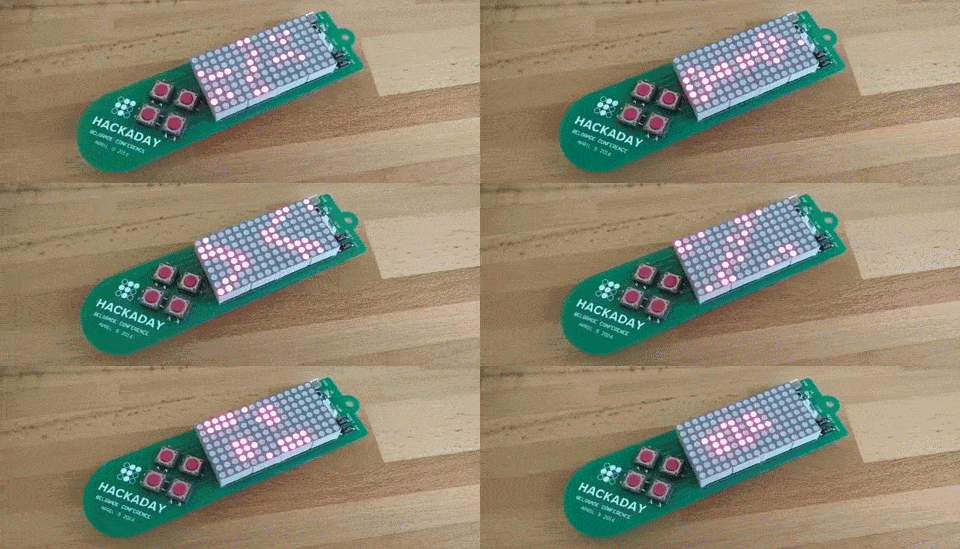
Our Hackaday Chief [Mike] sent me an e-mail the other day with a link to the Belgrade Hackaday Badge simulator. He clearly wanted me to enter something into the demo scene competition. The good news is that because of the simulator, you didn’t have to leave your desk to participate. The bad news is that I had very little time left at the end of the month, so I wanted to do something appealing but it had to be fairly easy to roll out. I wound up doing a very quick project but it had a few fine points that I thought I’d share. The end goal was to have an interesting display of Conway’s game of life on the badge.

By the way, there was a completely different project with the same goal by [Jeremias] on Hackaday.io. As far as I know, this was just the result of two people setting out to do the same thing. You’ll see the user interface is a good bit different, so you might see which you prefer.

If you haven’t seen it, the real badge is below. The emulator, of course, just runs as a window on your PC. For those that will be at the conference, or just want to program closer to the actual hardware, there is now a preconfigured MPLABX framework  for the PIC18LF25K50 and the bootloader/kernel running on this badge.

Continue reading “That’s Life…on A Hackaday Badge” →

Cheap Air Pickup

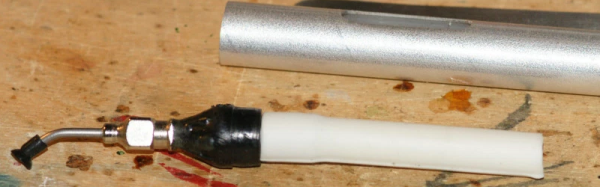
If you work with surface mount components, you might want an air pickup tool (sometimes called air or vacuum tweezers). You can find inexpensive ones that use a bulb or spring mechanism (like a solder sucker). While these are cheap, they don’t work very well. [Natsfr] had one of these cheap tools and decided to add a proper pump to make it work like a much more expensive tool.

Continue reading “Cheap Air Pickup” →