Digital Convergence Corporation is hardly a household name, and there’s a good reason for that. However, it raised about $185 million in investments around the year 2000 from companies such as Coca-Cola, Radio Shack, GE, E. W. Scripps, and the media giant Belo Corporation. So what did all these companies want, and why didn’t it catch on? If you are old enough, you might remember the :CueCat, but you probably thought it was Radio Shack’s disaster. They were simply investors.
The Big Idea
The :CueCat was a barcode scanner that, usually, plugged into a PC’s keyboard port (in those days, that was normally a PS/2 port). A special cable, often called a wedge, was like a Y-cable, allowing you to use your keyboard and the scanner on the same port. The scanner looked like a cat, of course.
However, the :CueCat was not just a generic barcode scanner. It was made to only scan “cues” which were to appear in catalogs, newspapers, and other publications. The idea was that you’d see something in an ad or a catalog, rush to your computer to scan the barcode, and be transported to the retailer’s website to learn more and complete the purchase.
The software could also listen using your sound card for special audio codes that would play on radio or TV commercials and then automatically pop up the associated webpage. So, a piece of software that was reading your keyboard, listening to your room audio at all times, and could inject keystrokes into your computer. What could go wrong?
Tech has a problem, an e-waste problem. Google is a common offender when it comes to this, creating a product just to end support a couple of years later. Thankfully, there are some lasting capabilities left in their defunct Stadia controllers. After hearing about these capabilities, [Bringus Studios] managed to turn this future e-waste into something new: a Bluetooth adapter for game controllers.
To give some credit to Google, once they announced the Stadia program was winding down, they released an updated firmware that let you use the controller as a generic Bluetooth gamepad. But there was also a rather unusual feature added — if another controller is connected to it via USB, its output will be passed along over Bluetooth as if it was coming from the Stadia controller itself.
This would allow you to wirelessly connect an Xbox 360 or PlayStation 3 controller to your computer, for example. But while a neat trick, having the two controllers plugged into each other is a bit awkward. So [Bringus Studios] decided to take the Stadia controller apart and turn it into a dedicated Bluetooth interface.
The Linux world is currently seeing an explosion in new users, thanks in large part to Microsoft turning its Windows operating system into the most intrusive piece of spyware in modern computing. For those who value privacy and security, Linux has long been the safe haven where there’s reasonable certainty that the operating system itself isn’t harvesting user data or otherwise snooping where it shouldn’t be. Yet even after solving the OS problem, a deeper issue remains: the hardware itself. Since around 2008, virtually every Intel and AMD processor has included coprocessors running closed-source code known as the Intel Management Engine (IME) or AMD Platform Security Processor (PSP).
M1 MacBook Air, now with more freedom
These components operate entirely outside the user’s and operating system’s control. They are given privileged access to memory, storage, and networking and can retain that access even when the CPU is not running, creating systemic vulnerabilities that cannot be fully mitigated by software alone. One practical approach to minimizing exposure to opaque management subsystems like the IME or PSP is to use platforms that do not use x86 hardware in the first place. Perhaps surprisingly, the ARM-based Apple M1 and M2 computers offer a compelling option, providing a more constrained and clearly defined trust model for Linux users who prioritize privacy and security.
Before getting into why Apple Silicon can be appealing for those with this concern, we first need to address the elephant in the room: Apple’s proprietary, closed-source operating system. Luckily, the Asahi Linux project has done most of the heavy lifting for those with certain Apple Silicon machines who want to go more open-source. In fact, Asahi is one of the easiest Linux installs to perform today even when compared to beginner-friendly distributions like Mint or Fedora, provided you are using fully supported M1 or M2 machines rather than attempting an install on newer, less-supported models. The installer runs as a script within macOS, eliminating the need to image a USB stick. Once the script is executed, the user simply follows the prompts, restarts the computer, and boots into the new Linux environment. Privacy-conscious users may also want to take a few optional steps, such as verifying the Asahi checksum and encrypting the installation with LUKS but these steps are not too challenging for experienced users.
Black Boxes
Changing the operating system on modern computers is the easy part, though. The hard part is determining exactly how much trust should be placed in the underlying hardware and firmware of any given system, and then deciding what to do to make improvements. This is where Apple Silicon starts to make a compelling case compared to modern x86 machines. Rather than consolidating a wide range of low-level functionality into a highly privileged black box like the IME or PSP, Apple splits these responsibilities more narrowly, with components like the Secure Enclave focusing on specific security functions instead of being given broad system access.
Like many modern systems, Apple computers include a dedicated security coprocessor alongside the main CPU, known as the Secure Enclave Processor (SEP). It runs a minimal, hardened operating system called sepOS and is isolated from the rest of the system. Its primary roles include securely storing encryption keys, handling sensitive authentication data, and performing cryptographic operations. This separation helps ensure that even if the main operating system is compromised, secrets managed by the SEP remain protected.
The Chain of Trust
To boot an Apple Silicon computer, a “chain of trust” is followed in a series of steps, each of which verifies the previous step. This is outlined in more detail in Apple’s documentation, but starts with an immutable boot ROM embedded in the system-on-chip during manufacturing. It first verifies early boot stages, including the low-level bootloader and iBoot, which in turn authenticate and verify the operating system kernel and system image before completing the boot process. If any of these verification steps fail, the system halts booting to prevent unauthorized or compromised code from executing.
Perhaps obvious at this point is that Apple doesn’t sign Asahi Linux images. But rather than allowing unrestricted execution like many PCs, or fully locking down the device like a smartphone, Apple’s approach takes a middle way. They rely on another critical piece of “security hardware” required to authorize that third-party OS: a human user. The Asahi Linux documentation discusses this in depth, but Apple’s secure boot system allows the owner of the computer to explicitly authorize additional operating systems by creating a custom boot policy within the user-approved trust chain. In practice, this means that the integrity of the boot process is still enforced, but the user ultimately decides what is trusted. If a boot component is modified outside of this trust chain, the system will refuse to execute it. In contrast to this system, where secure boot is enforced by default and only relaxed through explicit user action, x86 systems can treat these protections as optional. A motivated x86 user can achieve a comparable level of security, but they must assemble and maintain it themselves, as well as figure it out in the first place.
Reducing the Attack Surface
The limited scope of Apple’s Secure Enclave gives it a much smaller attack surface compared to something like the Intel Management Engine. As mentioned before, the IME combines a wider range of functionality, including features designed for low-level remote system management. This broader scope increases its complexity and, by extension, its attack surface which has led to several high-profile vulnerabilities. Apple’s Secure Enclave, by contrast, is designed with a much narrower focus. That’s not to say it’s a perfect, invulnerable system since it’s also a closed-source black box, but its limited responsibilities inherently reduce that attack surface.
I’ll also note here that Apple is far from a perfect company. Their walled garden approach is inherently anti-consumer, and they’ve rightly taken some criticism for inflating hardware costs, deliberately making their computers difficult to repair, enforcing arbitrary divisions between different classes of products to encourage users to buy more devices, and maintaining a monopolistic and increasingly toxic app store.
But buying an M1 or M2 machine on the used market won’t directly give Apple any money, and beyond running the Asahi installer script doesn’t require interacting with any Apple software or their ecosystem in any way, beyond the initial installation. I’ve argued in the past that older Apple computers make excellent Linux machines for these reasons as well, and since the M1 and M2 machines eliminate the IME risk of these older computers they’re an even better proposition, even without considering the massive performance gains possible.
Ultimately, though, the best choice of hardware depends on one’s threat model and priorities. If the goal is to minimize exposure to IME/PSP-level risks while retaining semi-modern performance, an M1/M2 Mac with Asahi Linux is one of the best options available today. But if fully open hardware is non-negotiable, you’ll need to accept older or less powerful machines… for now.
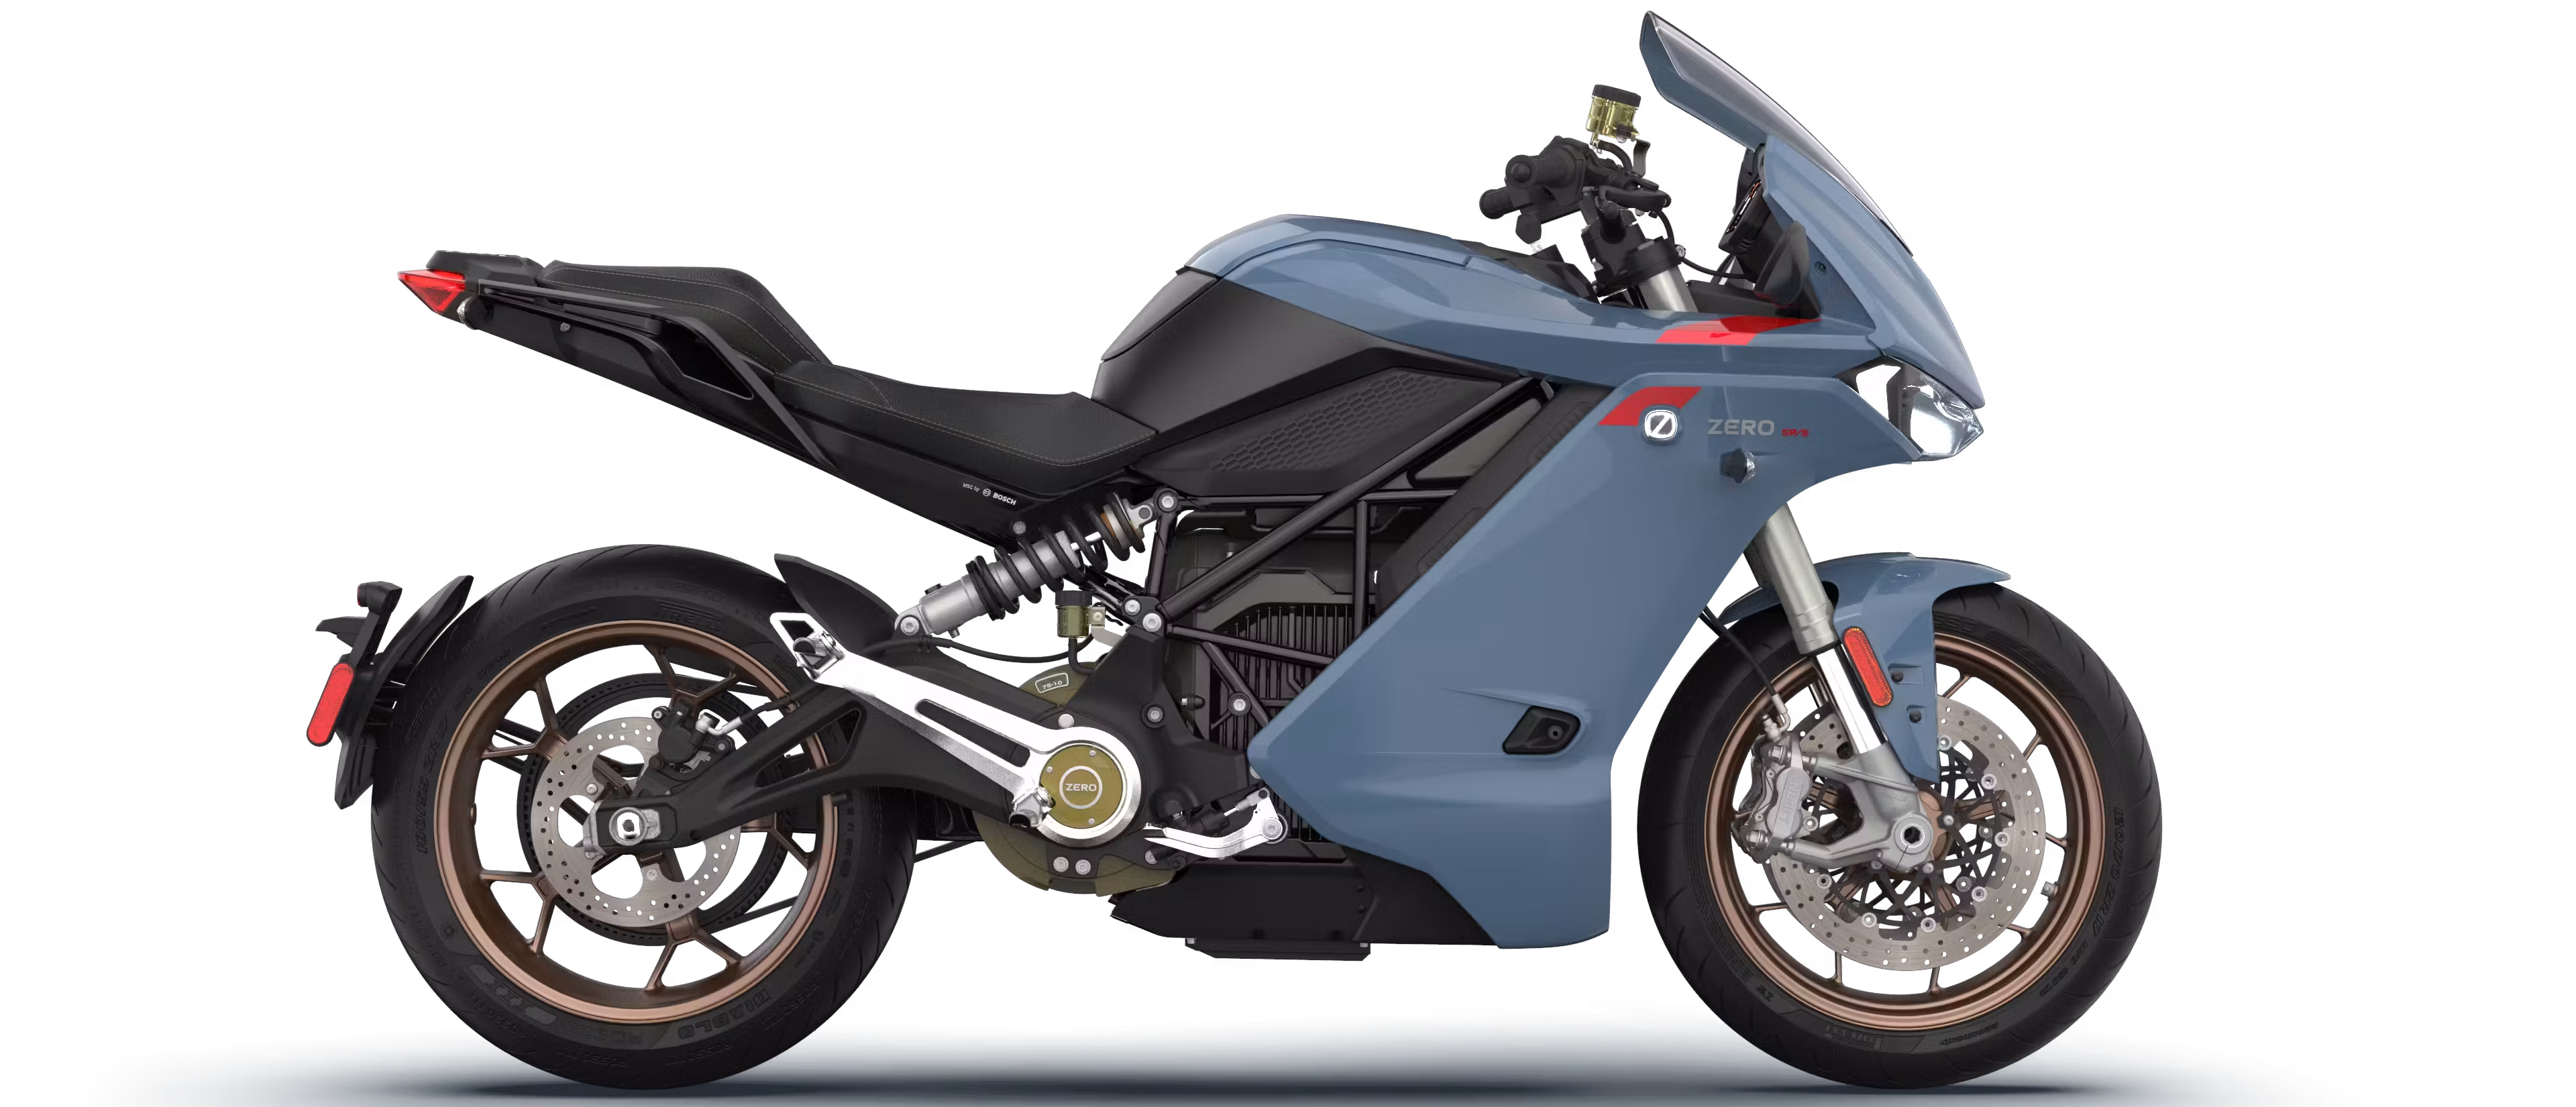
Once upon a time, they told us we wouldn’t download a car, and they were wrong. Later, Zero Motorcycles stated in their FAQ that you cannot hack an electric motorcycle, a statement which [Persephone Karnstein] and collaborator [Mitchell Marasch] evidently took issue with. Not only can you hack an electric motorcycle, it is — in [Persephone]’s words — a security nightmare.
You should absolutely go over to [Persephone]’s website and check out the whole write-up, which is adapted from a talk given at BSides Seattle 2026. There’s simply way more detail than we can get into here. Everything from “what horridly toxic solvents would I need to unpot this PCB?” to the scripts used in de-compiling and understanding code, it’s all there, and in a lively and readable style to boot. Even if you have no interest in security, or electric motorcycles, you should check it out.
The upshot is that not only were Zero Motorcycles wrong when they said their electric motorcycles could not be hacked, they were hilariously wrong. The problem isn’t the motorcycle alone: it has an app that talks to the electronics on the bike, which take over-the-air (OTA) updates. What about the code linked to the VIN alluded to in that screenshot? Well, it turns out you just need a code structured like a VIN, not an actual number. Oops. By the end of it, [Persephone] and [Mitchell] have taken absolute control of the bike’s firmware, an so have them full control over all its systems.
Why cut the brake lines when you can perform an OTA update that will do the same thing invisibly? And don’t think you can just reset the bike to factory settings to fix it: they thought of this, and the purely-conceptual, never-deployed malware has enough access to prevent that. Or they could just set the battery on fire. That was an option, too, because the battery management system gets OTA updates as well.
To be clear, we don’t have any problem with a motorcycle that’s dependent on electronics to operate. After all, we’ve seen many projects that would meet that definition over the years. But the difference is none of those projects fumbled the execution this badly. Even this 3 kW unicycle, which has a computer for balance control, doesn’t see the need to expose itself. It’s horribly unsafe in very different ways.
After a lot of debugging, [Seth Kushniryk] has managed to get the last issuess shaken out of his port of MS-DOS 2.0 to the Apple II, and has released the project to the public. If you have the requisite AD8088 or similar co-processor expansion card with onboard x86 CPU, this should be all you need to get started.
Although this co-processor card contains effectively a self-contained x86 system, its only I/O goes via the expansion bus, so it has to play nice with the 6502 CPU of the Apple II system. When we last reported on [Seth]’s efforts he had just managed to get MS-DOS 2.0 booting and basically in a barebones working state.
Since then he’s been working on the bridge program that provides communication between the 8088 on the card and the Apple II’s 6502, relocating it in RAM to enable high-resolution graphics, as well as other tweaks and optimizations. Also a lot of bug hunting, including an undocumented ProDOS constraint with a request count.
With all of this done it’s now possible to run basically any MS-DOS 2.0 compatible software, assuming it doesn’t try to write directly to video memory. This does limit the software selection somewhat, but back in the day it would probably have been amazing to have that 8 MHz 8088 purring along the 6502 to run both Apple and DOS software titles. Props to [Seth] for restoring this software functionality that had been lost to the ages.
Featuring six degrees of freedom, the robot arm is mostly constructed of 3D printed components. This let [James] experiment with a wide variety of joint and reducer designs for the sake of learning and investigation. The base of the robot uses a fairly conventional planetary gear drive, while shoulder and elbow joints rely on split-ring planetary gearboxes to allow for high torque density with regards to size. [James] implemented a neat sensing technique here, integrating alternating magnets into the output ring gear which are monitored via a magnetic encoder. The wrist joint switches things up again, running via an inverted belt differential.
Running the show is an STM32 microcontroller, which talks to all the encoders, communicates with a Raspberry Pi over CAN bus, and handles all the necessary PID control loops and step generation for the drive motors. The plan is to run higher-level control on the Raspberry Pi which will run a ROS 2-based software stack. Already, the various joints look smooth and impressive in motion.
If you’re looking to learn about robot arms, you really can’t beat building one. We’ve featured a few projects along these lines before. Most of them aren’t exactly production-line ready, but they will teach you a ton about control, motion planning, and all sorts of associated skills. That experience can be invaluable if you intend to work with robots in industry.
Although usually nylon (generally PA6) filament is pretty cheap, there are some more exotic variants out there, such as the PA12-based Lyten 3D graphene filament that comes in at a cool $150 for a 1 kg spool. Worse for [Dr. Igor Gaspar] here was that the company doesn’t ship to the EU, and didn’t respond to emails about obtaining a sample for testing. Fortunately he got a spool via a different route, so that he could test whether this is the strongest nylon filament or not.
The full name for this filament is PA1205, though it’s not certain what the ’05’ part stands for. PA12 is a less moisture-sensitive version of PA6, however. Among the manufacturer’s claims are that it’s the strongest nylon filament, as well as very lightweight and heat-resistant. Interestingly the datasheet recommends printing with an 0.6 mm nozzle, which is the only major deviation from typical nylon FDM filaments. Of course, printing with an 0.4 mm nozzle had to be tried.
With a standard PA-CF preset in Bambu Lab’s slicer the printing of test parts worked without issues, which was promising. With load testing the filament made a good showing compared to average PA filaments, though as with most fiber reinforced filaments it’s more brittle than the pure material. Compared to PA-CF this PA1205 was much less brittle than PA-CF, however. Overall it’s not a bad filament, but for the asking price it’s a tough ask.