Join us on Wednesday, June 8 at noon Pacific for the Aerial Robotics Hack Chat with Nick Rehm!
When it comes to robots, especially ones that need to achieve some degree of autonomy, the more constrained the environment they work in, the easier it is for them to deal with the world. An industrial arm tethered next to a production line, for example, only has to worry about positioning its tool within its work envelope. The problems mount up for something like an autonomous car, though, which needs to deal with the world in two — or perhaps two and a half — dimensions.
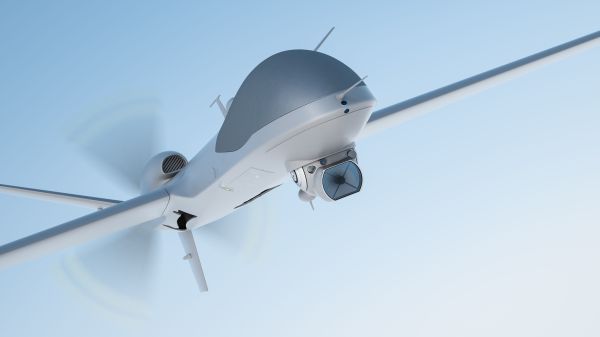
But what about adding a third dimension? That’s the realm that aerial robots have to live and work in, and it’s where the problems get really interesting. Not only are there hardly any constraints to movement, but you’ve also got to deal with the problems of aerodynamic forces, navigation in space, and control systems that need to respond to the slightest of perturbations without overcompensating.
 The atmosphere is a tough place to make a living, and dealing with the problems of aerial robotics has kept Nick Rehm occupied for many years as a hobbyist, and more recently as an aerospace engineer at Johns Hopkins Applied Physics Laboratory. Nick has spent his time away from the office solving the problems of autonomous flight, including detection and avoidance of mid-air collisions, development of vertical take-off and landing (VTOL) and fixed-wing aircraft, and even ground-effect aircraft. He’ll drop by the Hack Chat to discuss the problems of aerial robots and the challenges of unconventional aviation, and help us figure out how to deal with the third dimension.
Our Hack Chats are live community events in the Hackaday.io Hack Chat group messaging. This week we’ll be sitting down on Wednesday, June 8 at 12:00 PM Pacific time. If time zones have you tied up, we have a handy time zone converter.