What if you could build a clock that displays time in the usual analog format, but with the hands moving around the outside of the dial instead of rotating from a central point? This is the idea behind TORLO, a beautiful clock built from 3D printed parts.
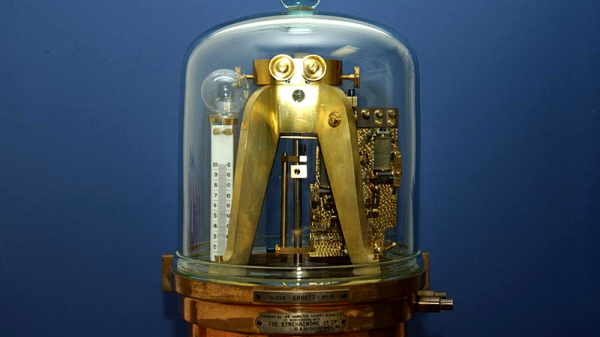
The clock is the work of [ekaggrat singh kalsi], who wanted to build a clock using a self-oscillating motor. Initial experiments had some success, however [ekaggrat] encountered problems with the motors holding consistent time, and contacts wearing out. This is common in many electromechanical systems — mechanics who had to work with points ignition will not remember them fondly. After pushing on through several revisions, it was decided instead to switch to an ATtiny-controlled motor which was pulsed once every two seconds. This had the benefit of keeping accurate time as well as making it much easier to set the clock.
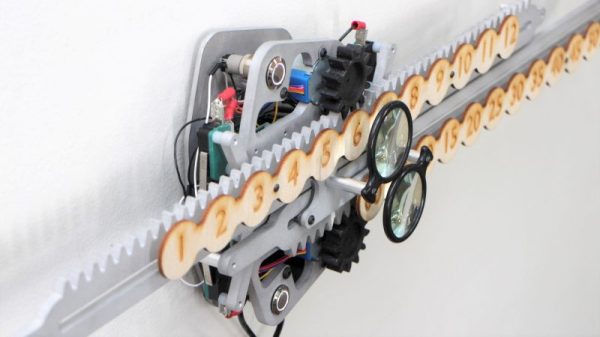
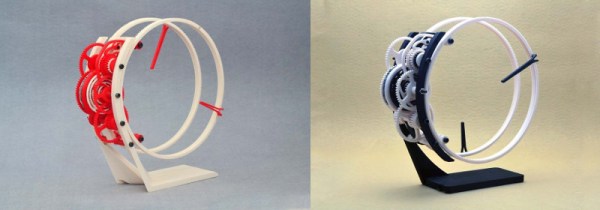
The stunning part of the clock, however, is the mechanical design. The smooth, sweeping form is very pleasing to the eye, and it’s combined with a beautiful two-tone colour scheme that makes the exposed gears and indicators pop against the white frame. The minute and hour hands form the most striking part of the design — the indicators are attached to a large ring gear that is turned by the gear train built into the frame. The video below the break shows the development process, but we’d love to see a close-up of how the gear train meshes with the large ring gears which are such an elegant part of the clock.
A great benefit of 3D printing is that it makes designing custom gear trains very accessible. We’ve seen other unconventional 3D printed clock builds before.