Back in the olden days, when video games still came on cartridges, the engineers and programmers making these carts had a lot of options. One of the most inventive, brilliant, and interesting cartridges to come out of the 90s was Star Fox for the Super Nintendo. Star Fox featured a coprocessor chip, the Super FX, that was effectively a GPU used to draw polygons in the frame buffer. Without this, Star Fox wouldn’t be 3D, Yoshi’s Island wouldn’t be as cute, and there wouldn’t be an always-on processor in your computer with the potential to spy on everything you do.
 The Super FX chip, the Capcom-developed Cx4 coprocessor, and the Nintendo DSP all lived in a cartridge, but the technology to put a better computer in a cartridge never made it to Nintendo’s handheld devices. Cheap, powerful microcontrollers are everywhere now, and it’s not that hard to make a board with card edge connectors, leading [Anders] to build a Super FX for the Game Boy Color.
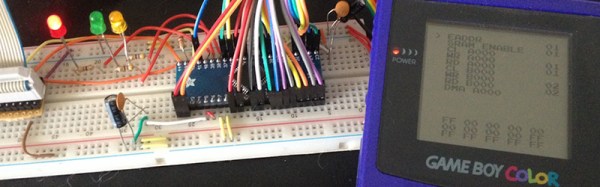
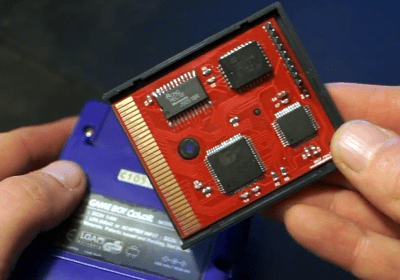
Game Boy cartridges are simple — just a memory controller and some memory is all you need. Drop in a microcontroller, and you have a Game Boy coprocessor. This cartridge features the MBC1 memory bank controller, 512kB of Flash, and 8KB SRAM. These are fairly standard parts, but there’s one last trick up the sleeve of this board: a KE04 from NXP, an ARM Cortex-M0+ microcontroller running at 48MHz . This microcontroller is, effectively, the GPU for the Game Boy.
This ARM-powered coprocessor is able to convert the framebuffer into tiles in just 2ms, giving the system plenty of time for image processing and rendering. Due to the limitations of the Game Boy, the best resolution offered by this coprocessor is either 160×96 or 128×128 pixels, short of the complete 160×144 pixel display in the Game Boy Color.
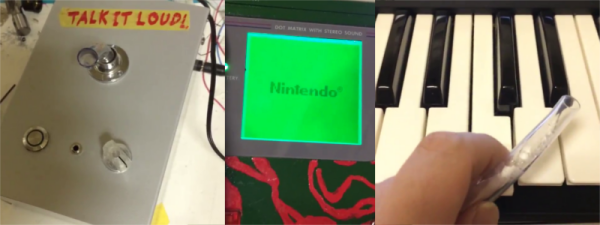
Even though [Anders] is still working on programming this thing to show off the power of his Game Boy coprocessor, he has a few demos to show off. The most impressive is a Wolfenstein-like clone. That’s extremely impressive and categorically impossible on a stock Game Boy Color.
Continue reading “DIY Coprocessors For The Game Boy Color” →


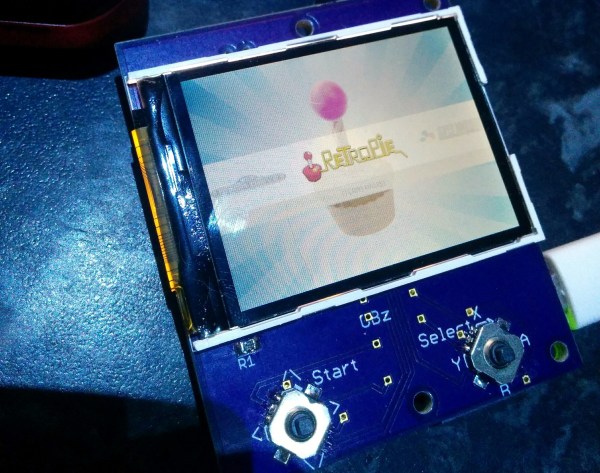
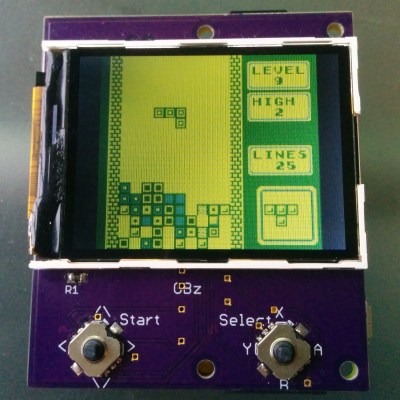 This build is based on the Pi Zero and a 2.2″ (0.56 dm) ili9341 TFT display. This display has a resolution of 240×320 pixels, which is close enough to the resolution of the systems the Pi Zero can emulate. The Pi Zero and display are attached to a beautiful purple breakout board (
![[Roland]'s face captured with the Game Boy Camera (left), and turned into a photorealistic image (right)](https://hackaday.com/wp-content/uploads/2017/02/output.png?w=400)
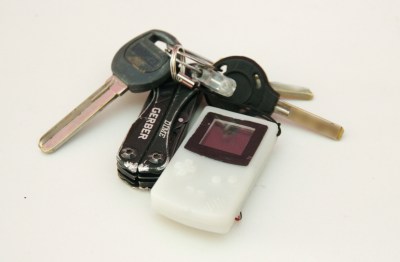 I’m sure that many of you have fond memories of your first handheld games. This will be Game Boy for most, and we admit they had fairly decent portability and battery life that puts many smart phones to shame. Despite this, Sprite_TM always dreamed of an eminently more portable version and to his adolescent delight he discovered a key chain version of the Game Boy. Unfortunately, he was duped. The keychain looked like a Game Boy but only functioned as a clock.