It’s fair to say that there’s really no phase of spaceflight that could be considered easy. But the case could be made that the most difficult part of a spacecraft’s journey is right at the very beginning, within the first few minutes of flight. At this point the vehicle’s booster rocket will be fighting with all its might against its own immense propellant-laden mass, a battle that it’s been engineered to win by the smallest of margins. Assuming the balance was struck properly and the vehicle makes its way off of the launch pad, it will still need to contend with the thick sea-level atmosphere as it accelerates, a building dynamic pressure that culminates with a point known as “Max q” — the moment where the air density imposes the maximum structural load on the rocket before quickly dropping off as the vehicle continues to ascend and the atmosphere thins.
While the vast majority of rocket launches have to contend with the realities of flying through the lower atmosphere, there are some exceptions. By launching a rocket from an aircraft, it can avoid having to power itself up from sea level. This allows the rocket to be smaller and lighter, as it doesn’t require as much propellant nor do its engines need to be as powerful.
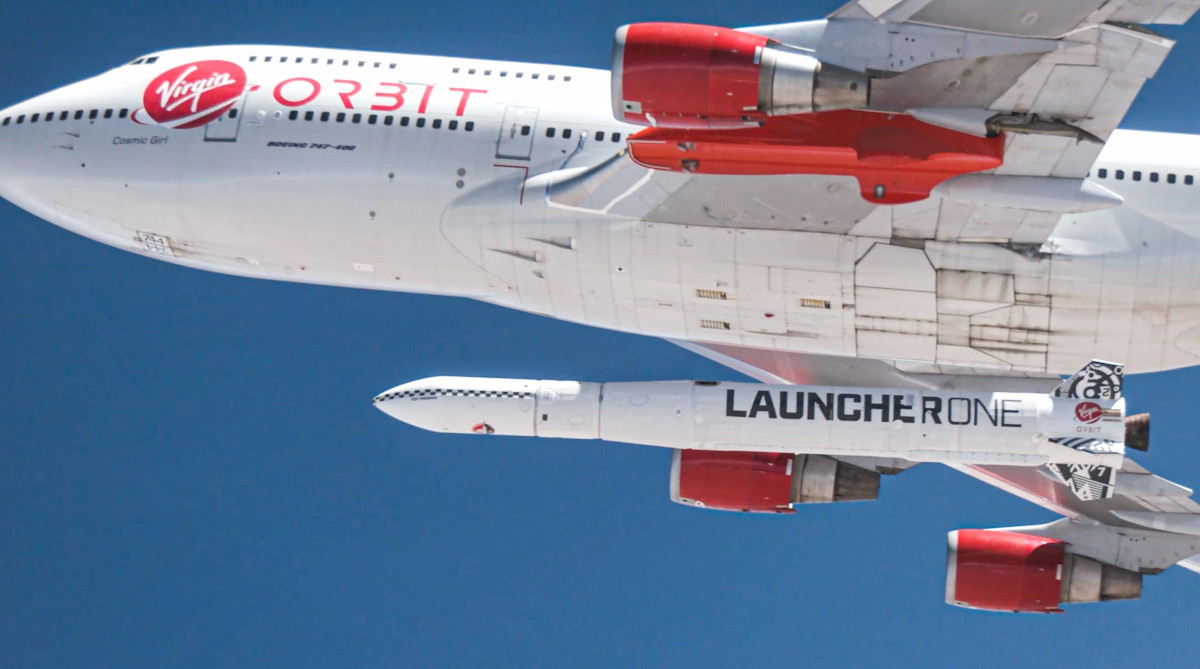
The downside of this approach however is that even a relatively small rocket needs a very large aircraft to carry it. For example, Virgin Orbit’s LauncherOne rocket must be carried to launch altitude by a Boeing 747-400 airliner in order to place a 500 kg (1,100 lb) payload into orbit.
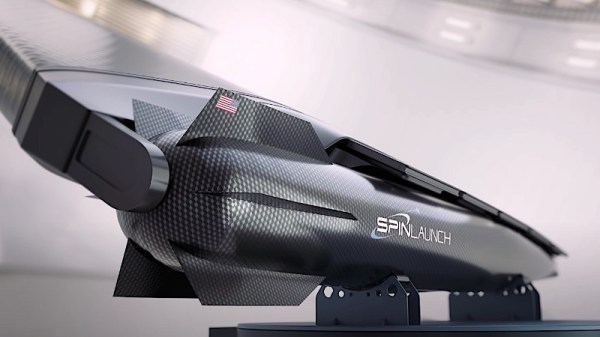
But what if there was another way? What if you could get all the benefits of starting your rocket from a higher altitude, without the cost and logistical issues involved in carrying it with a massive airplane? It might sound impossible, but the answer is actually quite simple…all you have to do it throw it hard enough.
Continue reading “SpinLaunch And The History Of Hurling Stuff Into Space”