The idea of a cyberdeck is simple. A relatively portable case that is primarily a keyboard with some screen attached. Cyberdecks often try to hit a particular aesthetic or vibe rather than focusing on usability or practicality. [Carter Hurd] took a step back and asked himself what would be a cyberdeck-like system that he could practically use every day.
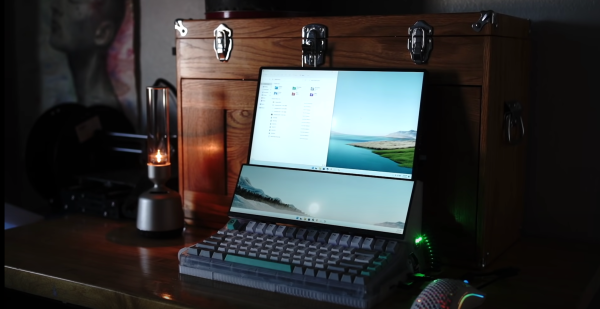
[Carter’s] build is a prototype that allows him to try out the form factor and use it as a daily driver, so many decisions were made to speed up the build and get something functional. For example, rather than spend the time tweaking and printing his own keyboard, he used an off-the-shelf keyboard he knew he liked. While a framework motherboard would have been perfect for something like this, they, unfortunately, weren’t available when [Carter] started the build. So [Carter] used a used gaming laptop for the task. He had hoped to drive the display directly from the motherboard as many laptops use embedded DisplayPort internally. Unfortunately, this didn’t work as the motherboard didn’t support the resolution he was trying to drive at, so he just used the external port to drive the screen. A 3d printed base fits underneath the keyboard to hold the laptop motherboard with little extensions for bits that don’t work well, such as the wifi card. The chassis also has a slot that allows a secondary display to slot right in.
Ultimately, it is something of a modern-day typewriter and something like a cyberdeck. Either way, we love it. Video after the break.