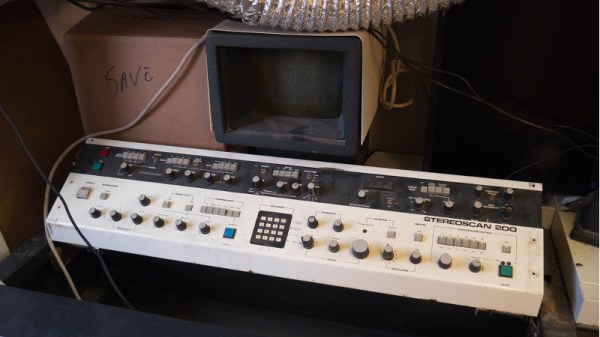
We don’t know about you, but when our friends ask us if we want to help them fix something, they’re usually talking about their computer, phone, or car. So far it’s never been about helping them rebuild an old electron microscope. But that’s exactly the request [Benjamin Blundell] got when a friend from a local hackerspace asked if he could take a look at a vintage Cambridge Stereoscan 200 they had found abandoned in a shed. Clearly we’re hanging out with the wrong group of people.
 As you might imagine, the microscope was in desperate need of some love after spending time in considerably less than ideal conditions. While some of the hackerspace members started tackling the hardware side of the machine, [Benjamin] was tasked with finding a way to recover the contents of the scope’s ROM. While he’s still working on verification, the dumps he’s made so far of the various ROMs living inside the Stereoscan 200 have been promising and he believes he’s on the right track.
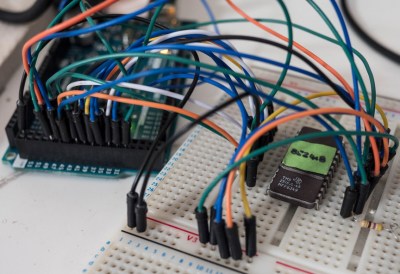
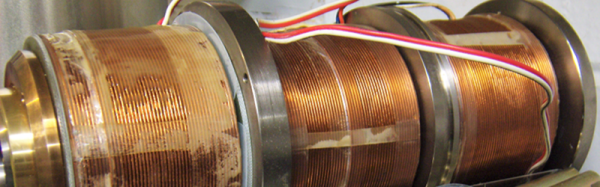
The microscope uses a mix of Texas Instruments 25L32 and 2516 chips, which [Benjamin] had to carefully pry out after making sure to document everything so he knew what went where. A few of the chips weren’t keen on being pulled from their home of 30-odd years, so there were a few broken pins, but on the whole the operation was a success.
Each chip was placed in a breadboard and wired up to an Arduino Mega, as it has enough digital pins to connect without needing a shift register. With the wiring fairly straightforward, [Benjamin] just needed to write up some code to read the contents of the chip, which he has graciously provided anyone else who might be working on a similar project. At this point he hasn’t found anything identifiable in his ROM dumps to prove that they’ve been made successfully, all he really knows right now is that he has something. At least it’s a start.
More and more of these older electron microscopes are getting a second lease on life thanks to dedicated hackers in their home labs. Makes you wonder if there’s ever going to be a piece of hardware the hacker community won’t bend to their will.


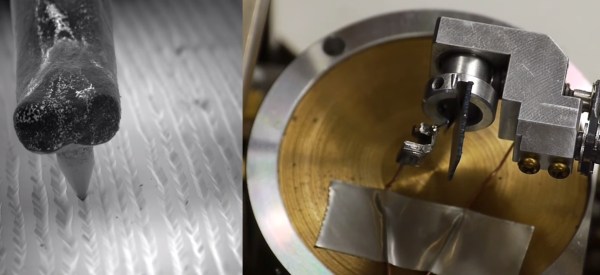
 . Vinyl is an insulator. [Ben] dealt with this by using his vacuum chamber to evaporate a thin layer of silver on the vinyl.
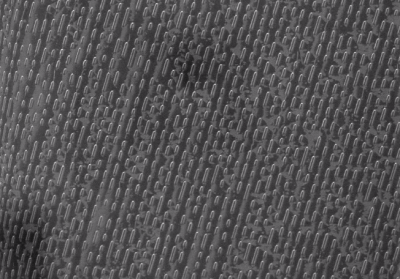 [Ben] wasn’t done though. He checked out a few other recording formats, including CD and DVD optical media, and
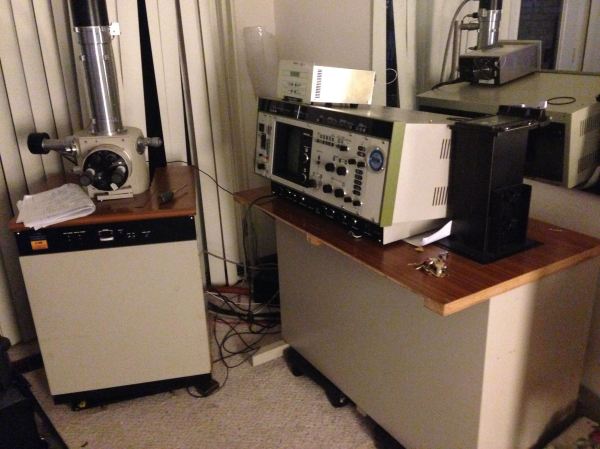
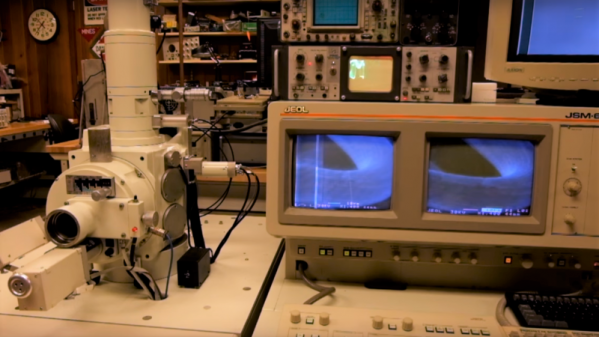
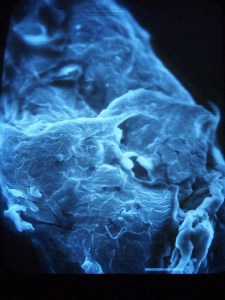 The SEM sprang to life and gave [Macona] and a friend their first images. However, SEMs are finicky beasts. Eventually the filament burned out and needed to be replaced. New filaments are $500 US for a box of 10, which is more than [Macona] wanted to spend. It turns out filaments can be built at home. A bit of .089mm tungsten wire and a spot welder were all it took to fix the issue. Next to go bad was the scan amplifier. While SEMs use many exotic parts, the Hitachi used relatively common Sanyo STK070 audio amplifiers for the purpose – an easy fix!


