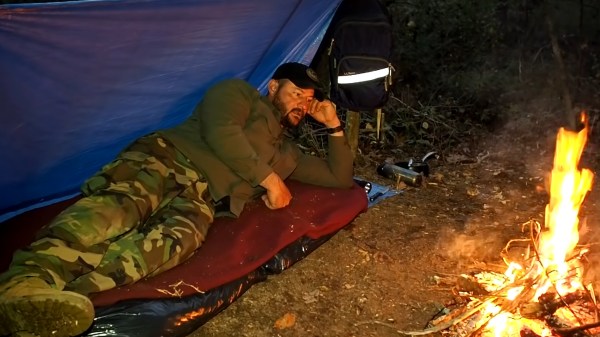
A hacker is somebody who’s always thinking creatively to solve problems, usually using what they have on hand. Sometimes that means using a 555 to build a CPU, and other times it means using a dead flashlight to start a fire. In the video below the break, [Kelly] shows us a series of hacks you can use while camping in the woods for a night to keep you warm, dry, and well fed!
 [Kelly] started his camping trip not in the woods, but rather at a local thrift store. Instead of packing along hundreds of dollars in gear, his aim was to keep costs low. Very low. With some searching he was able to find a blanket, cooking utensils, rope, knife, tarp, and several other camp necessities for just $25.
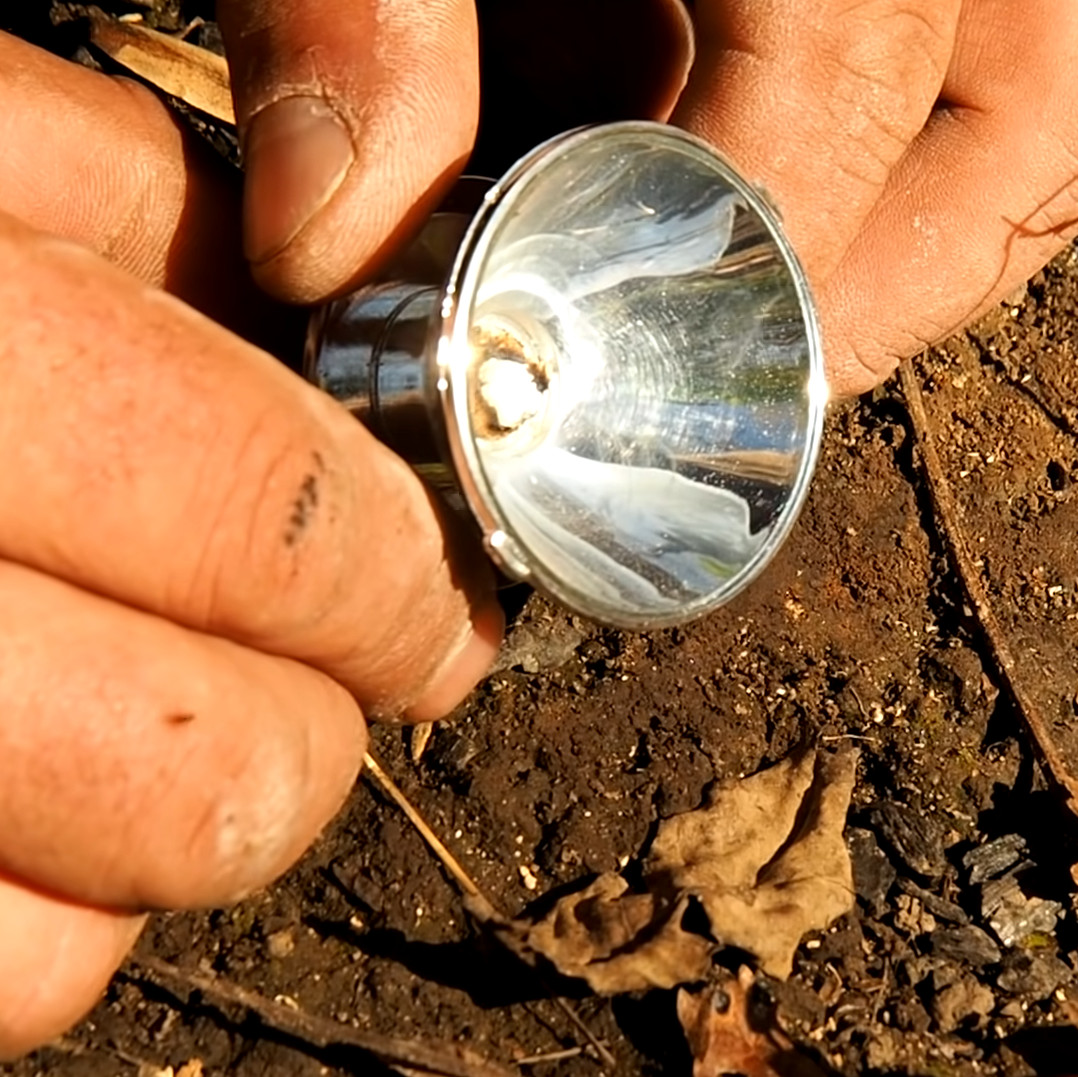
A good campfire is a necessity of course, and [Kelly]’s full of great ways to start a fire even if all you have is a lighter with no butane or an old flashlight with dead batteries. The purpose of the video is to show how anyone can get their bush craft on even when all they have is a few dollars and a little know-how, which he generously shares. And after watching, we’re sure you’ll agree that he met his mark.
Will you raid the local second hand store before your next camping trip? After seeing this video, you just might! And while you’re there, make sure to grab the things you’ll need to make your own camping-friendly French press so you have some good coffee while you’re out camping in your… uh… Corolla?
Continue reading “Camping For $25: Thrift Store Hacks To Keep Cozy”