Cube Solving Robot Shatters The World Record

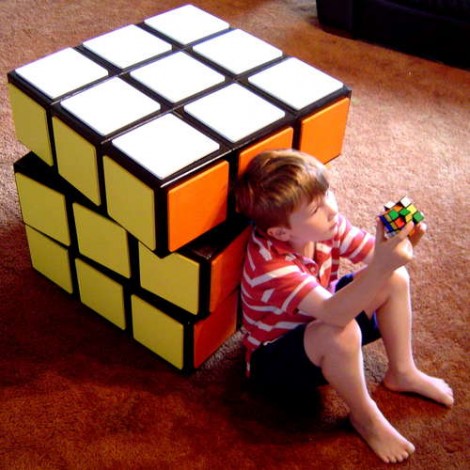
This cube-shaped bot just shattered the robotic Rubik’s Cube solving record by about 8 seconds. It did it in a blazing 10.69 seconds to best the old record of 18.2 seconds. There was immediate confusion here at Hackaday as some of us thought the record was actually around six seconds. And it is, for humans. That’s right, the human record holder completed a cube in 6.24 seconds… faster than a robot by almost four seconds. It’s surprising that we can still beat mechanized devices at some repetitive mechanical operations.

Take a look at the speed run shown in the video after the break. What strikes us is that the motions are incredibly efficient, and the bot is very quite. Compare that efficiency to CuBear, a solver that uses a different motor for each side of the cube. That one doesn’t need to grip the cube making us think it could beat this version if the firmware were quite a bit faster.

Continue reading “Cube Solving Robot Shatters The World Record”

A Weighted Companion Cube Worth Saving From The Incinerator

companion_cube

It’s honestly sad that Valve has not released any official Portal-related items to the masses, as a market for them clearly exists. As the saying goes, “necessity is the mother of invention”, and [Jamie] needed a Weighted Companion Cube in the worst way.

Actually he constructed his Companion Cube in order to test out some modifications and upgrades he performed on his homebrew CNC Mill. Judging by how the cube turned out, and the fact that he was able to keep tolerances within .005”, we would say that his mill is working just fine.

The cube was designed in Solidworks, and passed through the BobCAD plugin to generate the GCode for the mill. The base of the cube was machined out of a 3” solid block of aluminum, hollowed out on one side to give him access to the cube’s innards. He milled out heart shaped openings on each side, covering them with frosted Lexan.

He added a BlinkM to the mix, mounting it on the cover plate he milled for the open side of the cube. Once lit it cycles through several colors, including the pinkish tone anyone who has played Portal is quite familiar with.

We would say that it’s a great job, but it doesn’t do his work justice – it’s absolutely stunning. We’re not just saying that because we want one, though we do want one…badly.

Third Time’s A Charm – 512 LED Cube Kicks It Up A Notch With RGB LEDs

rgb_led_cube

In the comments section of our 512-LED cube post from the other day, several people suggested that to take the project up a notch, building a similar cube using RGB LEDS was the next logical step. It seems that Hack-a-Day reader [vespine] was way ahead of the curve, as he sent us the build details of his 8x8x8 RGB cube shortly after the other story was published.

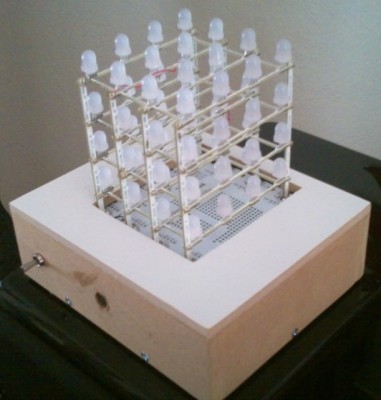
His cube, which was finished earlier this year, uses 512 10mm RGB LEDs, arranged on top of a simple elevated stand. The stand conceals all of the circuitry he uses to control the cube, the centerpiece of which is a PIC32 MCU. A dozen TLC5940 16-channel PWM drivers are used alongside the PIC in order to adjust the color output of the LEDs, each of which can be addressed and colored individually.

The end result is just about as amazing as you would imagine. He has created several quick demonstration animations, which you can view in the video below. Be sure to stop by his site to see all of his build details – there’s quite a lot there.

Continue reading “Third Time’s A Charm – 512 LED Cube Kicks It Up A Notch With RGB LEDs”

512 LED Cube (again)

We’ve seen LED cubes before, but [nick] upped the ante with his 8x8x8 LED cube that uses only three pins on his microcontroller.

Previous LED cubes we’ve covered drove the LEDs with shift registers and latches, but [nick] used STP16CP LED sink drivers to reduce the component count. The STP16CP can control 16 LEDs each, can be cascaded off of each other, and can operate up to 30Mhz. With a component like this, you’re limited by your microcontroller and not your patience or soldering skills.

While he was waiting for his LEDs to arrive in the mail, [nick] decided he would get a head start on the animation code by plunging into MATLAB. After getting an idea of what would look good on the cube, [nick] wrote the code on his PC to send commands to the arduino controlling the sink drivers. To wrap up the project, [nick] put the cube on a very attractive wooden box stuffed with the electronics. All tolled, a very efficient and elegant build.

Continue reading “512 LED Cube (again)”

RGB “Tilty Cube”

[Ben’s] introduction to microcontrollers was this fun little gift he calls the “tilty cube”. It is an acrylic box with 3 LEDs mounted inside that changes color based off of how you tilt it. Sounds like a fun toy, and a good project to learn with. [Ben] chose the PIC12F615 as the brains and laid it all out on a perfboard.  Since this was his first microcontroller experience he had to learn how to blink the LEDs, then figure out PWM etc. Though there is no video of the project in its finished state, since it was given away as a gift, we assume he figured it out pretty well.  He does state that the LEDs are dimmer than he had hoped and offers some thoughts on how he would do the entire project better next time.

512 LED Cube

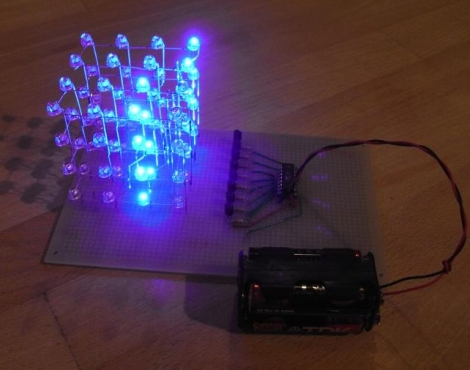
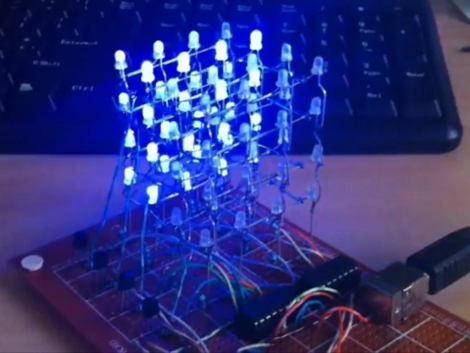
Get out the soldering iron and clear your schedule, it’s going to take you a while to assemble this 8x8x8 LED matrix which contains a total of 512 LEDs. We’ve looked in on a 3x3x3 cube, and [Chr], who is responsible for this one, has assembled a 4x4x4 cube before, but this one is quite a leap in complexity. It isn’t just physical assembly problems that increase with scale, you’ll need to consider a power supply too since one layer of a 3x3x3 cube would need at 90 mA, but a single layer of the cube above requires 640 mA to light all of the diodes. Multiplexing is handled per-layer, controlled by  ICs which share 8 data lines and are latched by a shift register. This means the display only requires 11 microcontroller pins for addressing. It is striking how well [Chr] explains the design process, and how cleanly he builds the driver circuits on protoboard. There’s a lot to look at and a lot to learn, not to mention the stunning results which can be seen in the video after the break.

Continue reading “512 LED Cube”

Girltech. Sugar Cubes. Monocrome LCD

We’ve seen these little toys called “sugar cubes” by GirlTech around for a while now. They are a toy block, with an LCD on the front and they respond to movement, button presses and they interact with each other if you stack them up. We’re just as curious as anyone else about their internals, but maybe not quite curious enough to rush out and buy one. Luckily, we don’t have to as [Joby] has done it for us and documented what he found. While it may be lacking in extreme detail, at least our curiosity is somewhat satiated.
We can see that it has a 16×16 LCD, an unknown chip hidden under an epoxy blob as usual. To determine what character is shown, you can bridge one of 4 spots on the PCB, though he has only managed to switch to a little ninja and a question mark. Does anyone have any brilliant ideas on a project for these?