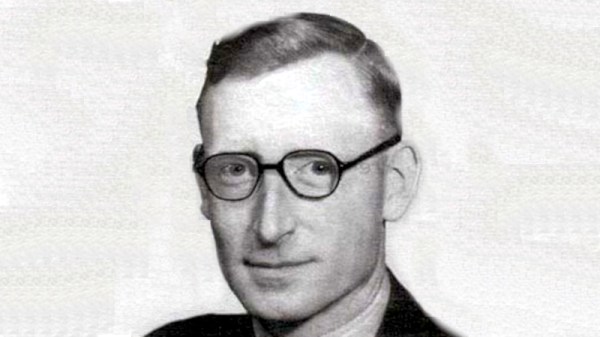
Back in 2016, we took you to a collection of slightly dilapidated prefabricated huts in the English Home Counties, and showed you a computer. The place was the National Museum of Computing, next to the famous Bletchley Park codebreaking museum, and the machine was their reconstruction of Colossus, the world’s first fully electronic digital computer. Its designer was a telephone engineer named Tommy Flowers, and the Guardian has a piece detailing his efforts in its creation.
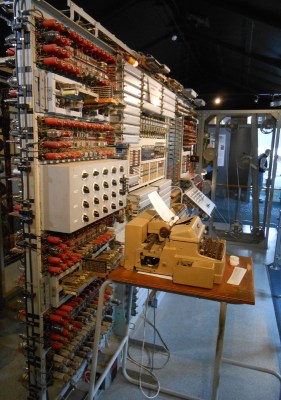
It’s a piece written for a non-technical audience so you’ll have to forgive it glossing over some of the more interesting details, but nevertheless it sets out to right a long-held myth that the machine was instead the work of the mathematician Alan Turing. Flowers led the research department at the British Post Office, who ran the country’s telephone system, and was instrumental both in proposing the use of electronic switches in computing, and in producing a working machine. The connection is obvious when you see Colossus, as its racks are the same as those used in British telephone exchanges of the era.
All in all, the article makes for an interesting read for anyone with an interest in technology. You can take a look at Colossus as we saw it in 2016 here, and if your interest extends to the only glimpse the British public had of the technology behind it in the 1950s, we’ve also taken a look at another Tommy Flowers creation, ERNIE, the UK Premium Bond computer.