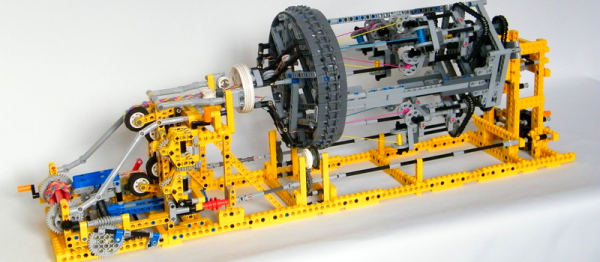
Before the NSA deletes this post, we’ll be clear: We’re talking about a model of a nuclear reactor, not the real thing. Using Legos, [wgurecky] built a point kinetic reactor model that interfaces with the reactor simulator, pyReactor.
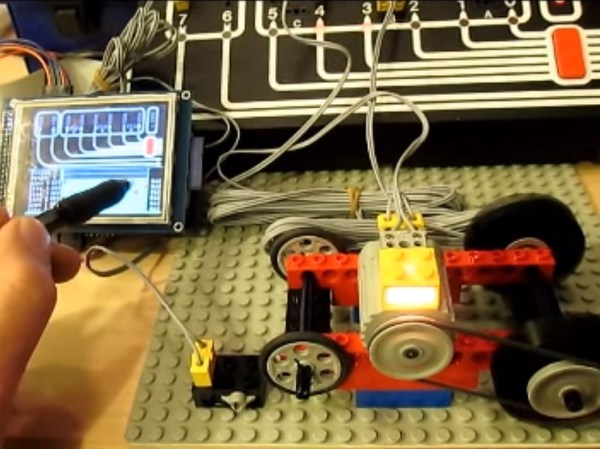
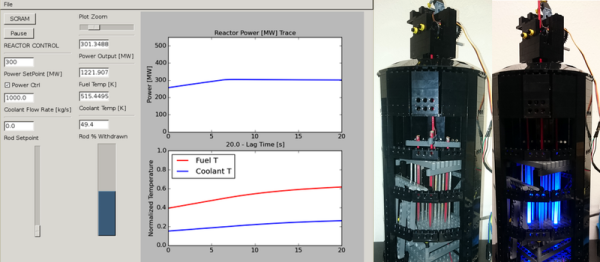
Even without the Lego, the Python code demonstrates reactor control in several modes. In power control mode, the user sets a power output, and the reactor attempts to maintain it. In control rod mode, the user can adjust the position of the control rods and see the results.
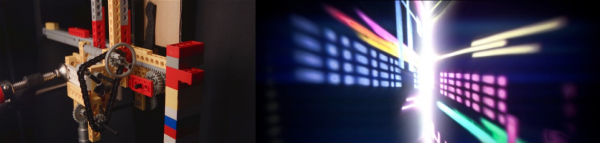
If things get out of hand, there’s a SCRAM button to shut the reactor down in a hurry. The Lego model uses an Arduino to move the rods up and down (using a servo) and controls the simulated Cherenkov radiation (courtesy of blue LEDs).
We’ve been excited to see more high schools with significant engineering programs. This would be a good project for kids interested in nuclear engineering. It certainly is a lot safer than one of our previous reactor projects.