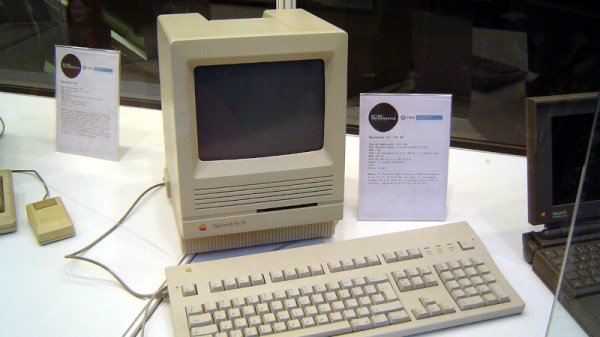
The Mac SE and in particular the Mac SE/30 number among the more sought-after of the classic all-in-one Apple computers, and consequently their peripherals including network cards are also hard to find and pricey. Even attempts at re-creating them can be expensive, usually because the chips used back in the day are now nearly unobtainable. But if the search is widened to other silicon it becomes possible to create substitutes, as [Richard Halkyard] is doing with a modern version of the SE Ethernet card.
The chip which makes this possible is the Microchip ENC624J600, an embedded 10/100 Ethernet controller with an impressively configurable interface that can be easily mated to the 68k bus. For The SE it’s mapped to a memory area, while for the /30 there can be a declaration ROM which informs the machine where it is.
This is an as yet unfinished project, a work in progress. But it deserves to succeed, and if we can provide encouragement by featuring it here then it’s definitely worth a look. Or course, this is by no means the only replacement for an original board.
SE/30 picture: Cornellanense, CC BY-SA 4.0.

