FM synthesis is the sound of the 1980s, it’s the sound of shopping malls and Macintosh Plus. It’s the sound of the Motorola DynaTAC, busts of Helios, and the sound of vaporwave サ閲ユ. The chips most responsible for this sound is the OPL2 and OPL3, tiny little FM synthesizers on a chip, produced by Yamaha, and the core of the AdLib and Sound Blaster sound cards. It’s the chip behind the music in all those great DOS games.
Unfortunately, computers don’t have ISA slots anymore, and cards don’t work in 486 and Pentium-based laptops, the latest hotness for retrocomputing enthusiasts. For his Hackaday Prize entry, [serdef] is bringing the sound of the 80s to the parallel port with the OPL2LPT. It’s a sound card for the parallel port that isn’t just a resistor DAC like the Covox Speech Thing.
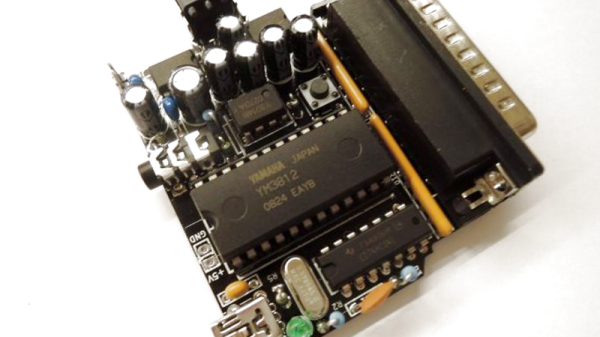
The design of the OPL2LPT is pretty much what you would expect; it’s an OPL2 chip, opamp, a 1/8″ jack, and a few passive components. The real trick here is in the driver; by default, every DOS game around expects an Adlib card on port 338h, whereas the parallel post is at 378h. A driver takes care of this in software, but it is possible to patch a game to change every write to an Adlib card to a write to a parallel port.
Already, [serdef]’s parallel port graphics card is a real, working product and has caught the attention of Lazy Game Reviews and the 8-Bit-Guy, you can check out those video reviews below.