The ultimate hardware conference returns this November as the Hackaday Superconference springs to life in Pasadena, California. It is our pleasure to announce the first set of accepted speakers who have confirmed their appearances at Supercon. This reveal is only the tip of the iceberg, so keep your eye on Hackaday as we continue to reveal the rest of the exemplary talks and workshops that make up this year’s conference.
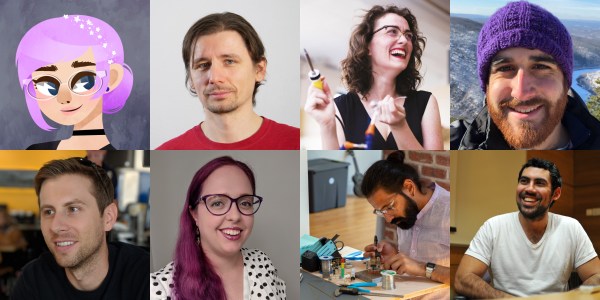
However, don’t wait to get your ticket. Yes, we sell out every year, but the pace of ticket sales has been much faster this year and soon they will all be gone. Don’t miss out, as you can see from the small sample below, Supercon will be packed with amazing people and you need to be one of them!
The Talks (Part One of Many)

Matthias Balwierz aka bitluni
Multimedia Fun with the Esp32
The ESP32 microcontroller is a beast! Everyone knows that already. Composite video and VGA are common now. But a few years ago these capabilities weren’t obvious. This talk will recap the journey of squeezing out every possible bit of performance to generate audio and video with the least amount of additional components. It’s a detail-packed discussion of the projects I’ve documented on my YouTube channel bitluni’s lab.
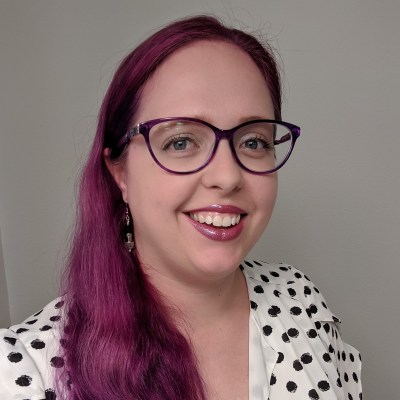
Sarah Kaiser
Hacking Quantum Key Distribution Hardware or How I Learned to Stop Worrying and Burn Things with Lasers
Quantum devices are the next big addition to the general computing and technology landscape. However, just like classical hardware, quantum hardware can be hacked. I will share some of my (successful) attempts to break the security of quantum key distribution hardware with the biggest laser I could find!
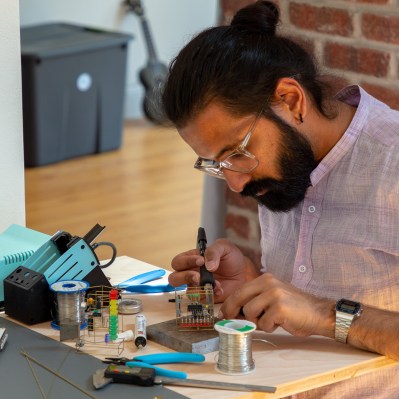
Mohit Bhoite
Building Free-Formed Circuit Sculptures
I’ll be talking about building free-formed circuit sculptures, and how anyone with the right tools can get involved in this art form. We’ll explore ways to make these sculptures interact with the environment around them or with the user.

Thea Flowers
Creating a Sega-Inspired Hardware Synthesizer from the Ground Up.
What makes the Sega Genesis sound chip unique? I’ll share some short history about why the Genesis happened at a very specific moment to have this sort of chip. I’ll talk about designing and building a synthesizer around it and the challenges I encountered by trying to do this as my first hardware project.
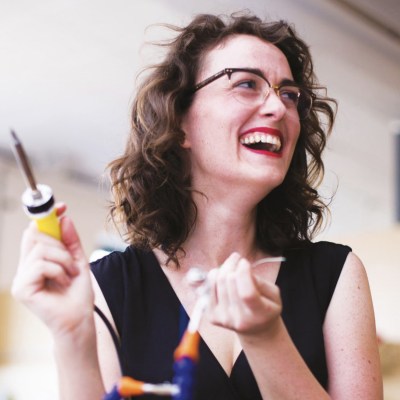
Helen Leigh
Sound Hacking and Music Technologies
I will explore the ways in which music is influenced by making and hacking, including a whistle-stop tour of some key points in music hacking history. This starts with 1940s Musique Concrete and Daphne Oram’s work on early electronic music at the BBC, and blossoms into the strange and wonderful projects coming out of the modern music hacker scenes, including a pipe organ made of Furbies, a sound art marble run, robotic music machines and singing plants.
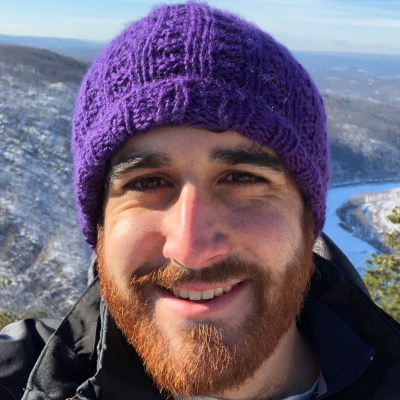
Adam Zeloof
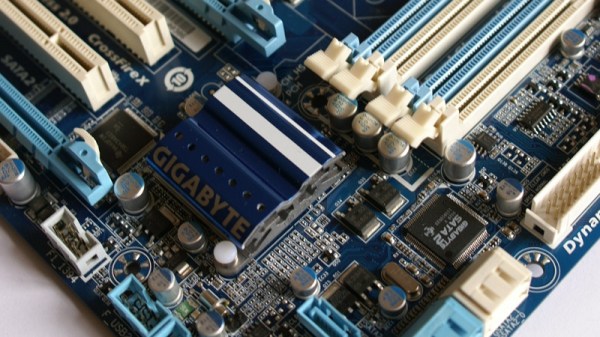
Thermodynamics for Electrical Engineers: Why Did My Board Melt (And How Can I Prevent It)?
In this presentation I will provide circuit designers with the foundation they need to consider thermal factors in their designs. Heat transfers through on-board components and knowing how to characterize this means we can choose the right heat sink for any application. Learn about free simulation tools that can be used to perform these analyses and boost your knowledge of thermodynamics and heat transfer (although those who are already familiar with the subject will find some utility in it as well).
Samy Kamkar
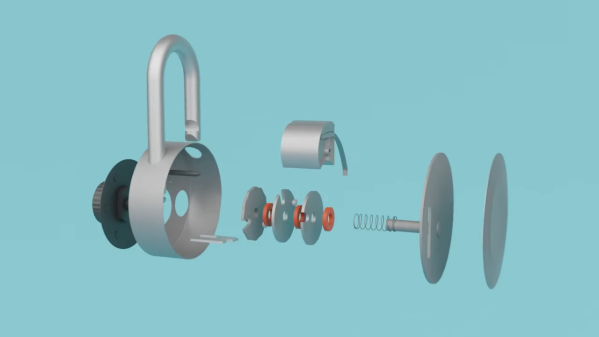
FPGA Glitching & Side Channel Attacks
I will explore some of the incredible work that has been done by researchers, academics, governments, and the nefarious in the realm of side channel analysis. We’ll inspect attacks that were once secret and costly, but now accessible to all of us using low cost hardware such as FPGAs. We’ll learn how to intentionally induce simple yet powerful faults in modern systems such as microcontrollers.
Daniel Samarin
Debugging Electronics: You Can’t Handle the Ground Truth!
Root-causing quickly is all about having the right tools, having the right infrastructure in place, and knowing how to use them. Is it the firmware, the circuit, a bad crimp, or backlash in the gears? I will outline strategies for finding out what the issue is, so that you can focus on fixing the right thing.
You Miss It, You’ll Miss It
If there’s any way you can make it to Supercon in person, you should. One of the two talk stages will be live-streamed, and the other recorded, but there is no substitute for hanging out with these eight awesome people, plus five hundred of our closest friends. Anyone who’s made it to the conference before can tell you that the intimate atmosphere is packed with opportunities to meet new people, connect with those you’ve only seen on the internet, and learn about the newest developments happening in the world of hardware creation. See you in November!