The ability to look at a pile of trash, and see the for treasure is a skill we hold in high regard around here. [Meanwhile in the Garage] apparently has this skill in spades and built himself a metal bar bending machine using an old flywheel and starter pinion gear.
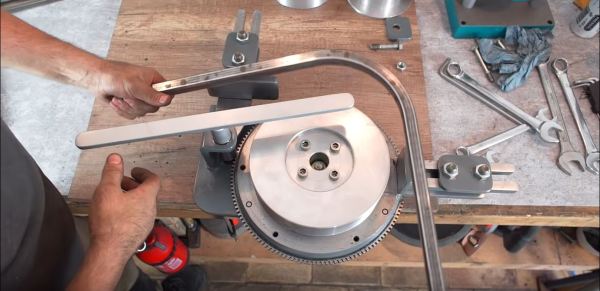
To bend metal using muscle power alone requires some sort of mechanical advantage. Usually this involves a bending tool with a long lever, but [Meanwhile in the Garage] decided to make use of the large gear ratio between a car’s starter motor and the flywheel it drives. This does away with the need for a long lever and allows bending to almost 270° with a larger radius. Lathe and milling work features quite prominently, including to make the bend formers, drive shaft and bushings and to modify the flywheel to include a clamp. The belt sander that is used to finish a number of the parts is also his creation. While the machine tools definitely helped, a large amount of creativity and thinking outside the box made this project possible and worth the watch.
We’ve featured a number of scrap-built tools including a milling machine, sheet metal hole punch and a hydraulic bench vice. Keep them coming!