The twenty projects that won this year’s Hackaday Prize bootstrap competition have just been certified. The purpose of this is to help great examples of early entries offset the cost that goes into prototyping as they work on their projects throughout the summer.
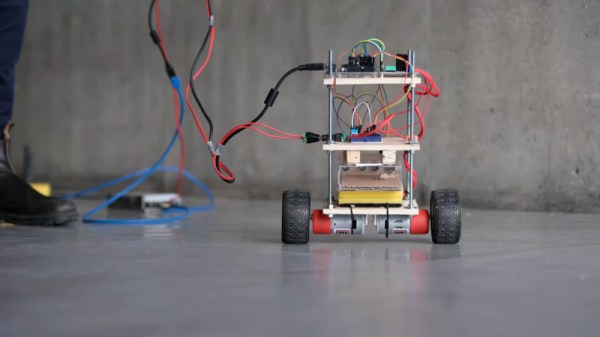
We know this has had a big impact on entries in the past. When working on hard projects it’s easy to doubt yourself, but you can usually get over that with just a bit of outside validation. Alex Williams encountered this when he first entered his Open Source Under Water Glider into the 2017 Hackaday Prize. He wanted to show off his work but didn’t think there’d be much interest and wasn’t sure if he’d continue development. He was shocked by the number of people who were excited about it, continued working feverishly on it, and went on to win the grand prize.
You’ll find all 20 bootstrap winners listed below, but we wanted to feature a couple of examples to show the kind of work that is happening during the Hackady Prize. The results of the bootstrap competition have no bearing on the top prizes: they are all still up for grabs, so enter your project today!
Continue reading “Meet The Bootstrap Winners Of The 2019 Hackaday Prize”