
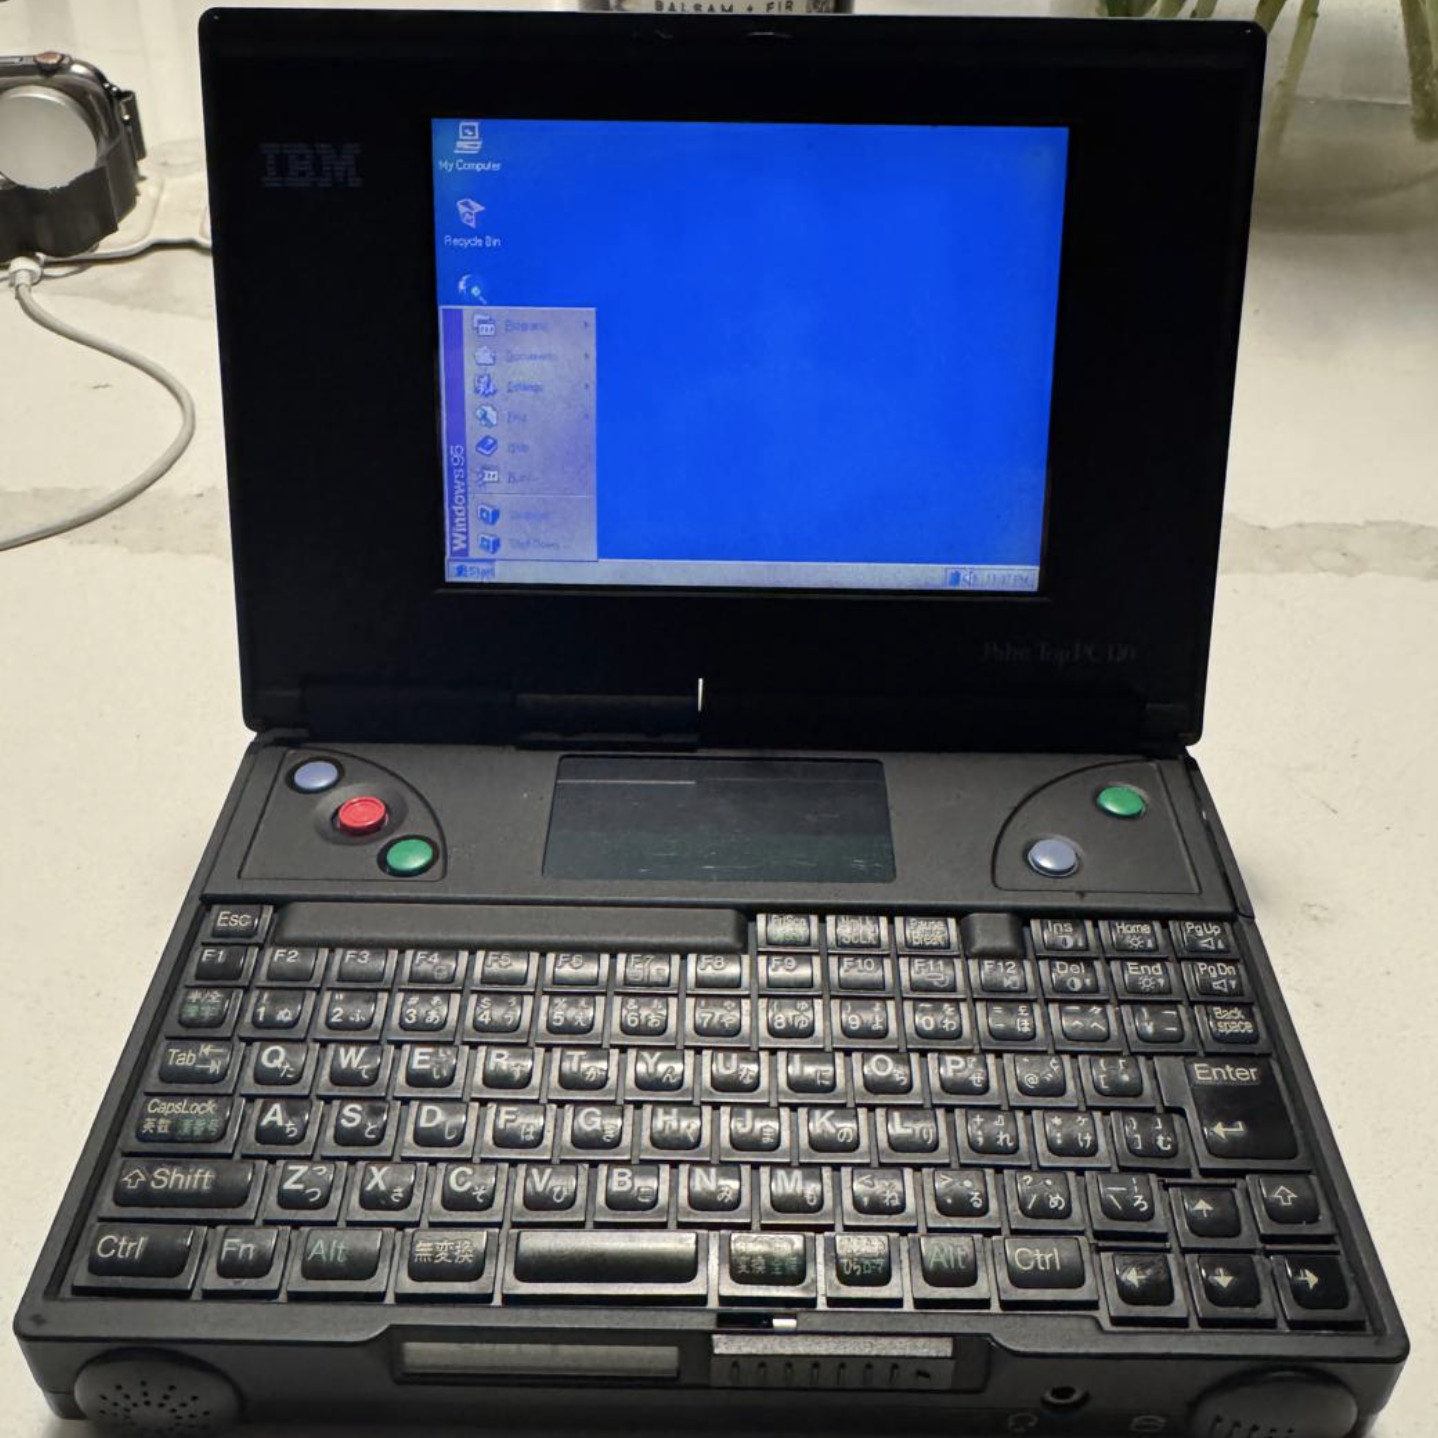
There’s a dedicated group of users out there that aren’t ready to let their beloved IBM PC110 go to that Great Big Data Center in the Sky. Unfortunately, between the limited available technical information and rarity of replacement parts, repairing the diminutive palmtops can be tricky.
Which is why [Ahmad Byagowi] has started a project that aims to not only collect all the available schematics and datasheets that pertain to the machine, but to reverse engineer all of the computer’s original circuit boards. Working from optical and x-ray scans, the project has already recreated the motherboard, power supply, modem, keyboard, and RAM module PCBs in KiCad.
 Just last week the project released production-ready Gerbers for all the boards, but considering there have been 45+ commits to the repository since then, we’re going to assume they weren’t quite finalized. Of course, with a project of this magnitude, you’d expect it to take a few revisions to get everything right. (Hell, we’ve managed to screw up board layouts that had fewer than a dozen components on them.)
If you’d like to lend a hand, [Ahmad] says he could use the help. Beyond checking the boards for problems and reporting issues, he’s also on the hunt for any datasheets or other documentation that can be found for the PC110 or its components. It looks like there’s still schematic work that needs to be done as well, so if your idea of zen is figuring out how ~30 year old computers were wired up internally, this might be the perfect summer project for you.
Interestingly, our very own [Arya Voronova] has been working on creating a drop-in replacement motherboard for the Sony Vaio P using KiCad and imported board images. That hobbyists are now able to do this kind of work using free and open source tools is a reminder of just how far things have come in the last few years.
Thanks to [adistuder] for the tip.


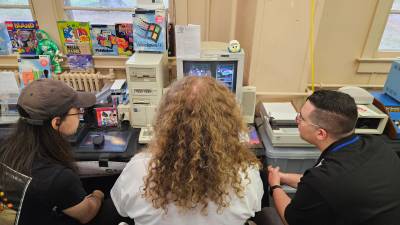 An exhibit like this isn’t thrown together overnight. [Commodore Z] and [Ms-Dos5] worked for months to assemble the right mix of desktops, laptops, and peripherals to showcase Windows 95. Many of the computers are networked as well – which was no easy task.


