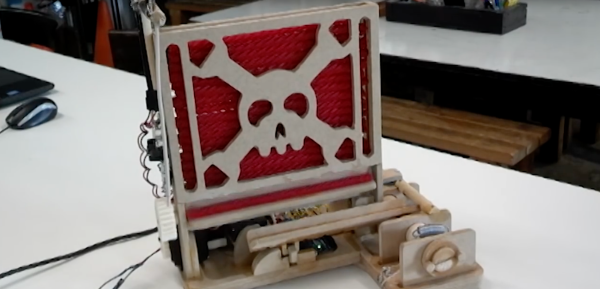
Do you often find yourself needing to make small signs? Perhaps you’re trying to put a notice on the office fridge, but you’re just not in the mood for the usual Comic Sans-on-A4 staple today. A banner of some sort would do the trick, but… a small one, right? [Mike Ingle] has the answer – making mini-banners on old receipt printers.
[Mike] was a fan of Paint Shop in the 1980s, which among other things, enabled the printing of long banners on the popular dot matrix printers of the era. Realising that receipt printers have a similar ability to print on a long continuous strip of paper, he decided to see if it was possible to create small banners using the hardware.
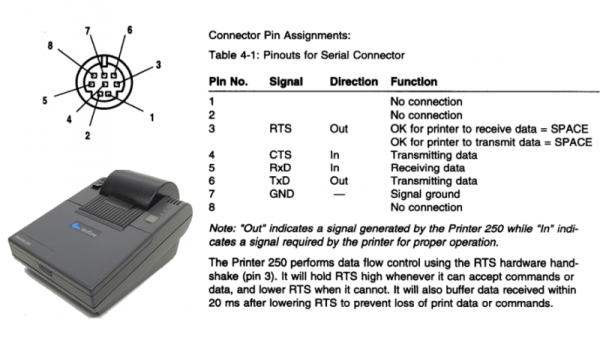
The hack is simple – ImageMagick is used to generate a one-bit black & white bitmap that is then processed with some custom C code to generate something the printer can understand. It’s then a simple matter of hacking up the original RS-232 cable to fit a DB-9 (aka DE-9) connector, and spitting out the instructions over serial.
The mini-banners are cool, and we could imagine having some fun with such a project, using it to print out tweets or putting it into service as a stock ticker. It’s a great example of cleanly interfacing with existing hardware to create something outside of the original design intentions. Such printers are fertile ground for hacks – like this printer that can spit out the US Constitution in 6 seconds flat.