Adulterated food is food that has a substance added to it to save on manufacturing costs. It can have a negative effect, it can reduce the food’s potency or it can have no effect at all. In many cases it’s done illegally. It’s also a widespread problem, one which [G. Vignesh] has decided to take on as his entry for the 2017 Hackaday Prize, an AI Based Adulteration Detector.
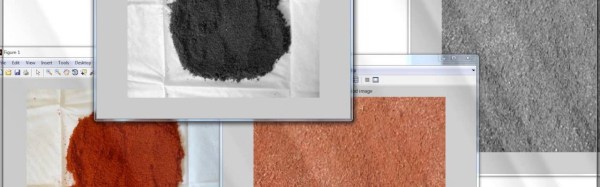
On his hackaday.io Project Details page he outlines some existing methods for testing food, some which you can do at home: adulterated sugar may have chalk added to it, so put it in water and the sugar will dissolve while the chalk will not. His approach is to instead take high-definition photos of the food and, on a Raspberry Pi, apply filters to them to reveal various properties such as density, size, color, texture and so on. He also mentions doing image analysis using a deep learning neural network. This project touches us all and we’ll be watching it with interest.
If all this talk of adulterated food makes you nervous about your food supply then consider growing our own, hacker style. One such project we’ve seen here on Hackaday is Farmbot, an open-source CNC farming robot. Another such is MIT’s OpenAg Food Computer, a robotic control and monitoring growing chamber.