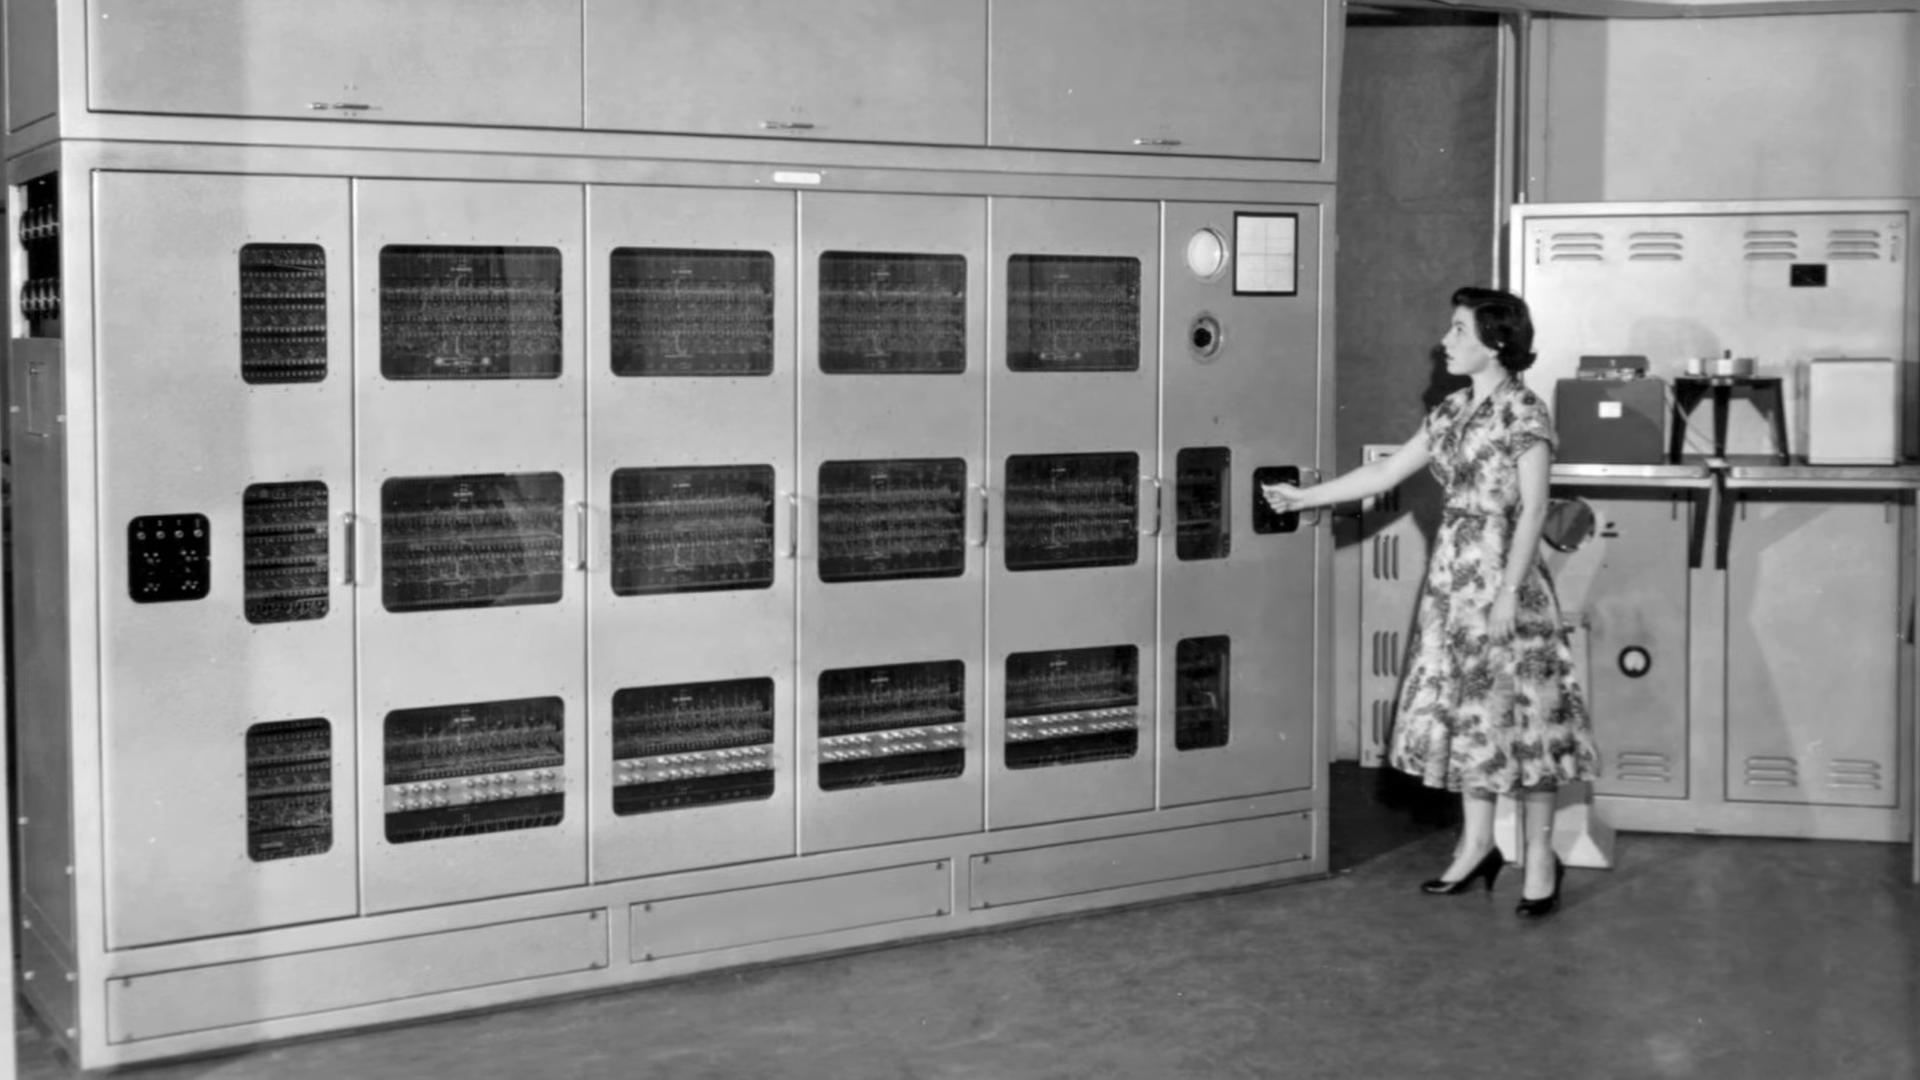
PyOBD Gets Python3 Upgrades

One of the best things about open source software is that, instead of being lost to the ravages of time like older proprietary software, anyone can dust off an old open source program and bring it up to the modern era. PyOBD, a python tool for interfacing with the OBD system in modern vehicles, was in just such a state with its latest version still being written in Python 2 which hasn’t had support in over three years. [barracuda-fsh] rewrote the entire program for Python 3 and included a few other upgrades to it as well.

Key feature updates with this version besides being completely rewritten in Python 3 include enhanced support for OBD-II commands as well as automating the detection of the vehicle’s computer capabilities. This makes the program much more plug-and-play than it would have been in the past. PyOBD now also includes the python-OBD library for handling the actual communication with the vehicle, while PyOBD provides the GUI for configuring and visualizing the data given to it from the vehicle. An ELM327 adapter is required.

With options for Mac, Windows, or Linux, most users will be able to make use of this software package provided they have the necessary ELM327 adapter to connect to their vehicle. OBD is a great tool as passenger vehicles become increasingly computer-driven as well, but there are some concerns surrounding privacy and security in some of the latest and proposed versions of the standard.

Helping Robots Learn By Letting Them Fail

The [MIT Technology Review] has just released its annual list of the top innovators under the age of 35, and there are some interesting people on this list of the annoyingly accomplished at a young age. Like [Lerrel Pinto], an associate professor of computer science at NY University. His work focuses on teaching robots how to do things in the home by failing.

Continue reading “Helping Robots Learn By Letting Them Fail”

Multi-Year Doorbell Project

Camera modules for the Raspberry Pi became available shortly after its release in the early ’10s. Since then there has been about a decade of projects eschewing traditional USB webcams in favor of this more affordable, versatile option. Despite the amount of time available there are still some hurdles to overcome, and [Esser50k] has some supporting software to drive a smart doorbell which helps to solve some of them.

One of the major obstacles to using the Pi camera module is that it can only be used by one process at a time. The PiChameleon software that [Esser50k] built is a clever workaround for this, which runs the camera as a service and allows for more flexibility in using the camera. He uses it in the latest iteration of a smart doorbell and intercom system, which uses a Pi Zero in the outdoor unit armed with motion detection to alert him to visitors, and another Raspberry Pi inside with a touch screen that serves as an interface for the whole system.

The entire build process over the past few years was rife with learning opportunities, including technical design problems as well as experiencing plenty of user errors that caused failures as well. Some extra features have been added to this that enhance the experience as well, such as automatically talking to strangers passing by. There are other unique ways of using machine learning on doorbells too, like this one that listens for a traditional doorbell sound and then alerts its user.

Continue reading “Multi-Year Doorbell Project”

Four large nixie tubes showing the number 2

[Dalibor Farný]’s Enormous Nixies Light Up Contemporary Art Museum

Nixie tubes come in many shapes and sizes, but in only one color: the warm orange glow that makes them so desirable. They don’t usually come in large numbers, either: a typical clock has four or six; a frequency counter perhaps eight or nine. But some projects go bigger – a lot bigger in [Dalibor Farný]’s case. He built an art installation featuring more than a hundred jumbo-sized nixie tubes that make an entire wall glow orange.

This project is the brainchild of renowned installation artist [Alfredo Jaar], who was invited to create an exhibition at the Hiroshima Museum of Contemporary Art. Its title, Umashimenkana, means “we shall bring forth new life” and refers to a poem describing the birth of a child amid the suffering and despair following the atomic bombing of Hiroshima. Visitors to the exhibit experience a dark room where they see a wall of orange numbers count down to zero and erupt into a waterfall of falling zeroes.

Nixie tube expert [Dalibor] was the go-to person to implement such an installation – after all, he’s one of very few people making his own tubes. But even he had to invest a lot of time and effort into scaling them up to the required 150 mm diameter, with 135 mm tall characters. We covered his efforts towards what was then known as the H-tube project two years ago, and we’re happy to report that all of the problems that plagued his efforts at the time have since been solved.

The cathodes of a large nixie tube being assembledOne of the major issues was keeping the front of the tubes intact during manufacture. Often, [Dalibor] and his colleagues would finish sealing up a tube, only for the front to pop out due to stress build-up in the glass. A thorough heating of the entire surface followed by a slow cooling down turned out to be the trick to evening out the stress. All this heat then caused oxidation of the cathodes, necessitating a continuous flow of inert gas into the tube during manufacture. Those cathodes already had to be made stronger than usual to stop them from flexing, and the backplate light enough to keep everything shock resistant. The list goes on.

After ironing out these quirks, as well as countless others, [Dalibor] was finally able to set up a small-scale production line in a new workshop to get the required 121 tubes, plus spares, ready for shipment to Japan. The team then assembled the project on-site, together with museum staff and the artist himself. The end result looks stunning, as you can see in the excellent video embedded below. We imagine it looks even better in real life – if you want to experience that, you have until October 15th.

You might remember [Dalibor] from his excellent video on nixie clock fault analysis – which we hope won’t be necessary for Umashimenkana. He might be able to make your favorite shape into a nixie tube, too. Thanks for the tip, [Jaac]!

Continue reading “[Dalibor Farný]’s Enormous Nixies Light Up Contemporary Art Museum”

A Die-Cast Car Subframe, Pushing The Limit Too Far?

A piece of manufacturing news from Tesla Motors caught our eye, that Elon Musk’s car company plans to die-cast major underbody structures — in effect the chassis — for its cars. All the ingredients beloved of the popular tech press are there, a crazy new manufacturing technology coupled with the Musk pixie dust. It’s undeniably a very cool process involving a set of huge presses and advanced 3D-printing for the sand components of the mould, but is it really the breakthrough it’s depicted as? Or has the California company simply scored another PR hit?

We produced an overview of die casting earlier in the year, and the custom sand moulding in the Tesla process sounds to us a sort of half-way house between traditional die casting and more conventional foundry moulding. I don’t doubt that the resulting large parts will be strong enough for the job as the Tesla engineers and metallurgists will have done their work to a high standard, but I’m curious as to how this process will give them the edge over a more traditional car manufacturer building a monocoque from pressed steel. The Reuters article gushes about a faster development time which is no doubt true, but since the days of Henry Ford the automakers have continuously perfected the process of making mass-market cars as cheaply as possible. Will these cast assemblies be able to compete with pressed steel when applied to much lower-margin small cars? I have my doubts.

Aside from the excessive road noise of the Tesla we had a ride in over the summer, if I had a wish list for their engineers it would include giving their cars some longevity.

Header: Steve Jurvetson, CC BY 2.0.

Spinning CRT Makes A 360 Degree Audio Oscilloscope

A question for you: if the cathode ray tube had never been invented, what would an oscilloscope look like? We’re not sure ourselves, but it seems like something similar to this mechanical tachyscope display might worked, at least up to a point.

What’s ironic about this scenario is that the tachyscope [Daniel Ross] built actually uses a CRT from a defunct camcorder viewfinder as the light-up bit of what amounts to a large POV display. The CRT’s horizontal coil is disconnected while the vertical coil is attached to the output of a TEA205B audio amplifier. The CRT, its drive electronics, and the amp are mounted to a motorized plastic platter along with a wireless baby monitor, to send audio to the CRT without the need for slip rings — although a Bluetooth module appears to be used for that job in the video below.

Speaking of slip rings, you’d expect one to make an appearance here to transfer power to the platter. [Daniel] used a slip ring for his previous steampunk tachyscope, but this time out he chose a hand-wound air core transformer, with a stationary primary coil and secondary coil mounted on the platter. With a MOSFET exciter on the primary and a bridge rectifier on the secondary, he’s able to get the 12 volts needed to power everything on the platform.

Like most POV displays, this one probably looks better in person than it does in video. But it’s still pretty cool, with the audio waveforms sort of floating in midair as the CRT whizzes around. [Daniel] obviously put a lot of work into this, not least with the balancing necessary to get this running smoothly, so hats off for the effort.

Continue reading “Spinning CRT Makes A 360 Degree Audio Oscilloscope”

The Science Behind The Majesty Of Dancing Raisins

Have you ever thrown a handful of raisins into a tub of sparkling water? Or peanuts into beer? It seems like an altogether strange thing to do, but if you’ve tried it, you’ll have seen the way the raisins dance and tumble in the fluid. As it turns out, there’s some really interesting science at play when you dive into the mechanics of it all. [Saverio Spagnolie] did just that, and even went as far as publishing a paper on the topic.

The fundamental mechanism behind the dancing raisins is down to the bubbles in sparkling water. When dropped into the fluid, bubbles form on the raisins and attach to them, giving them additional buoyancy.  They then float up, with some of the bubbles shedding or popping on the way, others doing so at the fluid surface. This then causes the raisins to lose buoyancy, rotate, flop around, and generally dance for our amusement.

[Saverio] didn’t just accept things at face value though, and started taking measurements. He used 3D-printed models to examine bubble formation and the forces involved. Along with other scientists, models were developed to explore bubble formation, shedding, and the dynamics of raisin movement. If you don’t have time to dive into the paper, [Saverio] does a great job of explaining it in a Twitter thread (Nitter) in an accessible fashion.

It’s a great example of cheap kitchen science that can teach you all kinds of incredible physics if you just care to look. Video after the break.

Continue reading “The Science Behind The Majesty Of Dancing Raisins”