It has finally arrived, today is World Create Day which is being celebrated with Hackaday Meetups in 64 cities throughout the world.
If you are at one of these meetups, share the fun and excitement of your event today using the hashtag #WorldCreateDay. We want a taste of what is going on in your town so Tweet early and Tweet often! If you can’t be there, join in on Hack Chat and watch the projects as they come in throughout the day. If you see one you love you can even request to join the team.
We want to feature your meetup on the Hackaday front page but we need your help to do it. Make sure you take a lot of pictures, and maybe even some video. Send those along with your tale of World Create Day to: prize at hackaday email address.
If you can’t make it to a live meetup, don’t let that stop you. Design Your Concept today and submit it to the Hackaday Prize; you’ll be making it in just ahead of the Monday deadline. Follow along with the #WorldCreateDay hashtag, encouraging others and posting info about your own project.
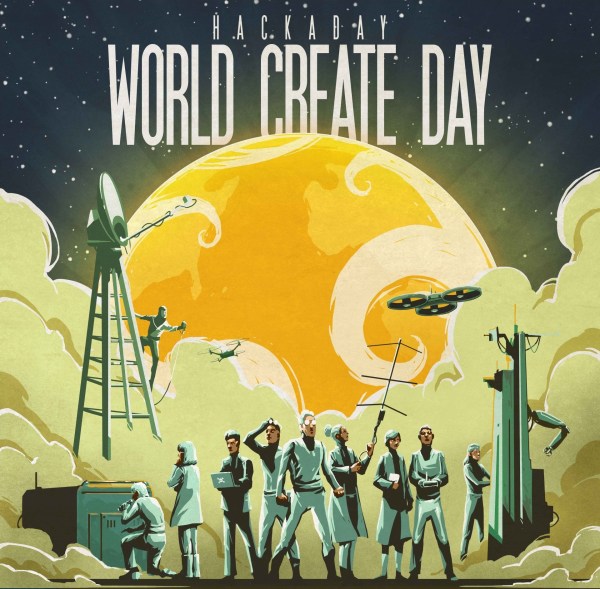
Oh, and that amazing art at the top of this post? There’s more were that came from. See all of the designs we’ve put together for World Create Day.