Evolution is a fact of life, except in Kansas. It is the defining characteristic of life itself, but that doesn’t mean a stupid robot can’t evolve. For his entry into the Hackaday Pi Zero contest, [diemastermonkey] is doing just that: evolution for robots built around microcontrollers and a Raspberry Pi.
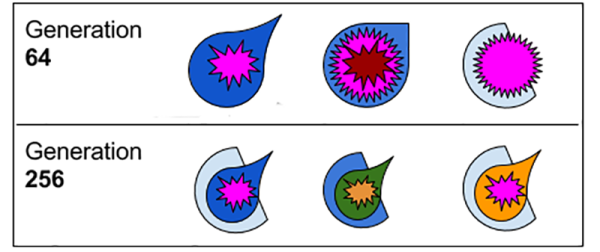
[diemastermonkey]’s project is a physical extension to genetic algorithms. Just like DNA and proteins have no idea what they’re actually doing, microcontrollers don’t either. Instead of randomly switching up base pairs and amino acids, [diemastermonkey]’s project makes random connections pins depending on the values of those pins.
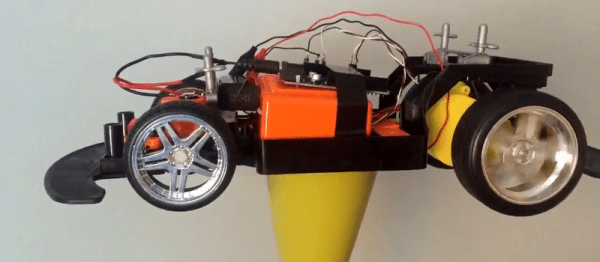
The potential of these crappy, randomly programmed robots is only as good as the fitness function, and so far [diemastermonkey] has seen some surprising success. When putting these algorithms into a microcontroller connected to a tilting table mechanism and a PIR sensor, the robot eventually settled on a bit of code that would keep a ball in motion. You can check out the video of that below.

The Raspberry Pi Zero contest is presented by Hackaday and Adafruit. Prizes include Raspberry Pi Zeros from Adafruit and gift cards to The Hackaday Store!
See All the Entries


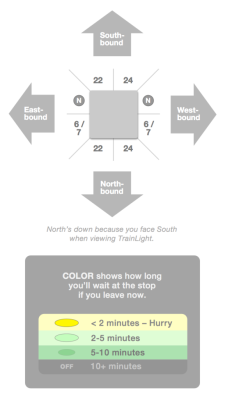 It’s basically a Spark Core and a 60 LED-per-meter strip of WS2812Bs. A 1000µF cap filters the power coming in from a switching adapter and a resistor limits the level-shifted logic going to the LEDs. Eight barriers made from card stock keep the light zones from bleeding together. The sides of the square canvas panel indicate cardinal directions and are oriented to [Savage]’s southern-facing house.