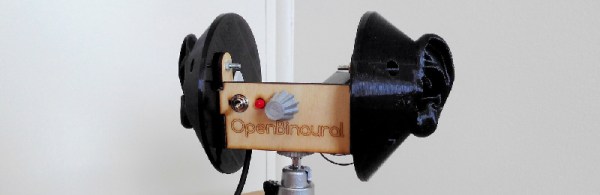
Binaural audio is probably the coolest thing you can listen to with a pair of headphones. Instead of just a single microphone, binaural recordings use two microphones, set inside an analog for a human head, to replicate exactly what you would hear if you were there.
The only way to record binaural audio is with fake plastic ears attached to a dummy head. Most of the famous microphone manufacturers have something like this, but with a 3D printer, anything is possible. [Carlos] created his own binaural microphone using a 3D printer and went through the trouble of creating a few audio demos. The results are weird, like [Carlos] is whispering into your ear.
The ears used in this microphone setup are taken from a Thingiverse project by [Jonathan March]. This model did not properly model the ear canal,and didn’t have any way to mask the sound from ear to ear; this is why the professional models also include a head. [Carlos] fixed these shortcomings and created a few 3D models that accurately model the human ear and head.
There’s also a simple stereo microphone amplifier for this project that is designed to fit right between the ears. This amplifier was designed in KiCAD, and the PCB is single sided. It’s not quite simple enough to assemble on a piece of stripboard, but [Carlos] did manage to manufacture it on some copper clad board in his mill.
The results? It sounds awesome. [Carlos] put together a demo of his microphone, link below, and it only works if you’re wearing headphones.
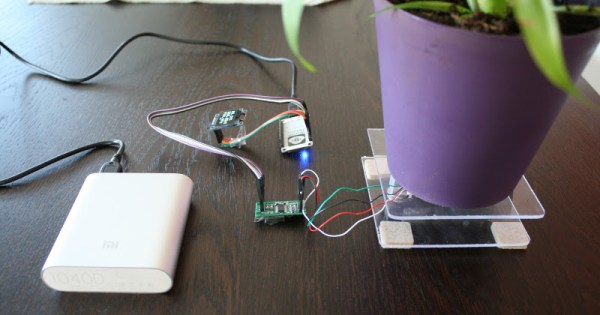
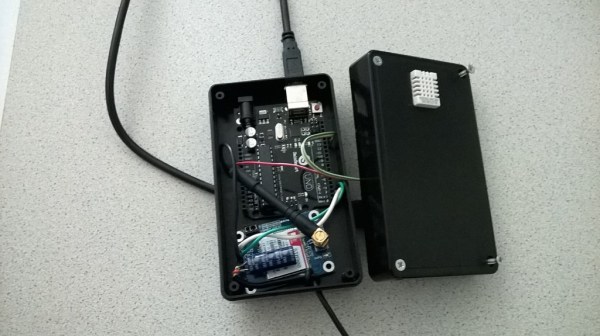
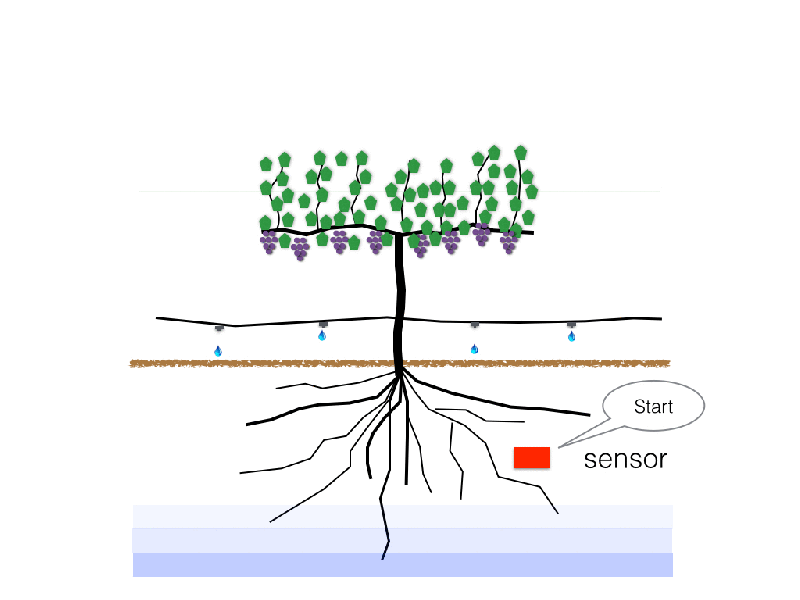 Its operation is straight forward. You put a water sensor in the dirt. You turn on the water. When the water hits the sensor, you turn the water off. This was not, however, the most efficient method. The problem is by the time the sensor goes off, the soil is saturated to the point that the plant cannot take it all up, and water is wasted.